
Léna Piquet
A recap of 12 month of development on a home made game engine
December 31, 2023
In 2022 I finally decided to build my own engine.
I spent years working with Unreal Engine (started with UDK, then moved on to UE4 and then barely touched UE5), and grew tired of how complicated it was to introduce custom changes in the engine (but not without trying). Especially since those changes were related to rendering. Unreal toolset is great and there are ways to extend it but anything related to rendering has been very limited. Even if that started to move a bit the past few years on this topic (like Niagara or Scene View extensions) it still requires quite a bit of work and has a long learning curve.
I considered moving to Unity or Godot, but the half-finished features of the first and the strange leadership on both made me stay away from them. So if I was going to learn a new engine from scratch, why not build my own ?
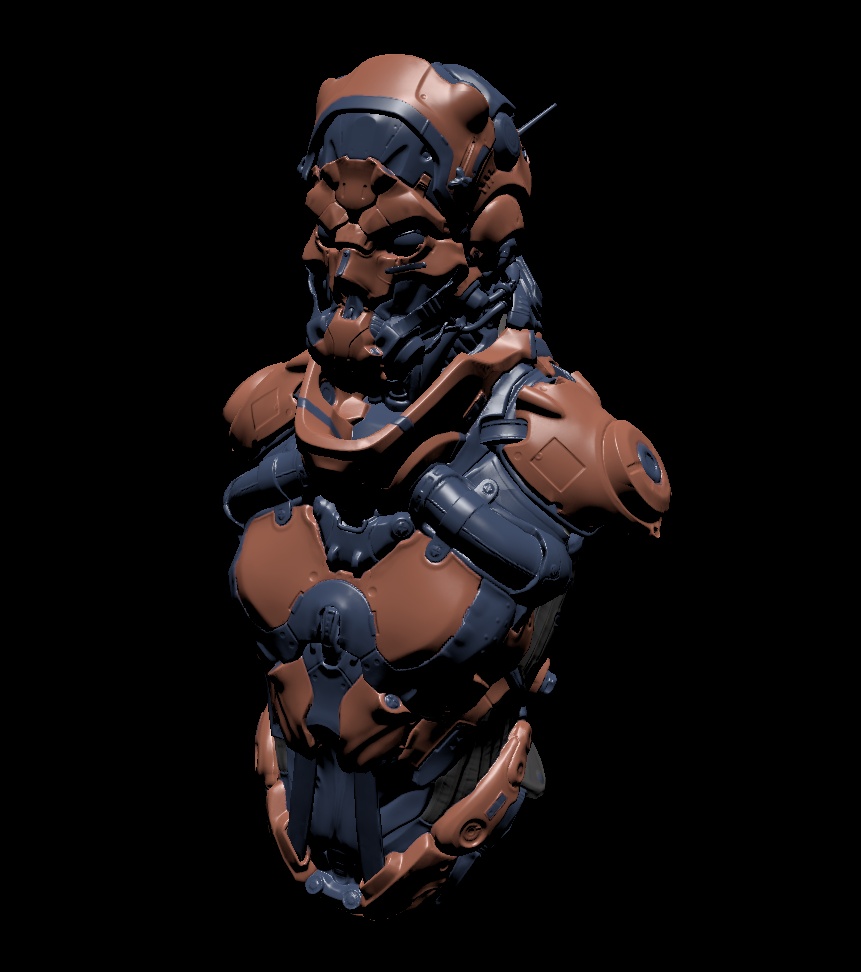
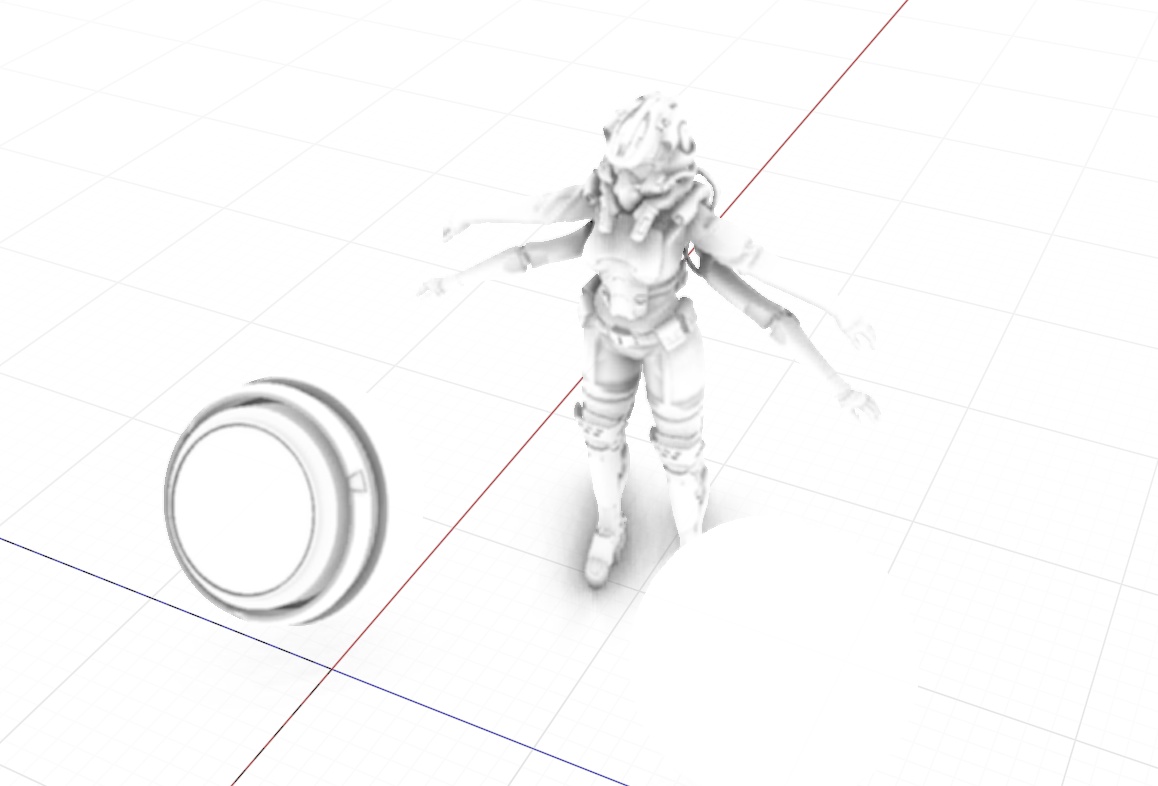
This is how Ombre was born.
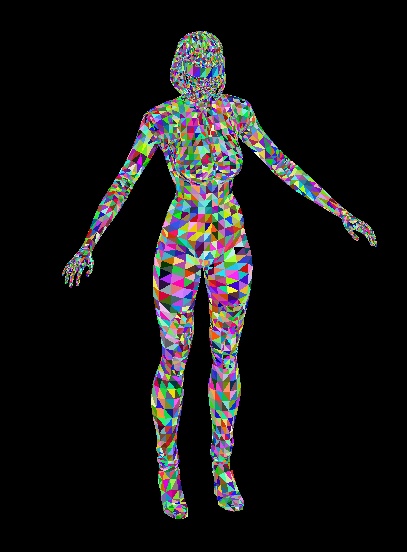
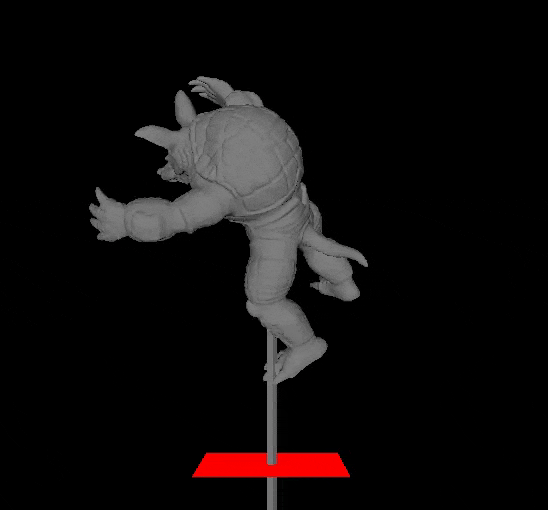
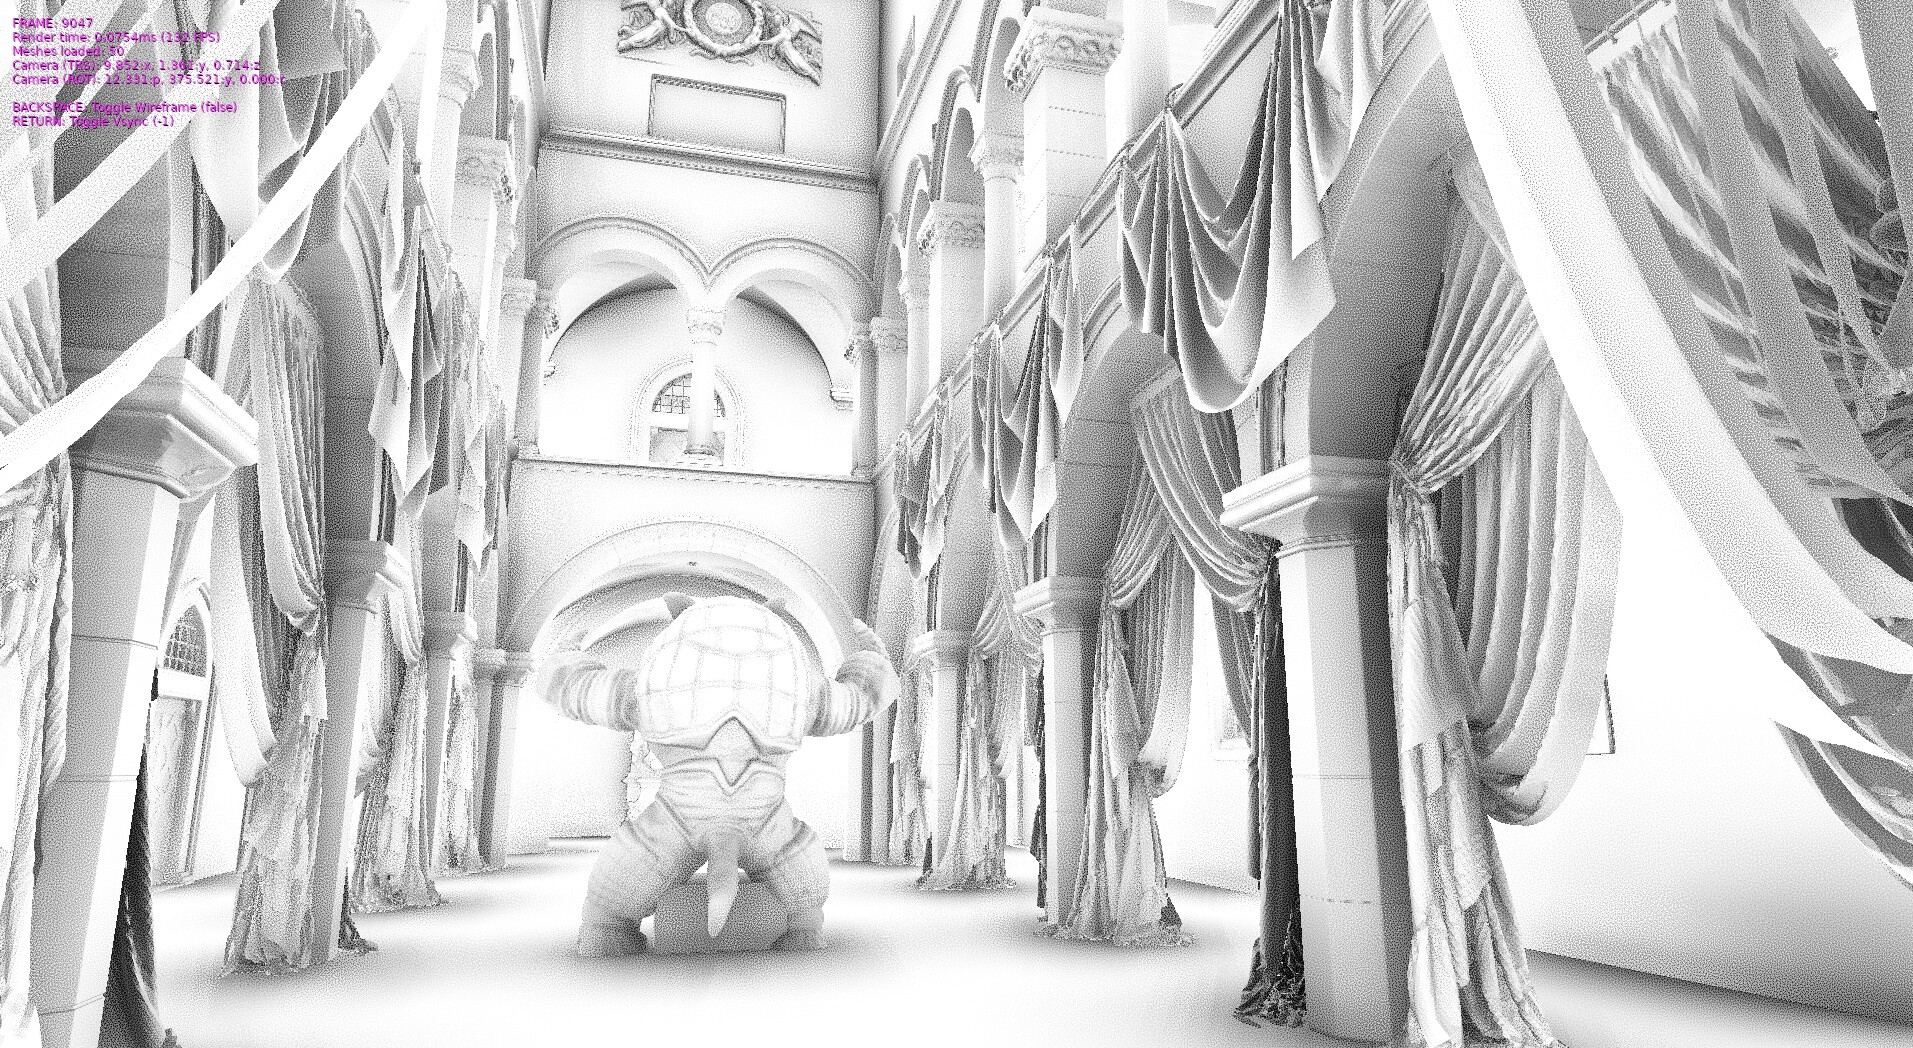
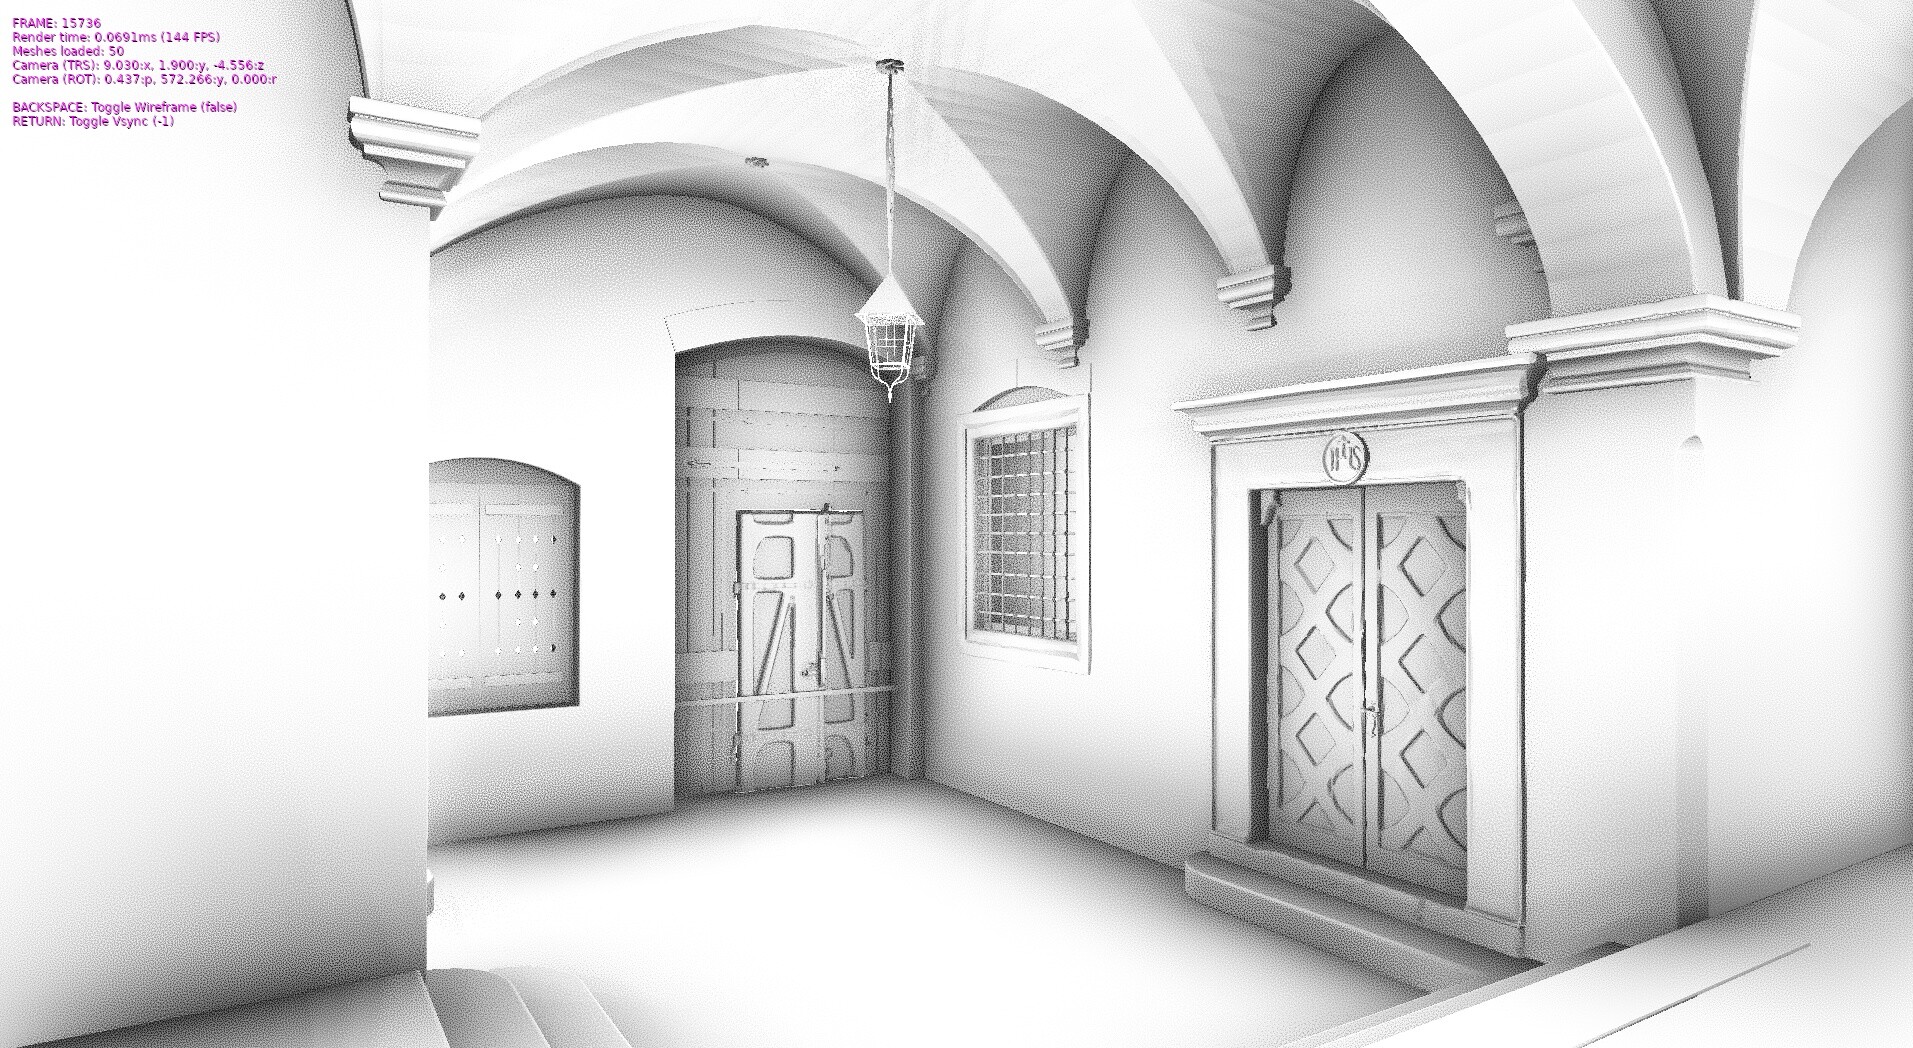
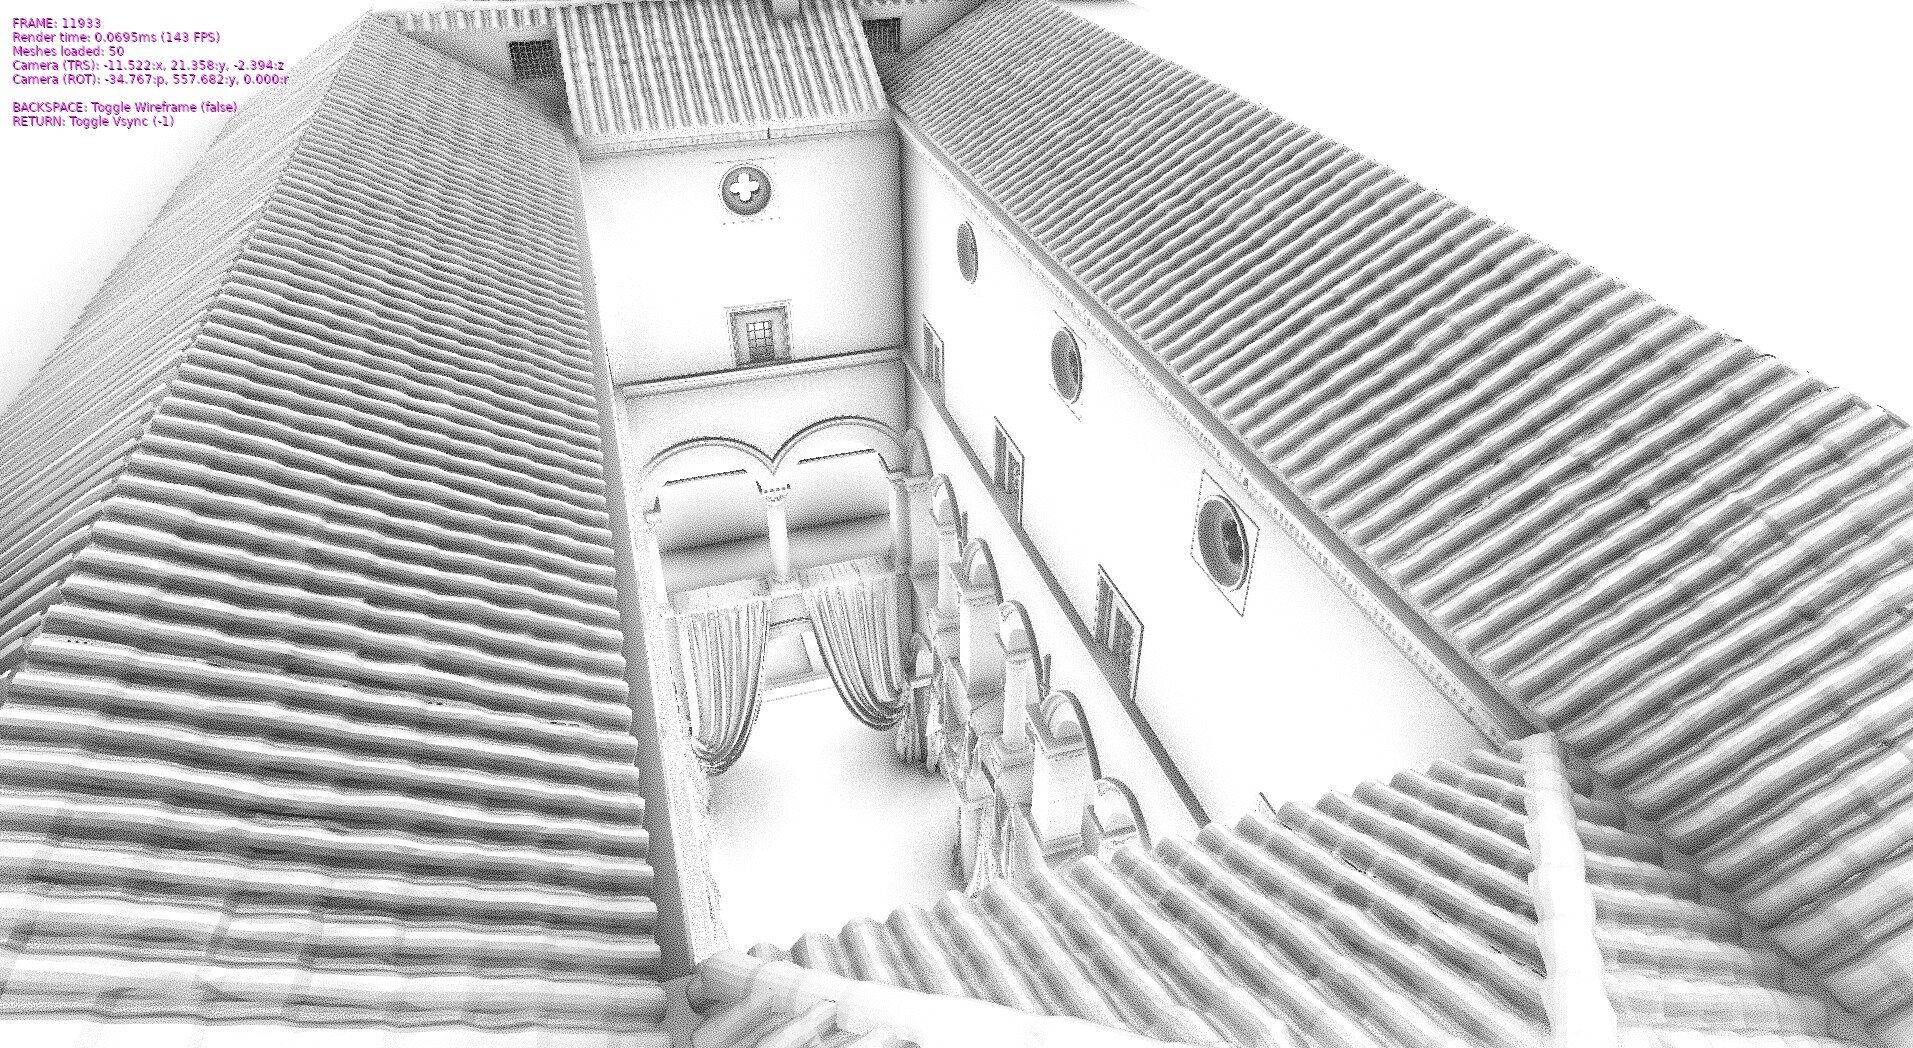
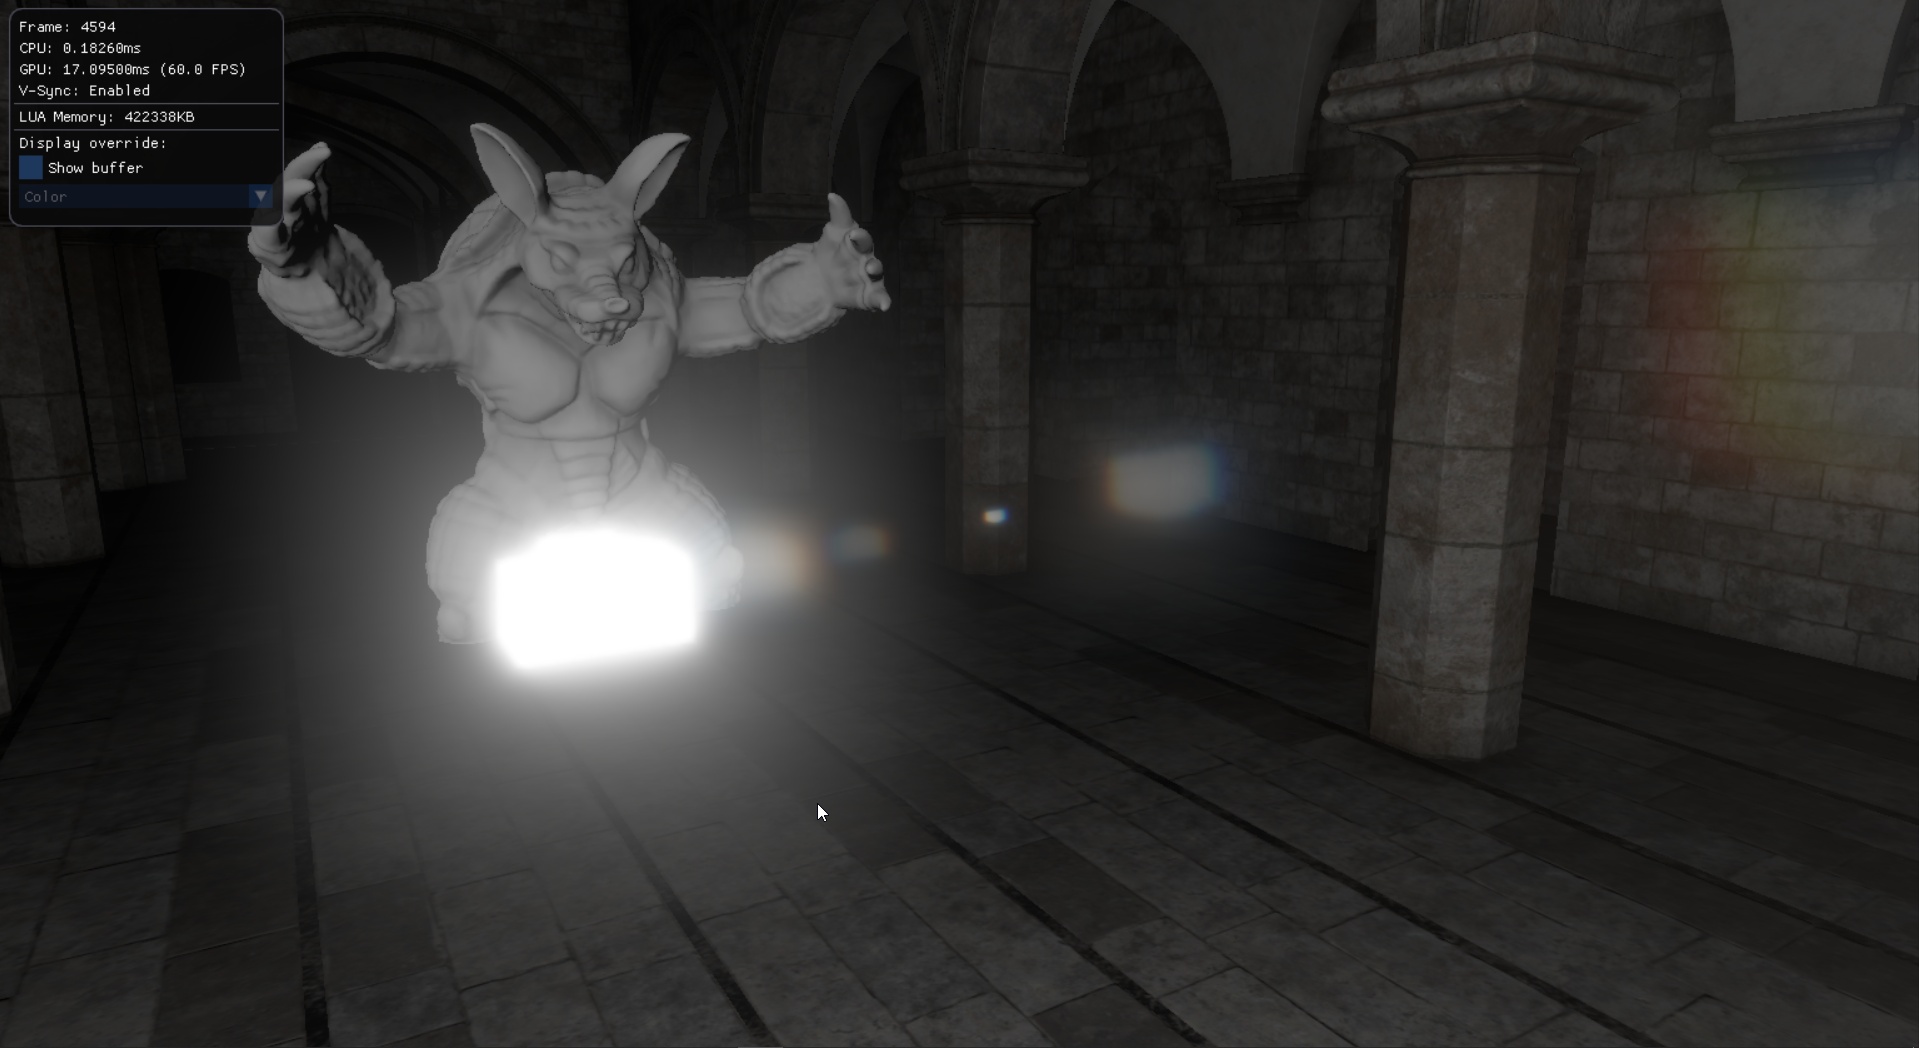
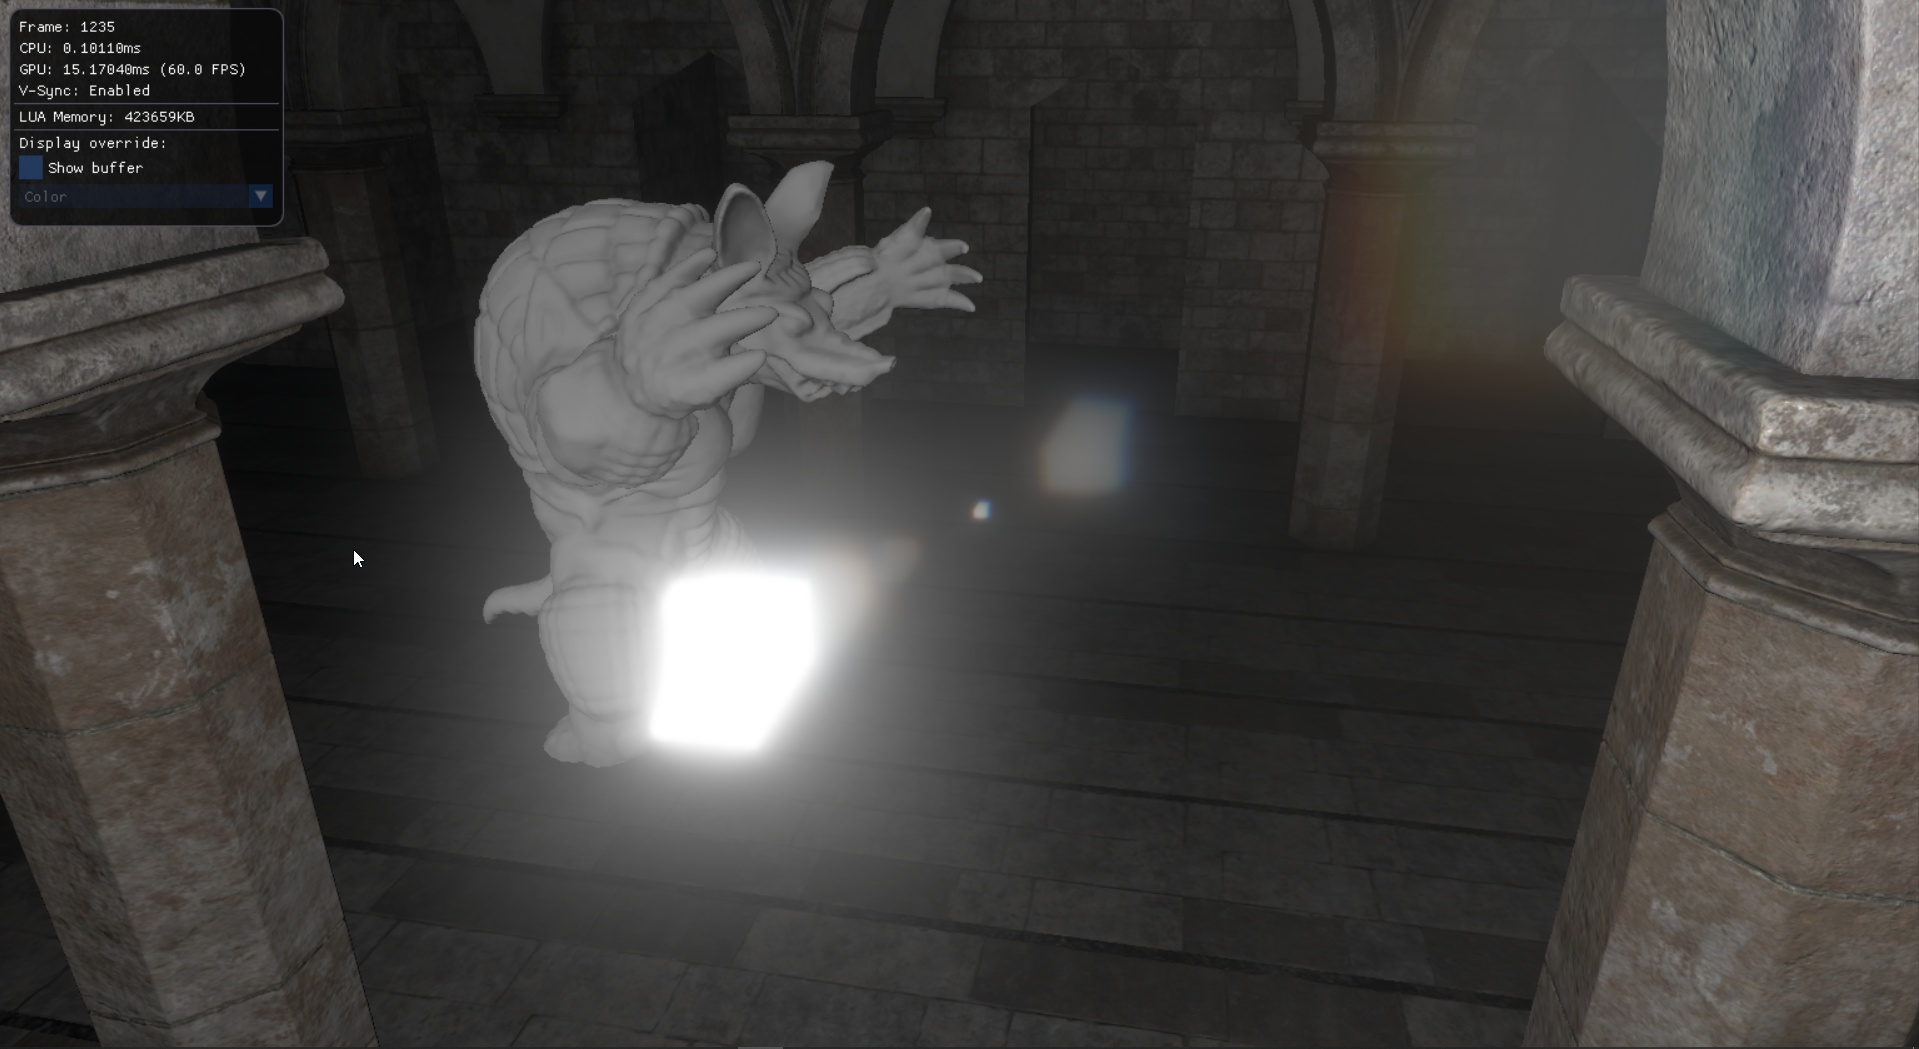
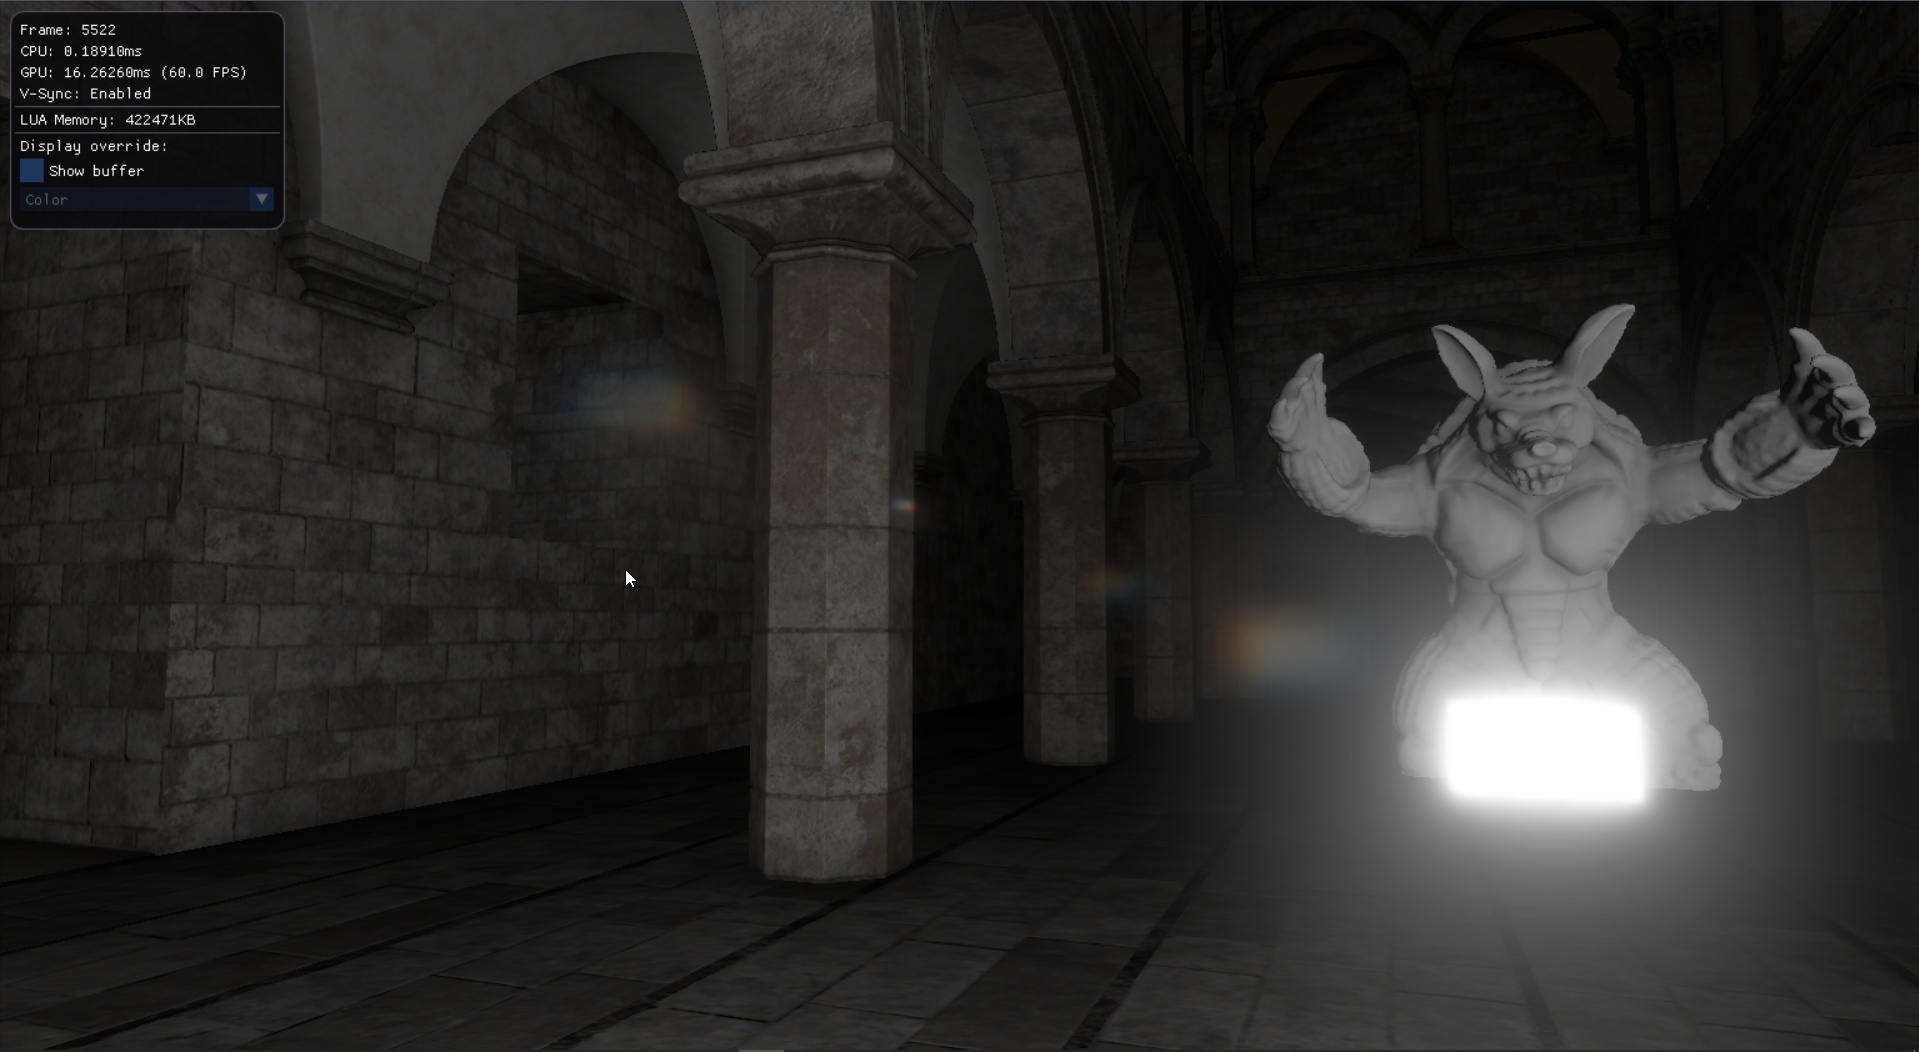
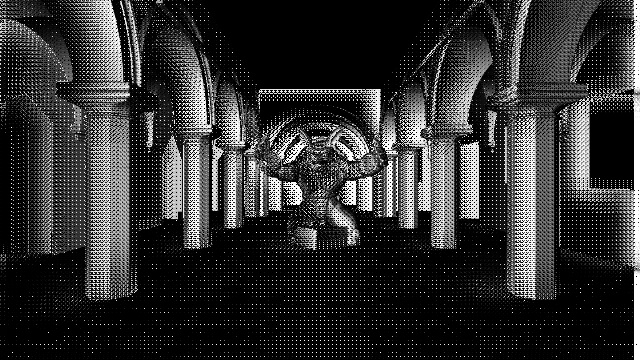
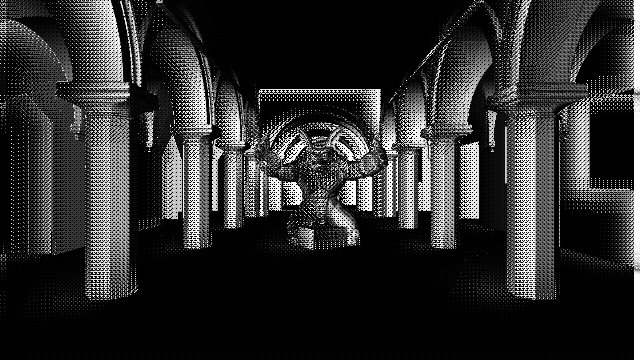
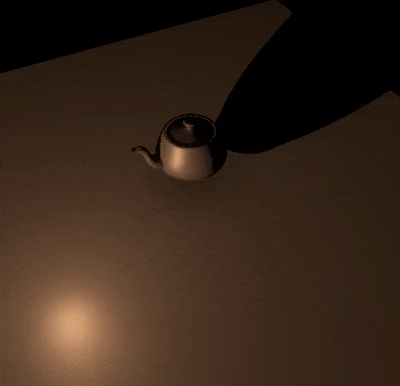
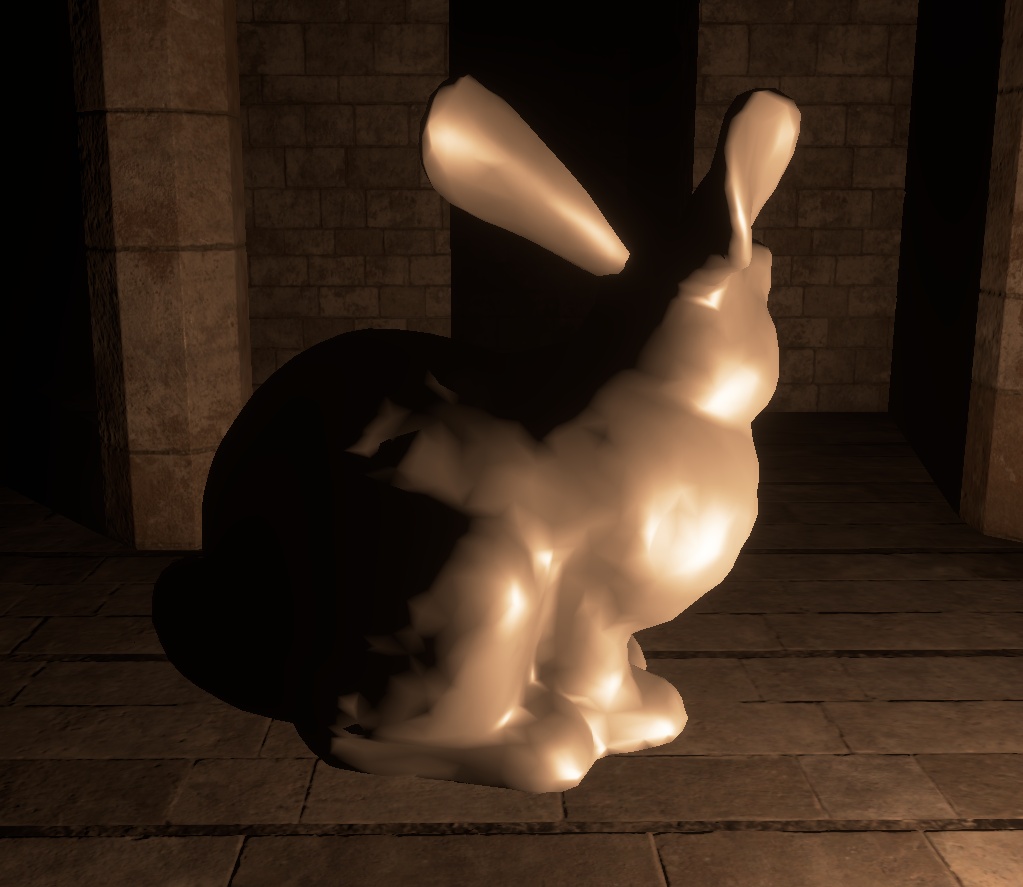
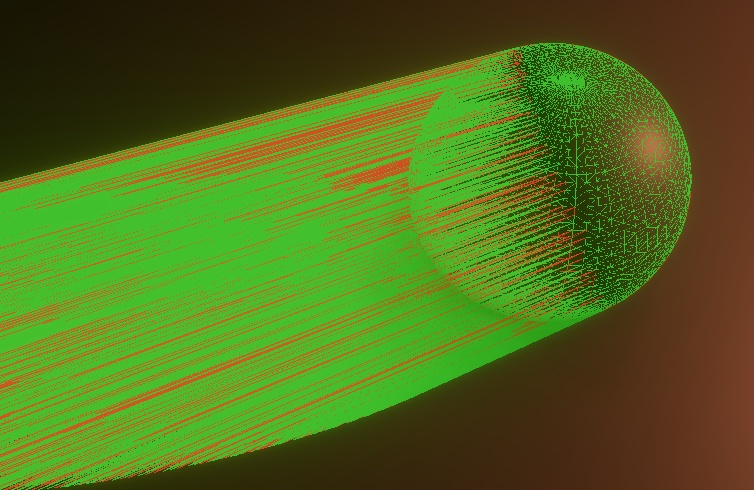
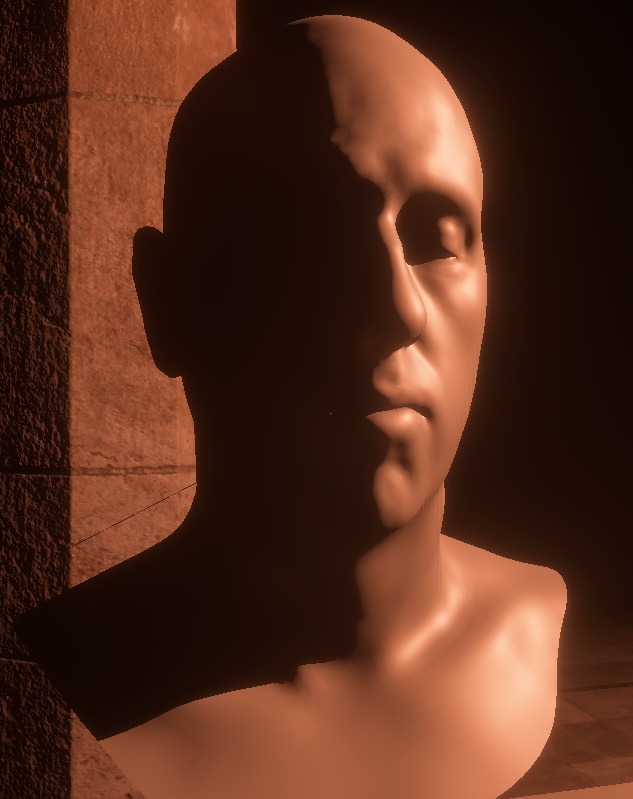
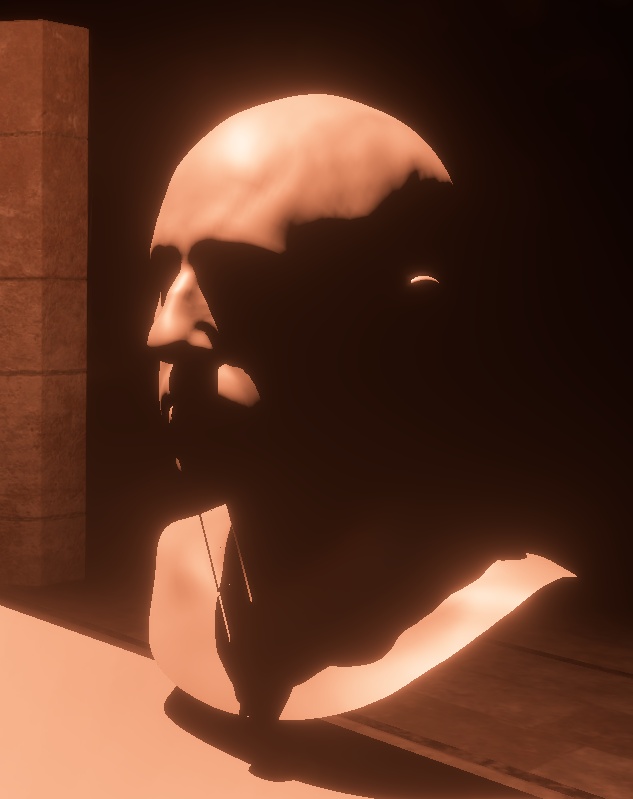
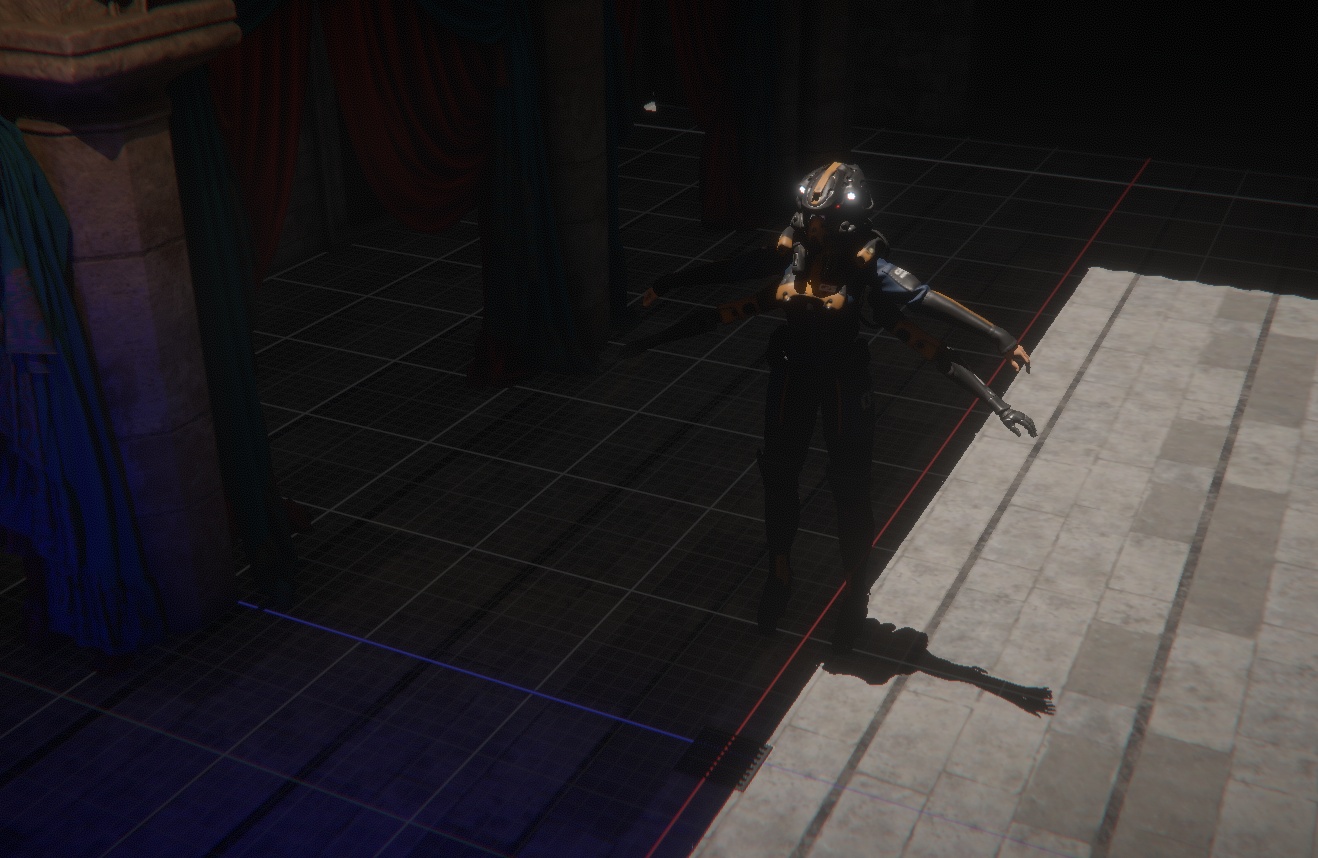
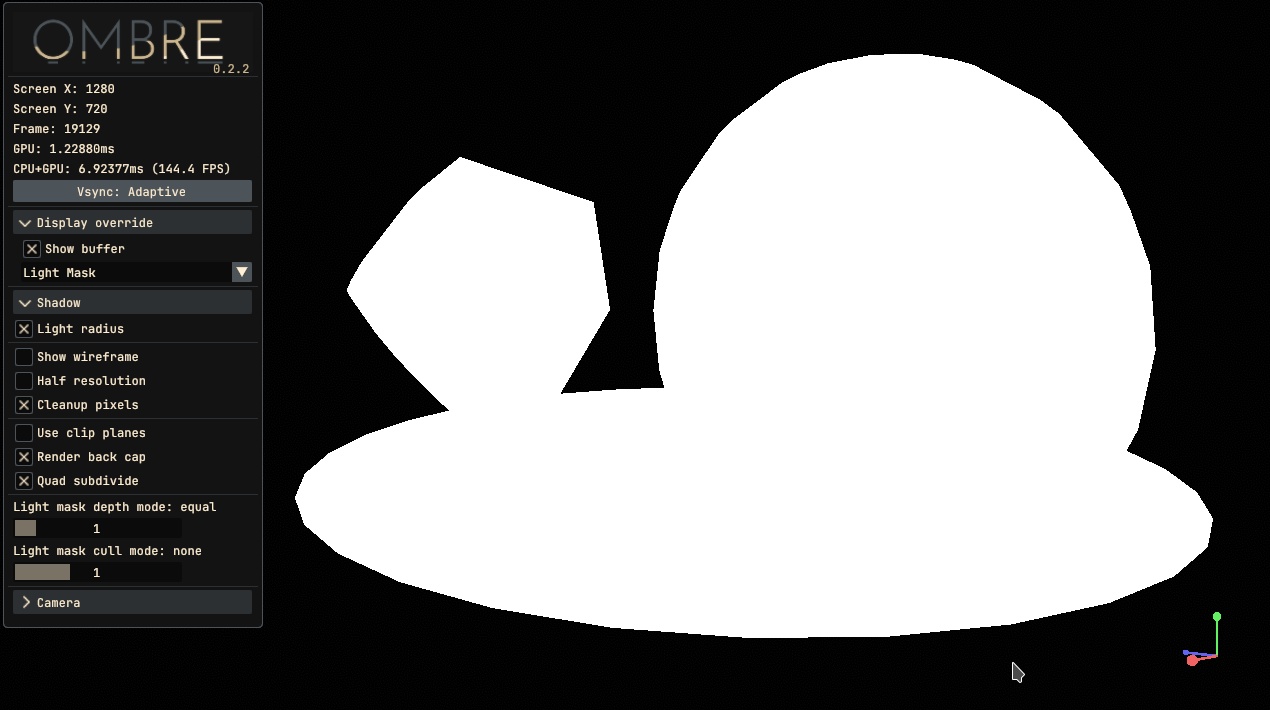
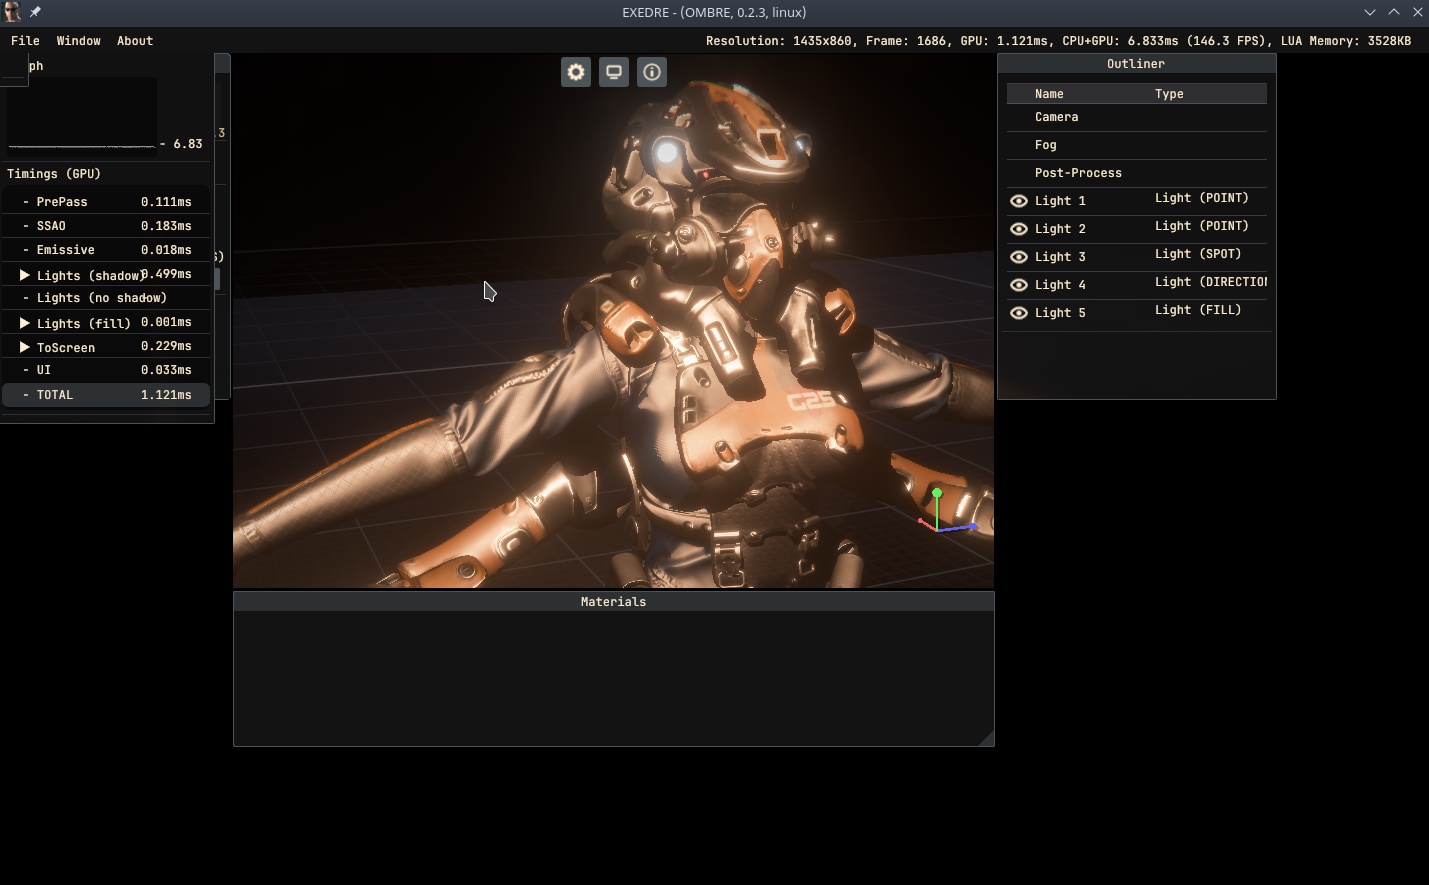
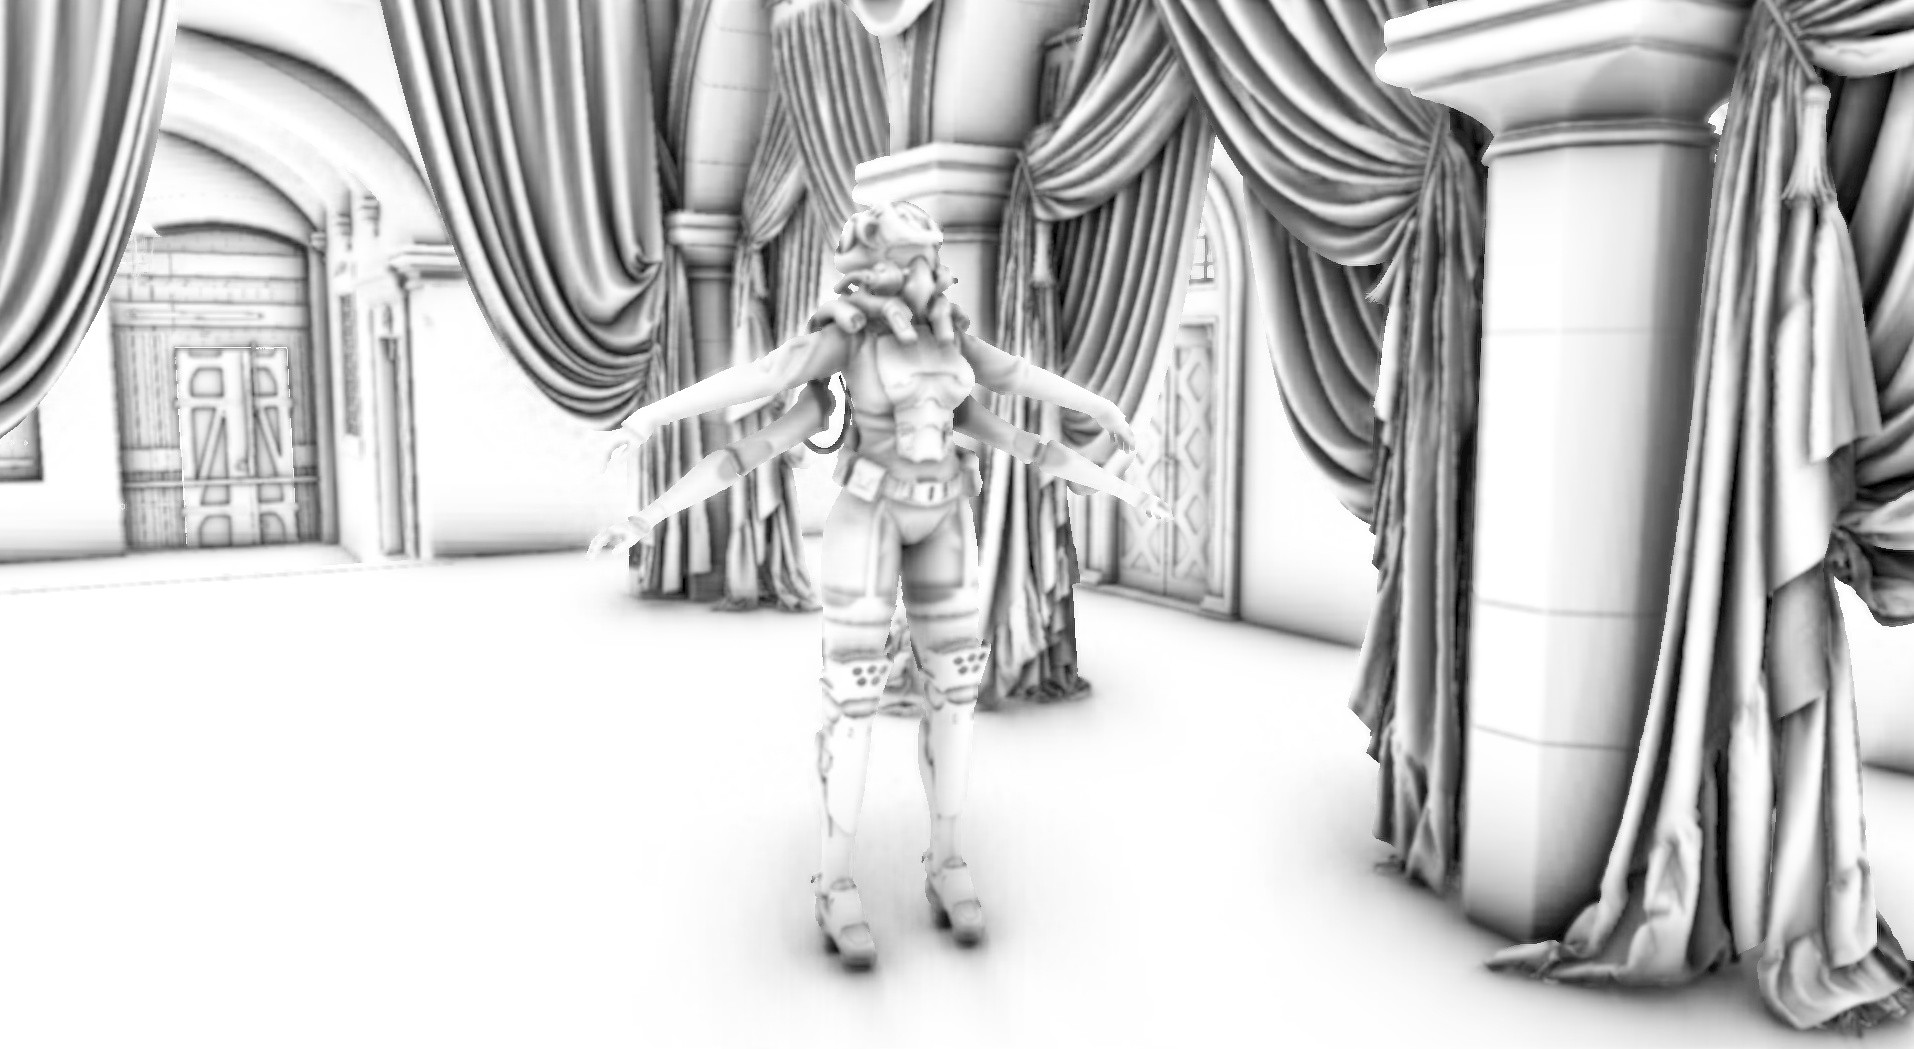
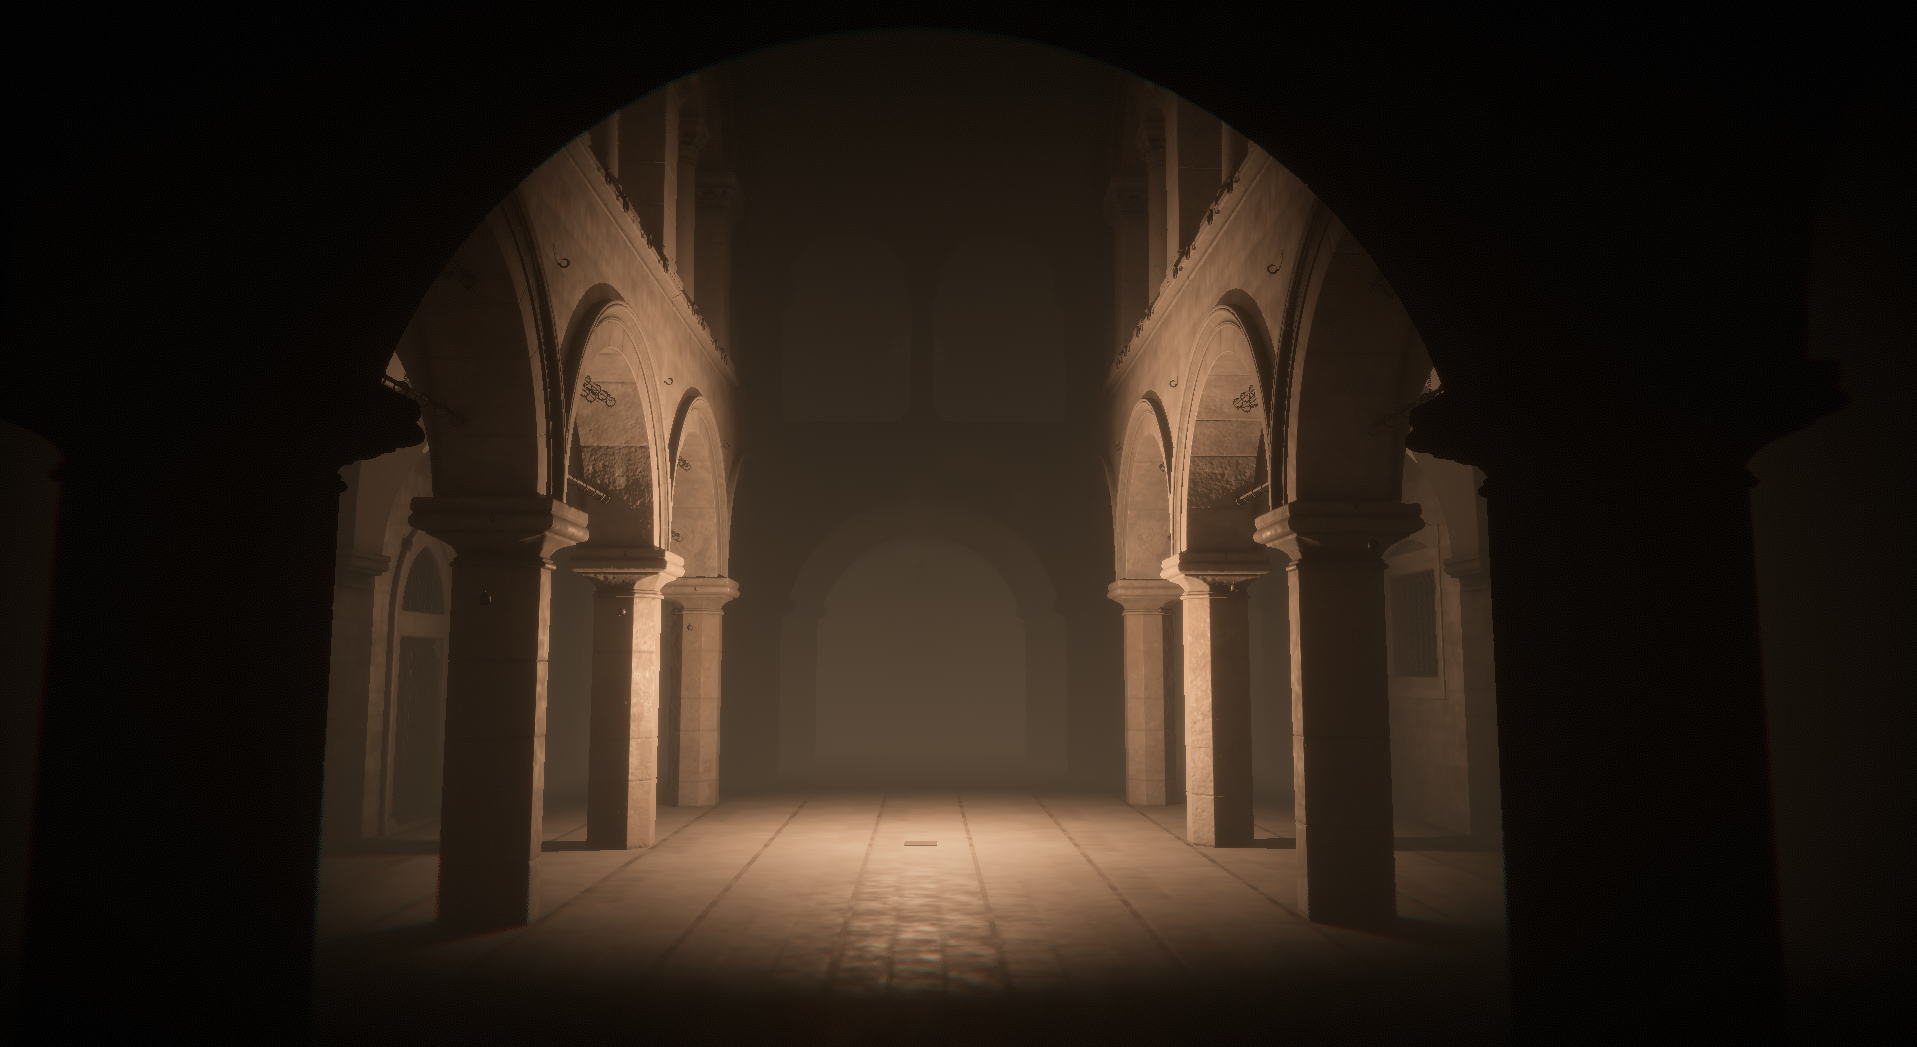
(Little showcase of my engine)
If you want to follow the day to day progress of my work, you can check out:
I think one of the first question that pops up when thinking about making an engine is if it worth it. It's not a small project and for a solo developer it easily means years of work.
I personally have a game project in mind with specific rendering features. So considering building an engine make sense to me. Unreal is a great engine, but it has many systems and quicks that are sometimes annoying to work with or around. I personally reached a point where fighting against an existing toolset felt more time consuming that starting one from scratch.
I would however advise against building one for the sake of it. These kind of big projects need a real driver behind, otherwise it's easy to go into feature creep mode and never "release" something, or simply lose motivation.
When I jumped on this project, I was a bit afraid of not knowing enough. I made several projects in the past and at some point I always hit a wall and felt like I couldn't continue. A project like that requires some knowledge and vocabulary, or at least familiarity with the related topics.
I have seen many people jumping into this kind of endeavor and struggling to move forward because they didn't know what they needed next (or worse: they didn't know what they wanted at all).
In my case, I spent years learning and reading about rendering techniques. I'm not saying I know how to use or even build them, very far from it, but at least I know about them. This means that every time I hit a wall, it was easy to figure out/think about a solution.
Another key element is that I wanted to keep things simple, lower the complexity as much as possible. That was really my motto.
Early on I decided against using a compiled language like C/C++/Rust. My C++ experience with Unreal was really painful. Not because the language itself is a nightmare (well...), but because the compilation process, dependencies and toolchain was really a hassle to manage. My focus needs to be on features, not to ensure I don't mix an int and a float together.
So I needed something much more lightweight and faster to iterate with. I had recently gathered experience with Löve. Its use of LuaJit plus the way the framework is made make it very accessible in my opinion.
Löve also proved to have pretty good performance. I never felt I hit a bottleneck on the CPU side and was able to reach good rendering performance. And while it's a framework with 2D rendering in mind, it can easily be extended to 3D.
Add to that FFI, which is a library that allows to load and interact with additional C based libraries and you have many doors open.
Honestly I don't think I would have gotten this far and so quickly. I initially thought my progress would be a lot slower.
The reasons things happened so quickly are:
There is still a long road ahead, but I'm now confident that the project can go on without too much struggles.
Alright, so what did I want to do/put in my onw engine exactly ?
The listing below roughly covers development events from November 2022 to November 2023.
At the end of October I decided to start the project, under the name "froGraphics" (because it's kinda how I name all my projects at first, aka froSomething).
Like I previously stated, I'm working with Löve which is a 2D framework using OpenGL and Lua. That framework exposes enough functionalities that it makes possible to build 3D games.
The developers and the community behind the framework are great, so I really recommend it.
(November 04)
I started with an obj mesh loader written in Lua (ported from a Python version I wrote a few years ago). The idea what to start with the concept of a "scene", with objects in it and a camera flying around. This would be a good start to setup the basics for 3D rendering.
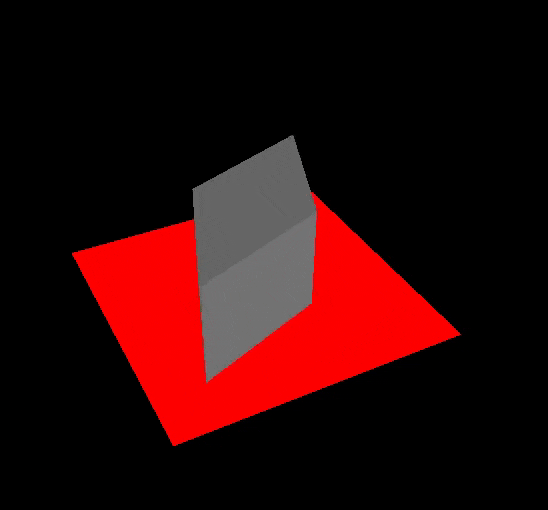
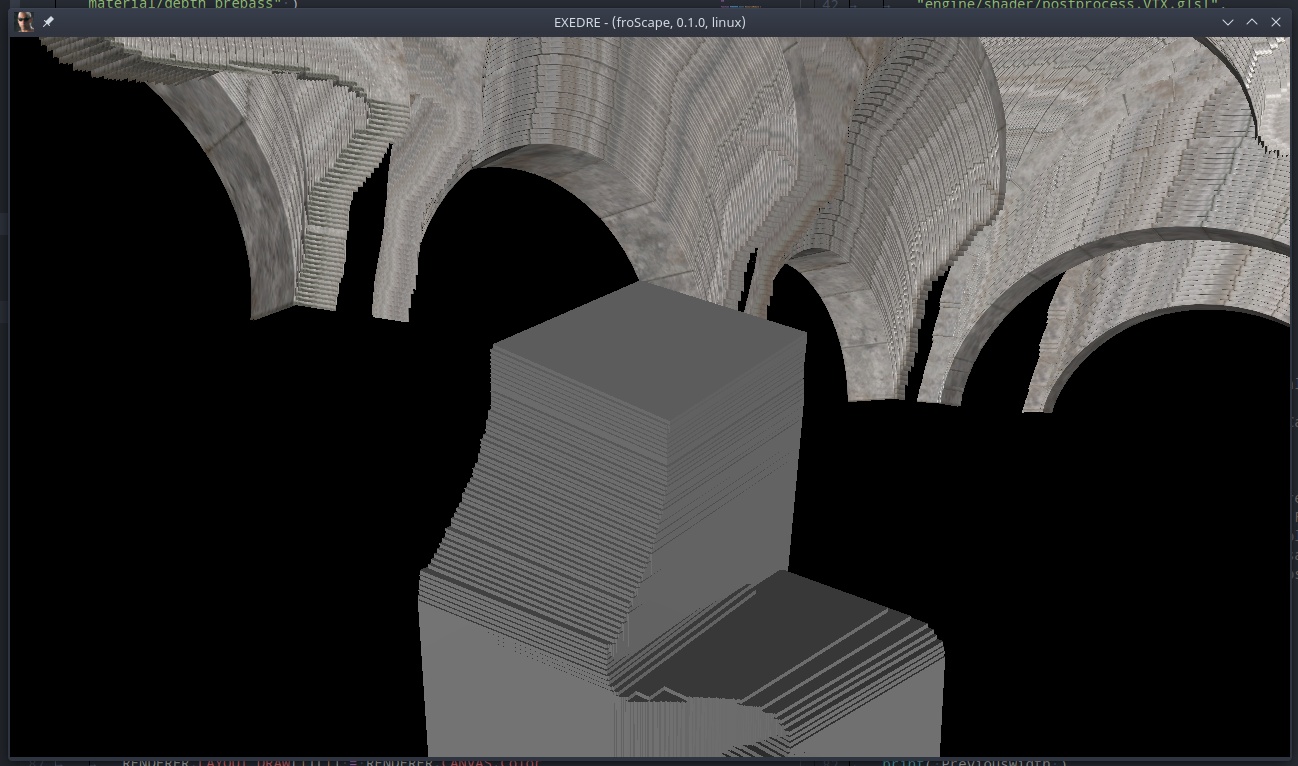
I created a simple plane in Blender, extruded a few faces to make it easier to distinguish the up and down and make sure my triangle order was right, but...
(Guess who forgot to specify a near clip planes not at 0 ?)
(A bit better once I sorted that out.)
I'm using an unlit shader and writing a unique vertex color per triangle when loading the obj to help debug things out.
I then moved on to bigger meshes:
Then even bigger meshes: it was time to load Crytek's Sponza.
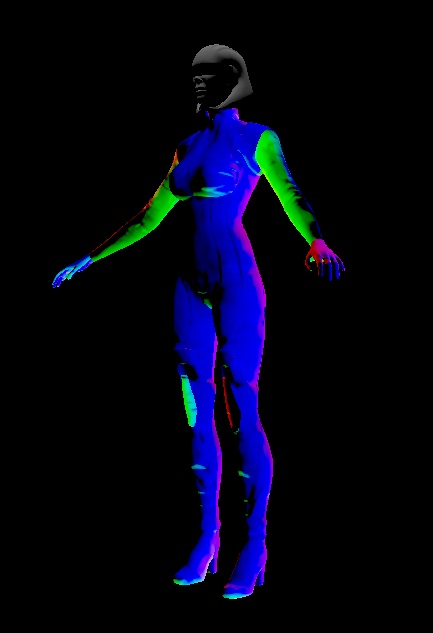
I'm using the camera vector as a dot product with the mesh normals to generate simple shading.
(November 15)
Mesh loading wasn't done, to be able to use material definition notably to load normals maps I needed some updates:
(My TBNs were a bit wonky at first...)
I struggled for a few days with normal maps, to the point I started to compare their behavior between my engine and Substance Painter:
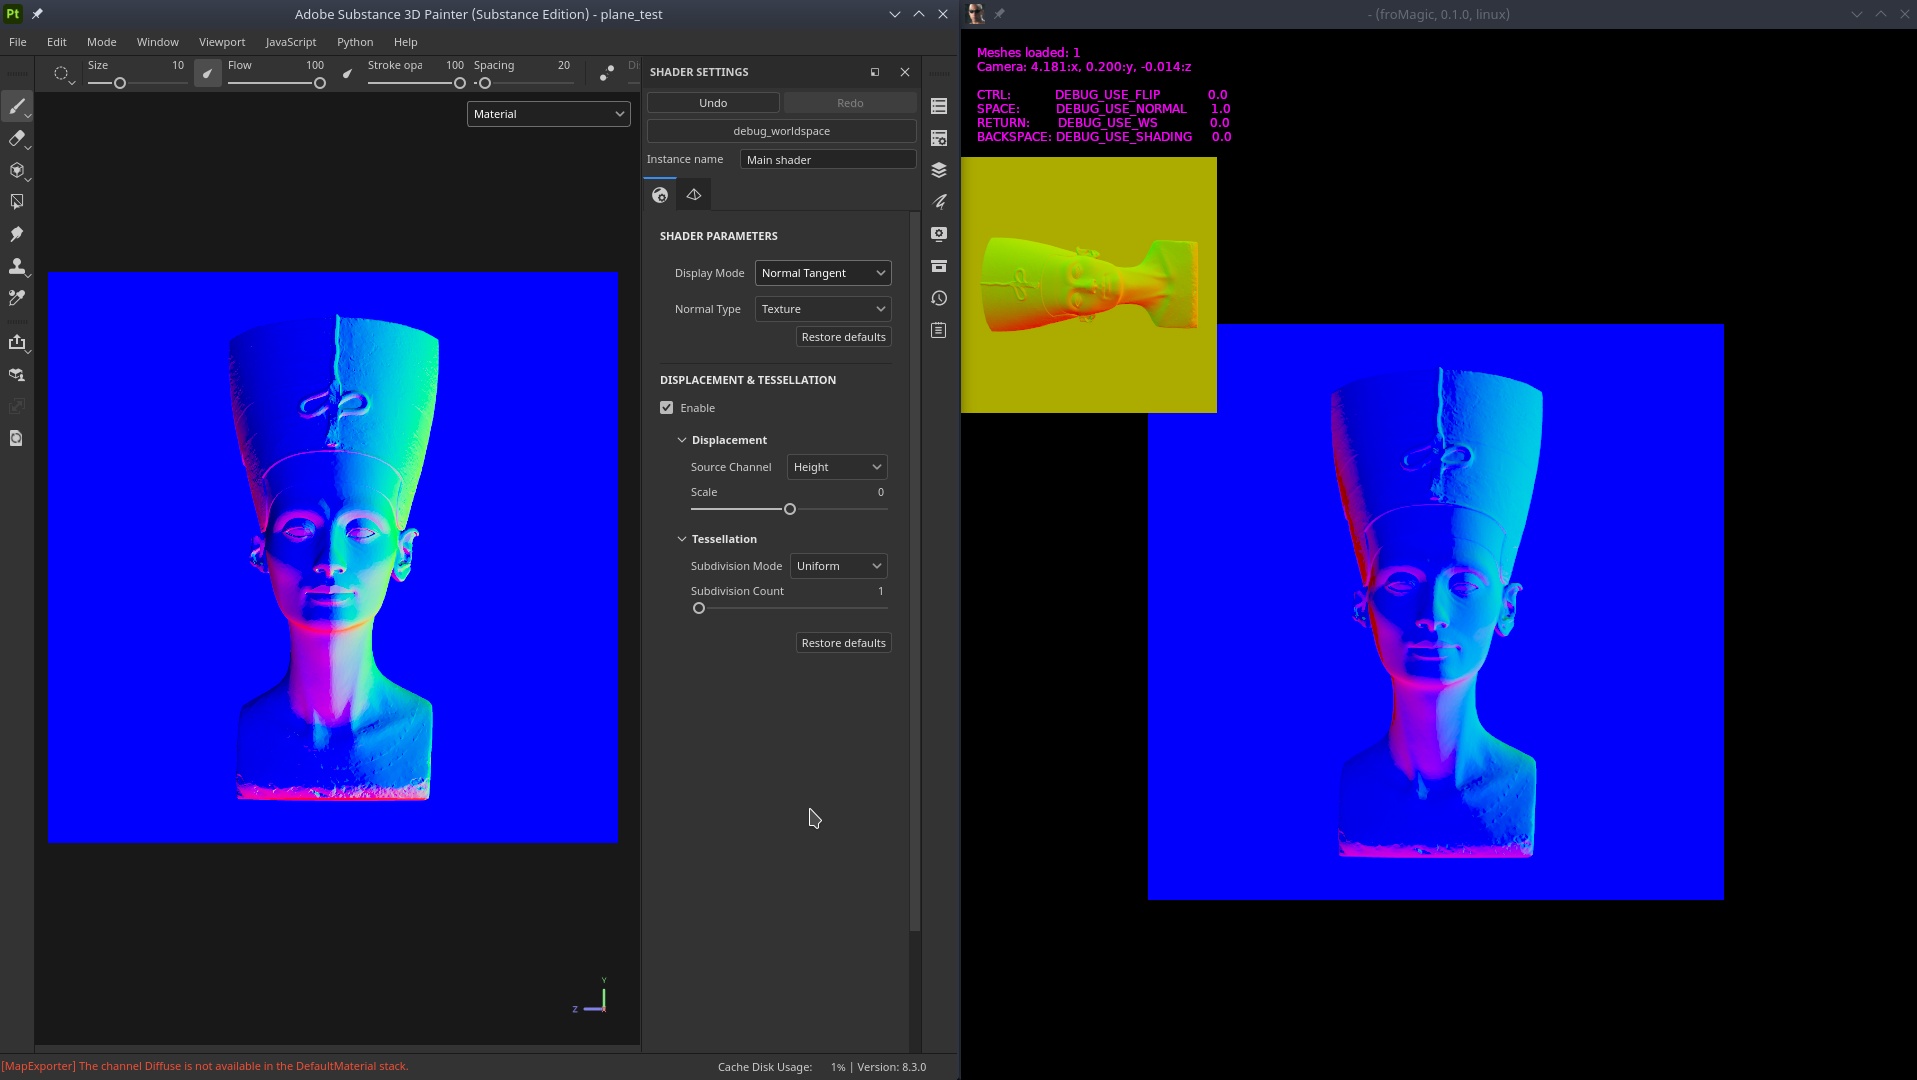
Something odd was going on. It turns out that my DDS converter at the time (Nvidia texture tools) was screwing things up with the BC5 format. I went on using AMD compressonator, but it didn't support mipmaps on non-square textures at the time. So I switched to Cuttlefish instead.
Once all of this was sorted out, mesh loading with normal map started to look good:
(November 22)
The basics of the material system are there, based on json configuration files:
I also moved on from loading obj files to writing my mesh directly in LUA, via a custom Python exporter in Blender. This allowed me to define more information (notably TBNs) without having to rely on a third party format or writing my own.
Doing so fixed some issues I was having, notably mirrored geometry was finally behaving properly:
(November 24)
Shy beginnings of PBR support in the "engine". I simply copied the PBR material code from the LearnOpenGL website to "improve" the shading, hardcoding a single point light in the shader:
(November 26)
I decided to switch from the "old" Sponza mesh by Crytek to the Intel version, but given how my engine manage meshes and materials, I had to do some cleanup and export into my own format. So I fired up Blender to do that:
I also improved a bit my mesh exporter, which is basically running Blender in headless mode and sending import and export commands in Python. I put in place a "progress" report because some the new Sponza were very big and taking a while to process:
Then once I had the meshes, I started to add the textures:

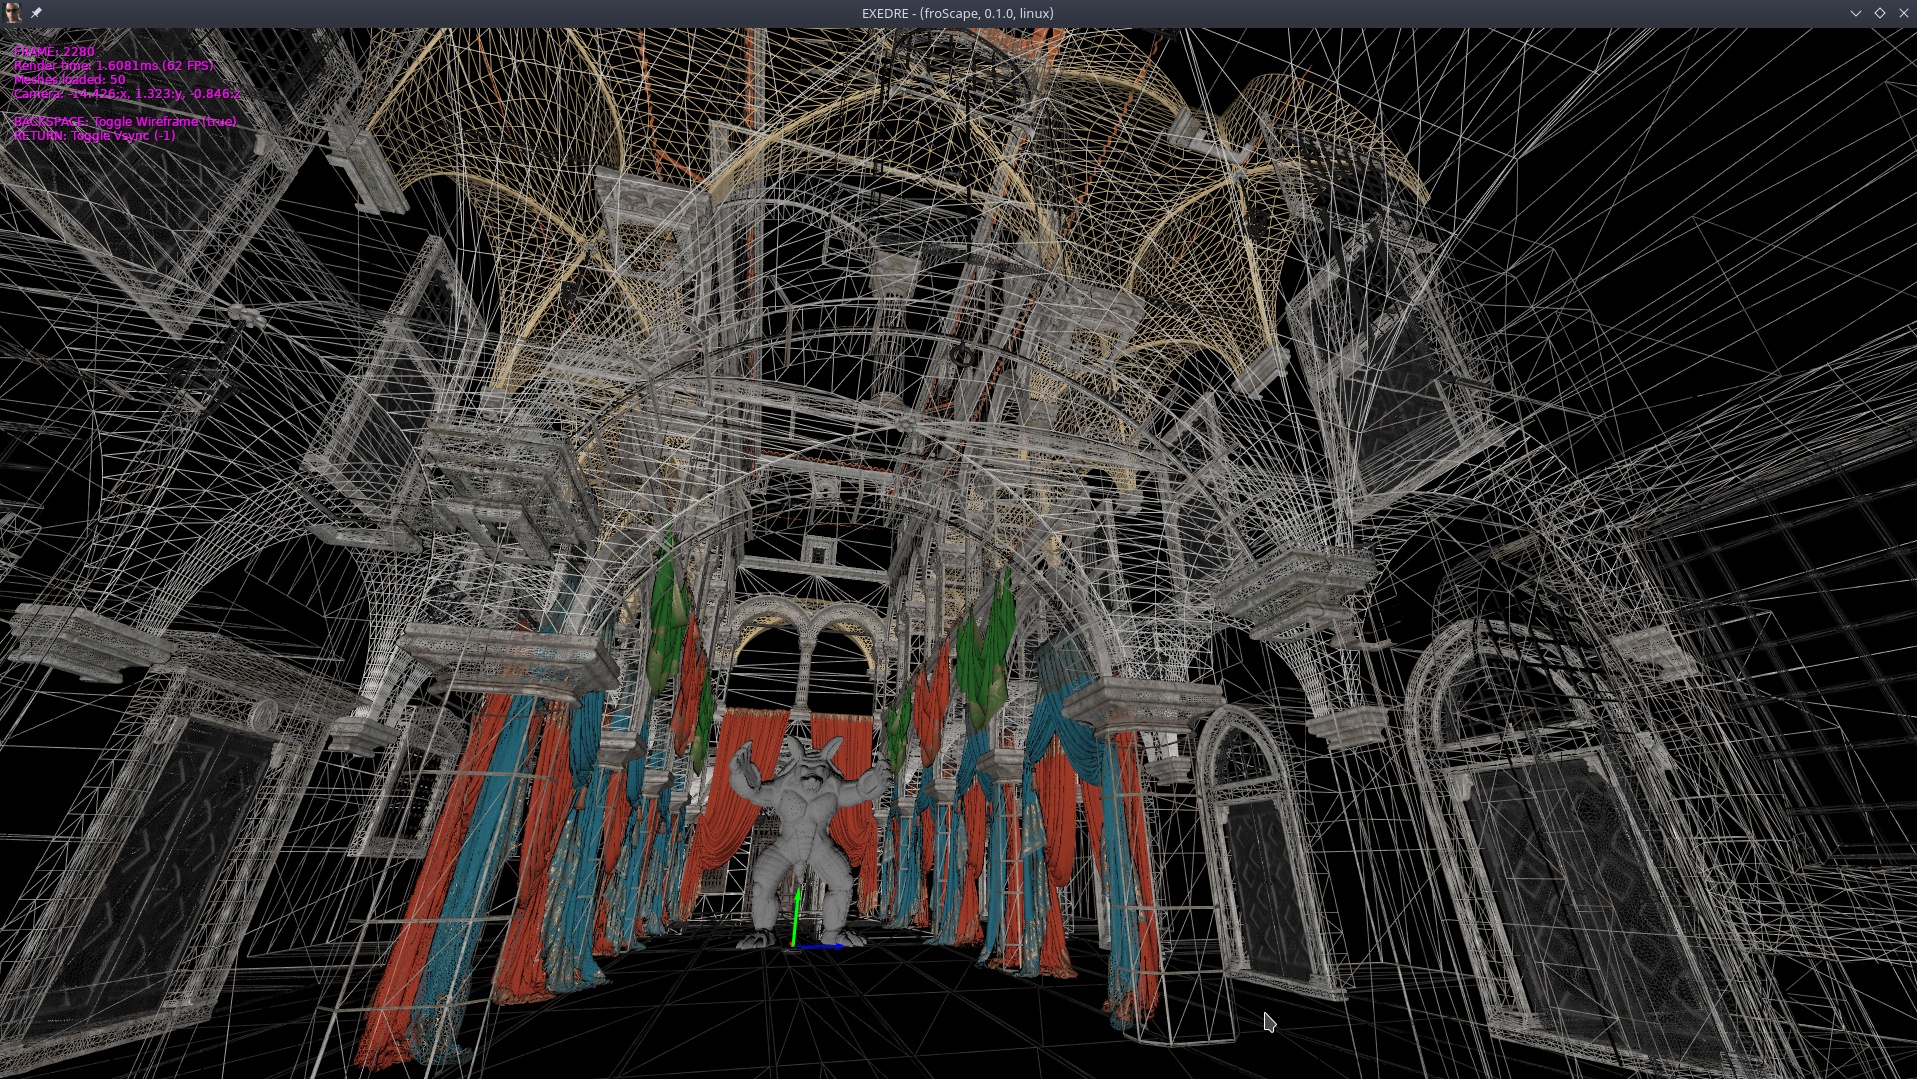
I tried out wireframe rendering too. here is the full Sponza (and Armadillo):
(December 01)
Until now I was working with the CPML library to manage various types in the engine, notably 3D vectors and matrices, because Löve doesn't have them (since it focuses on 2D). However CPML assumes that Z is up and for convenience I preferred to stick to OpenGL conventions. The library was also doing a lot of implicit copies of object internally, which in Lua means tables and that was worrying me for performance reasons (garbage collector).
So I decided to write my own library instead... which obviously led to many issues at first.
A few matrix library updates later, things were improving:
(Pole dancing is now supported.)
I also checked that I could draw the mesh BBox even after transformation:
This rework was also the right opportunity to work on debug rendering with lines, spheres, etc. To do so I simply render basic meshes with flat shading. Lines are just two planes crossed without any backface culling for example.
(December 14)
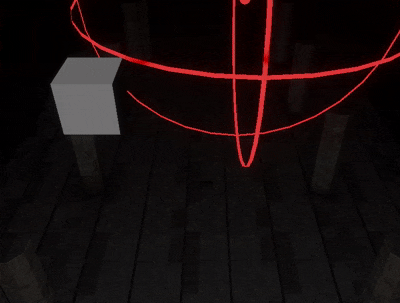
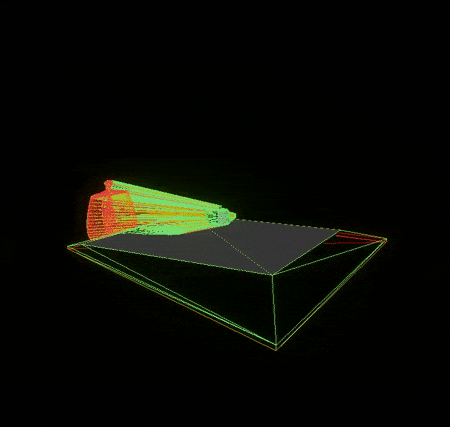
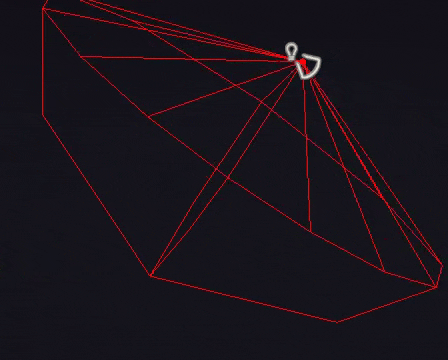
Since I had the right bounding information for my meshes, I moved on to defining properly frustum planes on my camera, with the idea of implementing frustum based culling:
Here Armadillo is hidden because it is not visible by the old camera position. The frustum planes were frozen before moving again the camera, it was a way for me to check the visibility state in 3D space:
(The sphere on the right is supposed to be Armadillo, but it is hidden because outside the camera frustum.)
(December 21)
With frustum culling in place, it was time to move into building a depth pre-pass. But of course it couldn't happen without hitting a classic bug: forgetting to clear the depth buffer !
(Microsoft Freecell would be proud)
(December 26)
Behind the scenes I was still setting up my "render pipeline", which also meant post-processing. So I hooked up some code I had from another 2D project to add a Bloom effect (based on my old article).
(January 1)
I took some time to investigate which method I could use to render Screen Space Ambient Occlusion (SSAO). Initially Intel GTAO implementation looked really nice, but its complexity and dependency on compute shader made me move away from it.
I decided that first I should do something more crude. LearnOpenGL version was tempting, but like many of their article they seemed to overlook some details. I instead stumbled upon an implementation of HBAO in OpenGl that was looking more approachable.
(My HBAO wasn't successful on the first try alas...)
(January 4)
Still struggling with the HBAO.
(I least I have blue noise hooked in and it looks nice.)
(January 6)
Got it !
Turns out I wasn't feeding properly the projection matrix and its inverse to the algorithm.
With blue noise and using a large radius, the SSAO looks really nice.
(January 8)
Until now, I was reconstructing the normals from the depth buffer, which led to some faceting issues. So I decided to use Multiple Render Targets (MRT) during the pre-pass to also output the mesh normals (but without normal maps contribution) into an additional buffer and feed that to the SSAO/HBAO pass.
I also added a bilateral blur to get rid of the noise introduced during the random sampling. However the noise was still way too noticeable to my taste. So I decided to try out different kind of noises and compare them:
From left to right: white noise, blue noise, interleaved gradient noise (IGN).
While the IGN looks good to the eye, it actually doesn't distribute well samples. The shadow on the floor under the curtain isn't fully round for example. IGN however seems to have the advantage of sampling more coherently, so the rendering time with it is better than with the white noise.
Performance is starting to be a concern because the rendering time can go up to 3ms at 1080p with blue/white noise.
(January 16-17)
I'm facing a strange memory leak issue while hooking up Dear ImGui. Not sure what is happening yet, but it seems related to how much memory I actually load in first place. Getting hitches when the garbage collector of LUA runs.
After some investigation, it appeared it was an expected behavior with Lua by default. The garbage collector runs every time the memory double. But if your initial memory is quite big, the next trigger can happens quite lately and produce a very long stall.
I solved that issue my running the garbage collector manually more regularly. Based on the implementation from Batteries.
(January 19)
Dear ImGui is now operational and I already added some debug elements to work more easily, like looking at some of the buffers I have running.
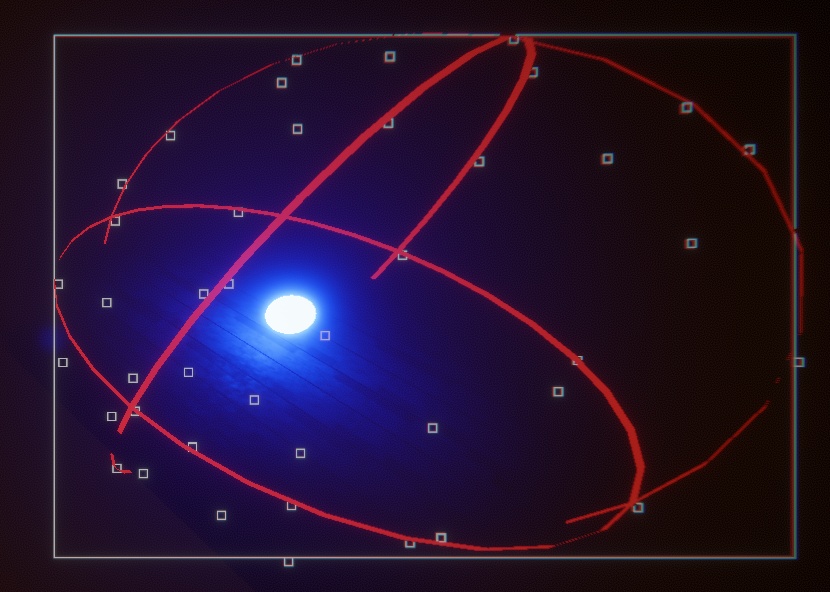
I couldn't resist adding new effects, so I added a lens-flare post-process pass:
(Very basic effect by just doing some ghosts.)
I then refined the effect a bit:
The ways it is built is simple: I re-use three of the downsamples from the bloom and feed them to the lens-flare pass. This allows to blend different levels of blur the ghosts.
(January 21)
Following a suggestion from a colleague I switched the SSAO noise to a bayer matrix pattern. This improved quite a lot the look after the bilateral blur pass.
However that matrix introduced a noticeable pattern when tweaking some settings on an Nvidia GPU:
(January 22)
I went back to the lens-flares to tweak them further. This time I adjusted the UVs of the ghosts to curve them a bit and also added an additional circular blur pass on top to further improve the blurring effect.
(January 29)
I finally fixed the "random" pattern artifact I was having (only on Nvidia GPUs) for my HBAO. It turns out that when dividing by almost zero, you don't get the same result depending on the GPU.
Nvidia (left) vs AMD (right)
I was surprised by how much stable that artifact was. I could strafe the camera and the white pixels would remain static in world space, etc. I would have expected this to be a numeral precision issue and therefore much more random.
(February 4)
I finally started working on my lighting system. I got the basics for point-lights data and I now gather the list of meshes that are affected by it. That will be handy to avoid rendering too much stuff.
Here is an example with meshes showing up because they are touched by the nearby light:
(The pillars and floor have a big bounding sphere, so they overlap the light all the time.)
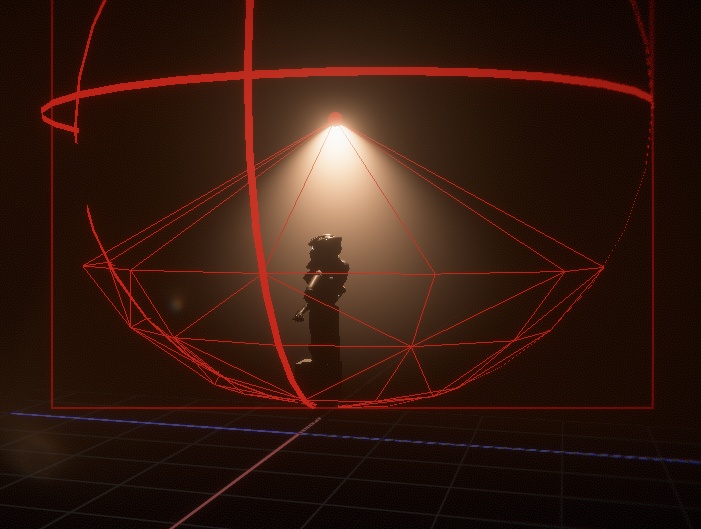
Now it is time to learn more about shadow volumes. I gathered a lot of reading material on the subject:
(I was surprised to find research papers as recent as 2019 !)
(February 6)
I decided to go with degenerate quads (a quad inserted on every edge of the geometry) for now. The framework I'm using doesn't support Geometry shaders and Compute shaders are still out of reach for now. So pre-processing the meshes before using them in the engine was easier to implement.
(February 11)
Time to work on stencil masking to properly enable the shadow rendering:
Oops.
Okay I fixed that, but it looks like my backface/frontface are mixed up. So I will likely need to review again my Blender exporter.
(February 14)
Once I sorted out that generation process, I got the shadows working properly:
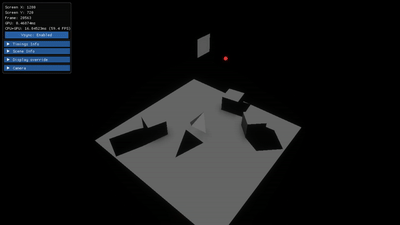
It's also interesting to look at the wireframe:
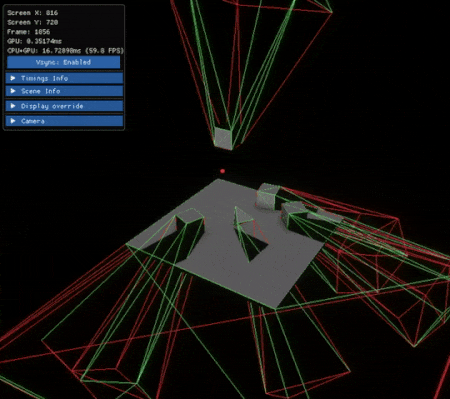
(Green = frontface, Red = backface)
There is basically no shading (only a flat gray color), so the shadows may look a bit weird. On the cube sides for example they jump from visible to not visible very quickly.
(February 15)
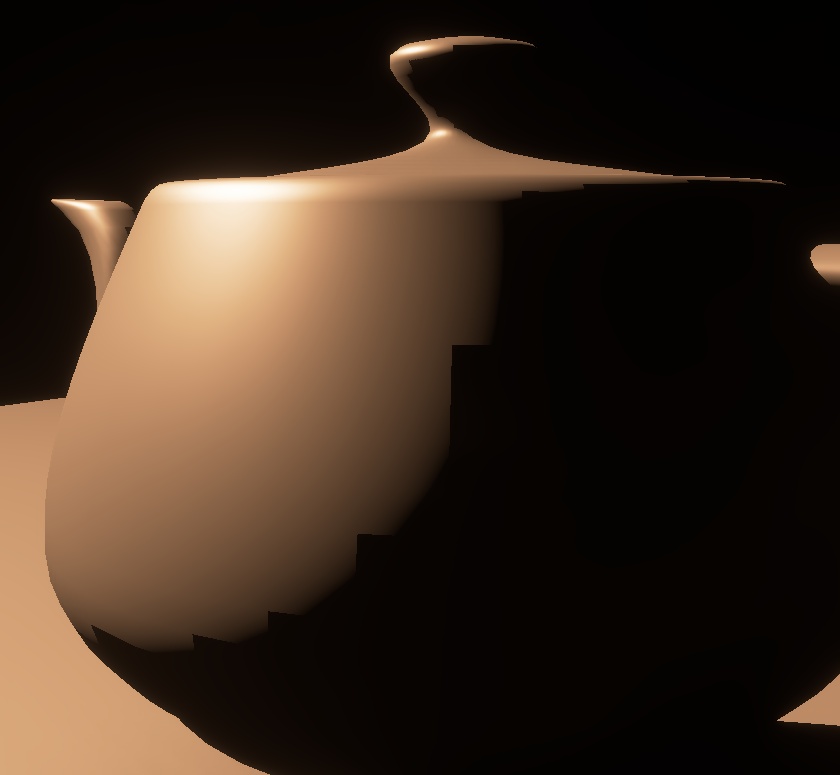
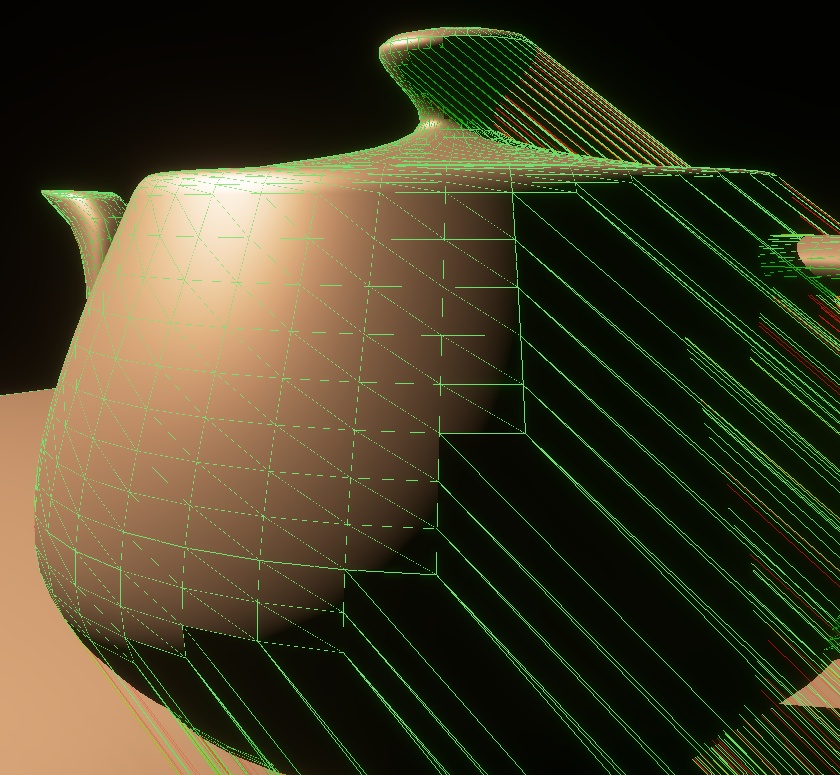
Well, it looks like I cried victory too early, some meshes produce weird artifacts. Like the classic teapot:
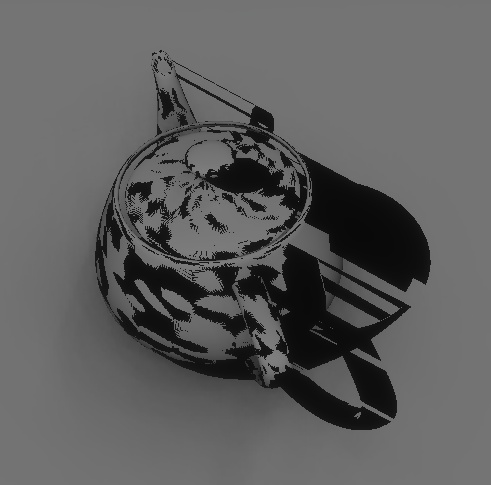
The spots on the teapot seem related to z-buffer precision issues. So I hacked a solution by pushing a bit inward the shadow mesh faces.
(I also really like the debug view mode of the shadow volume.)
(February 20)
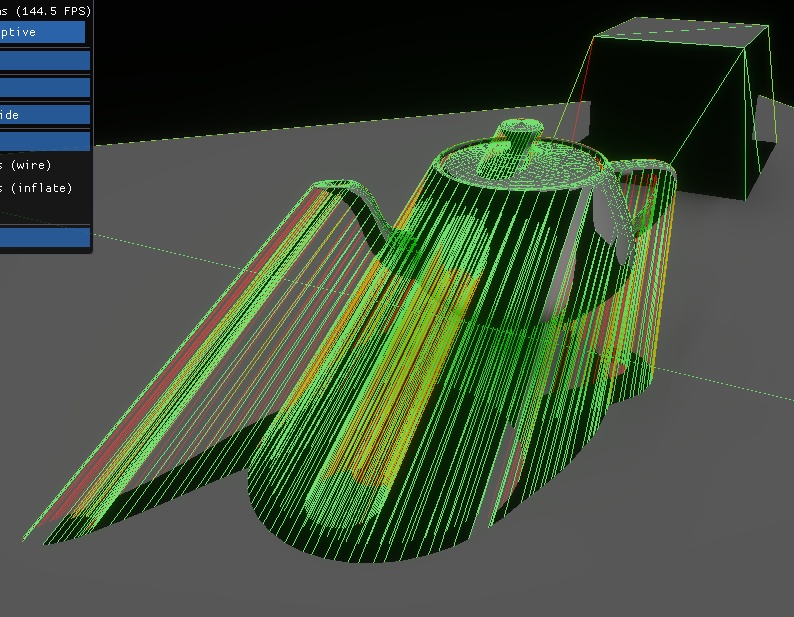
I'm still investigating the teapot issue. One potential cause of the bug is that some edges don't have degenerate quads, creating gaps:
And just for fun:
(The point light in the scene goes through the teapot)
(February 25)
Turns out that with shadow volumes, you have to handle open meshes carefully. One solution is to just close them and never think about it again. In my case I decided to hack something by always inserting a degenerate quad for border edges. That fixed the issues on the teapot.
I moved on and decided to rework my lighting system to properly implement Physically Based rendering (PBR). I ditched the wonky code from LearnOpenGL and instead based my new implementation on Filament:
However there is still a noticeable issue with the shadow volume:
(Shadow acne ? 😱)
While I'm still scratching my head on how to fix that smooth shading vs shadow volume masking, I at least got the point light attenuation working:
(February 28)
I decided to solve the smooth shading issue with a stupid "trick".
One solution often recommended it to offset the mesh surface along its vertex normal. But that created many issues with my degenerated quads on the shadow mesh. So instead, I went with a global offset but along the light origin and the camera position. It's not as good, but seems to be good enough ?
On the bunny which has many wonky triangles, I don't have any artifacts anymore, and on a sphere it is perfectly smooth !
Next steps will require thinking about z-pass vs z-fail.
Recent rendering methods for stencil shadows avoid z-fail altogether and use another way to detect if the camera is inside a shadow volume.
The most recent one is about doing ray intersection with the mesh triangle to check if it is between the light and the camera. This is done via a geometry shader to increment an atomic counter when it happens. Then use the value with the stencil to adjust the shadowing behavior.
(March 4)
In the end I finally had to switch to a compute shader (as I can't use atomic counters in vertex/fragment with the framework I use).
So here is a (borked) version of my compute shader doing ray intersection with my shadow meshes to see if they intersect between the light and the camera. If that is the case it flips the shadow mask. Allowing to detect if the camera is inside a volume.
(Not yet reliable, as my intersection test was done in a hurry.)
Once it will be working, it will mean I don't have to use the z-fail method and can rely on a much more performant and regular z-pass stencil masking.
What is great as well is that now I have a setup with a compute shader, so I should be able to expand its usage to more stuff.
Right now I pre-generate degenerate quads for the meshes, but maybe I could generate the silhouette mesh from the compute shader and do the intersection tests as well as the same time... and maybe even raster with it ?
Also I do one compute pass per mesh drawn, but I could group all the meshes in a single big SSBO and iterate over all the triangles in a single pass instead.
(March 8)
Here is the z-pass only stencil shadowing working, with an additional triangle intersection test (done on CPU for now). Shadowed to non-shadowed transition is now fully smooth.
I'm facing a new bug however.
When the camera is perfectly parallel/sitting on the face of a shadow volume it leads to masking issue. As soon as I move a bit away, everything is good. I wonder how to fix that.
(March 11)
I ported the CPU intersection code into the compute shader to run it on the GPU. However non-closed meshes are still creating problem, for example on Sponza:
There are a few papers that tackles this subject, so I'm not worried.
The biggest thing that worries me right now is the z-fight when the camera overlap a shadow volume triangle. I stumbled on it again today in Sponza. I wonder if I could avoid it with some magic jitter placed in the right place.
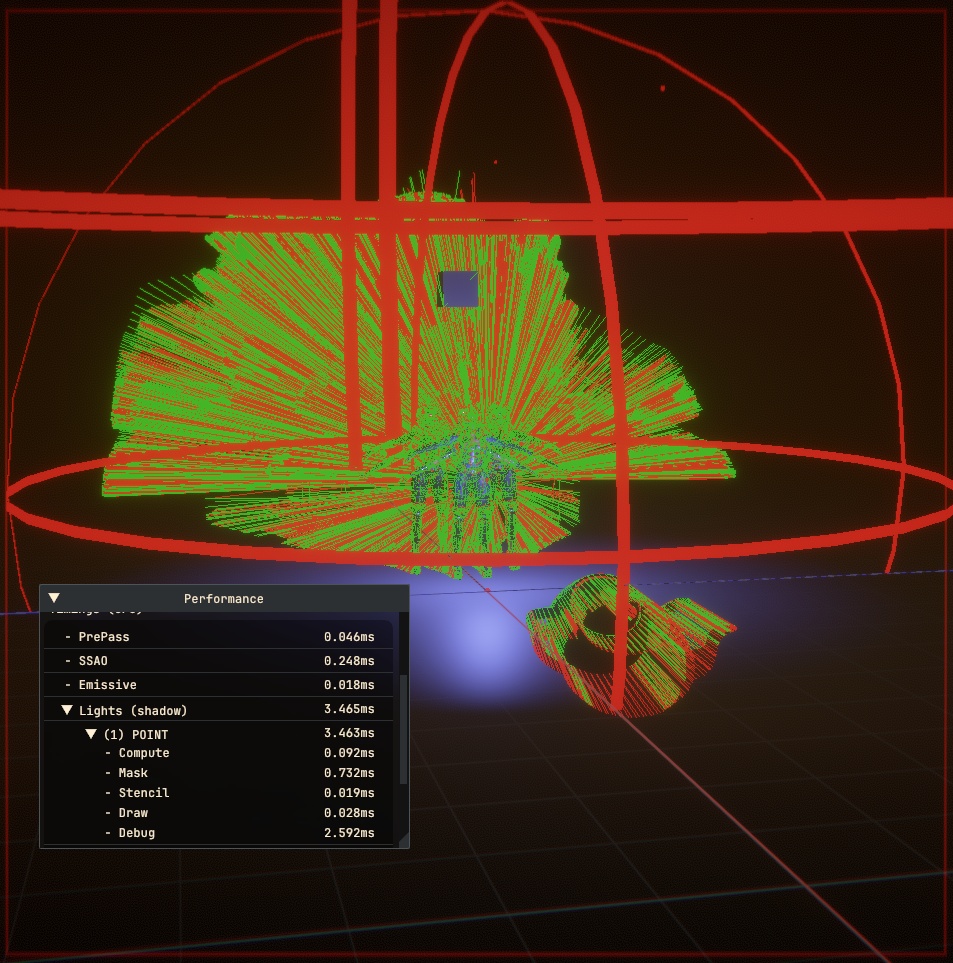
Meanwhile, here a little performance breakdown on my system. It takes 0.5ms to render a point light on my RX 5600 XT:
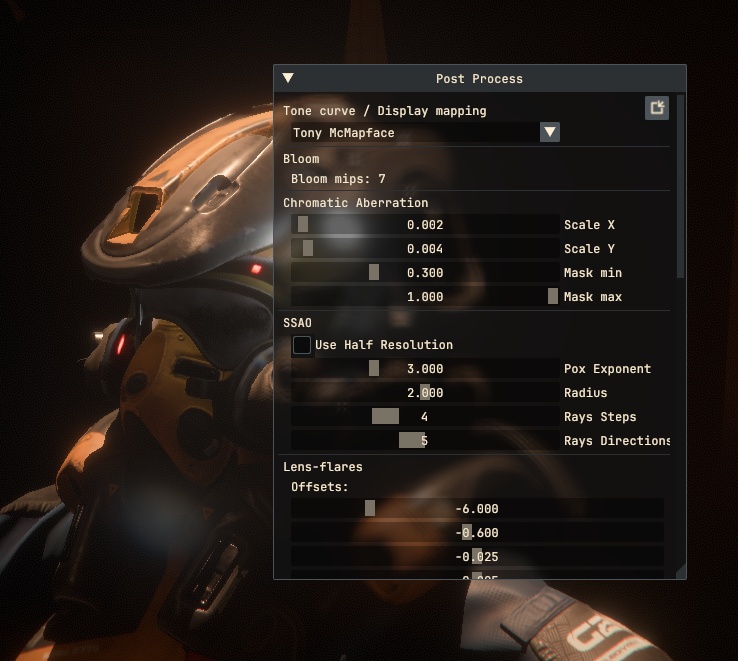
(March 12)
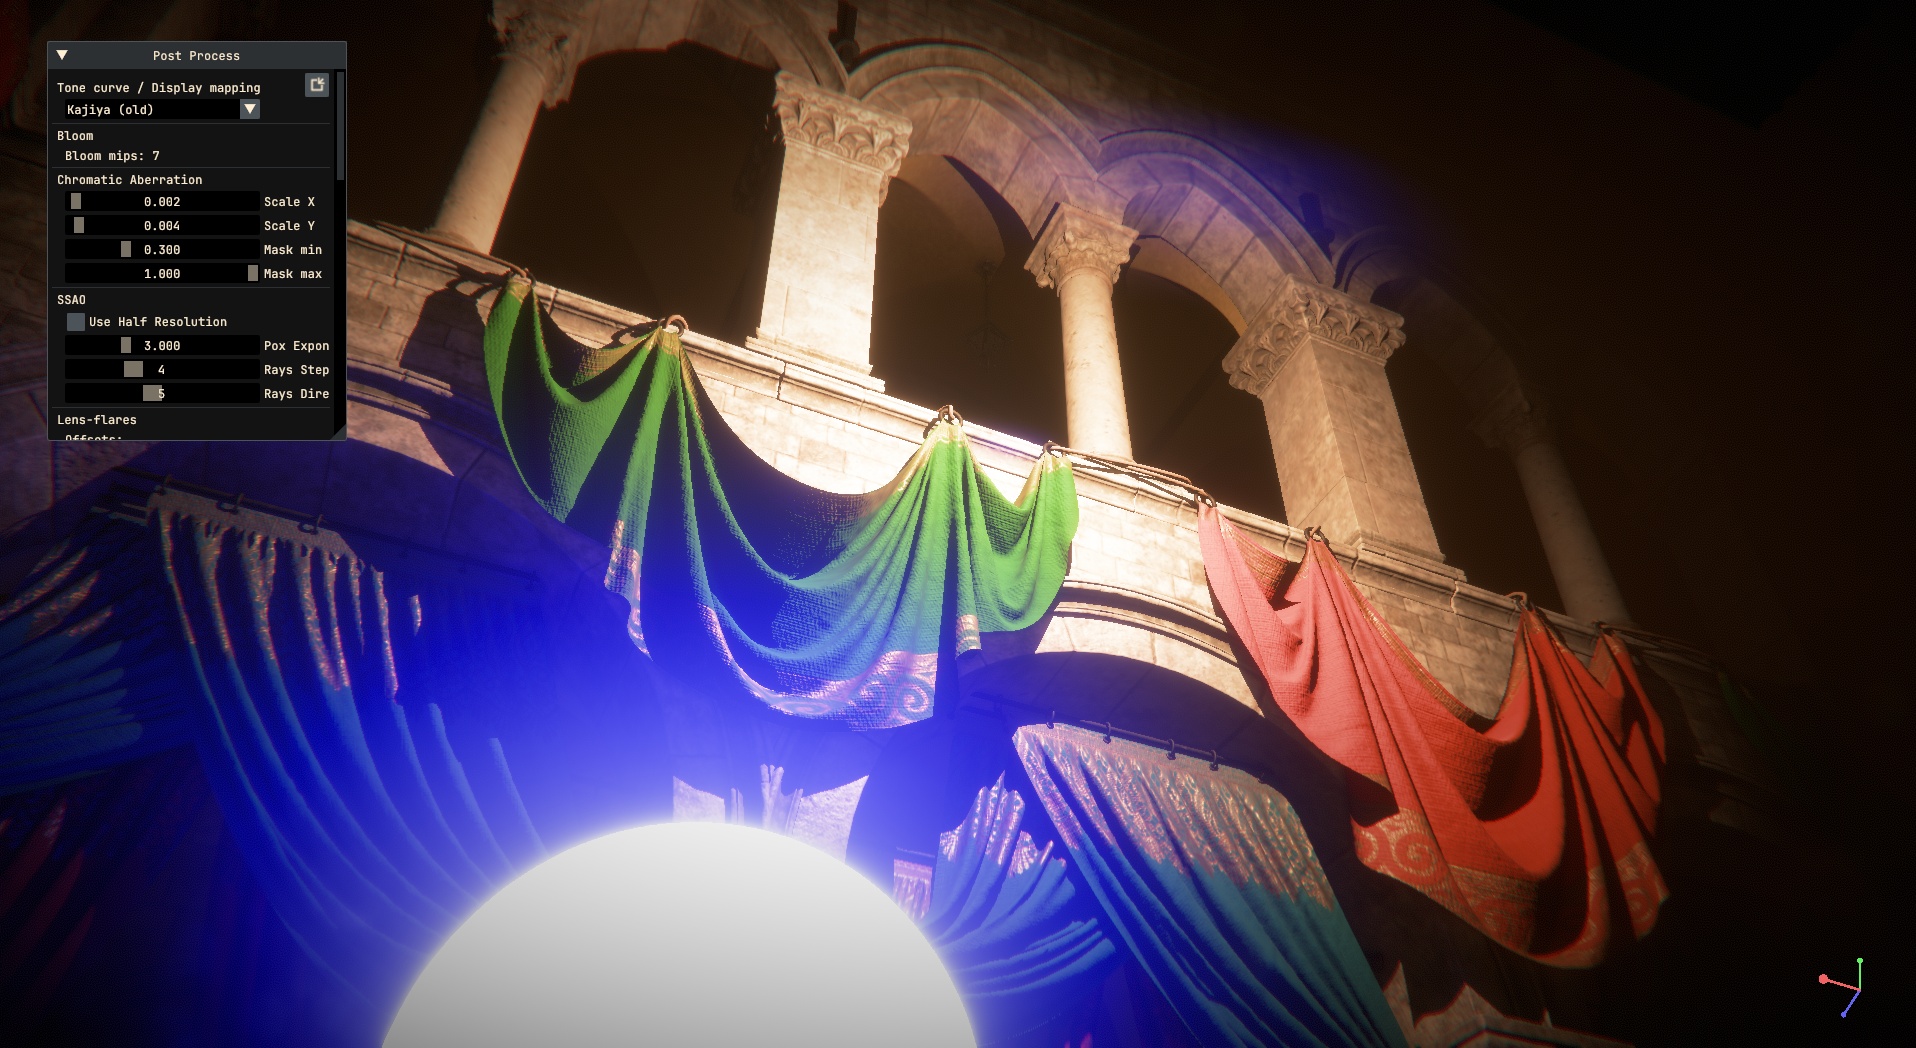
I took some time today to try out Tony McMapface tone curve in my engine.
Until now I was using a custom one but it wasn't perfect, it was introducing some color skew. Tony on the other hand works really well. Notice how my pure blue light turns to purple, while with Tony it doesn't:
(Custom curve vs Tony curve)
(March 26)
It's taking a bit of time, but I'm rewriting my compute shader to pre-process on the fly my scene meshes and build shadow volumes for each lights instead of relying on degenerate quads.
The way it works, is that for each light, I list the affected meshes and do a compute shader dispatch per object. Then the result is added to a common buffer. Then the shadow volume is drawn in a single drawcall.
With this method, I only generate the quads I need and it's almost fully a runtime process. I still have to generate some information from Blender, notably the neighbor vertices. So I rewrote my meshes map layout as follow:
So for one triangle, I have 6 indices. Then the compute shader does the rest.
(It didn't work on the first try of course... here for example I'm generating too much geometry.)
(March 30)
Most of the compute shader process is working and performance looks promising. However I have some random edges that aren't getting projected, leading to incorrect shadow flipping:
(April 2)
I fixed the edge bug. I just needed the right epsilon in the right place to make it work properly.
Now that it is working, I can notice that the reduction in the amount of triangles drawn shows an impact in my rendering timings. Nice !
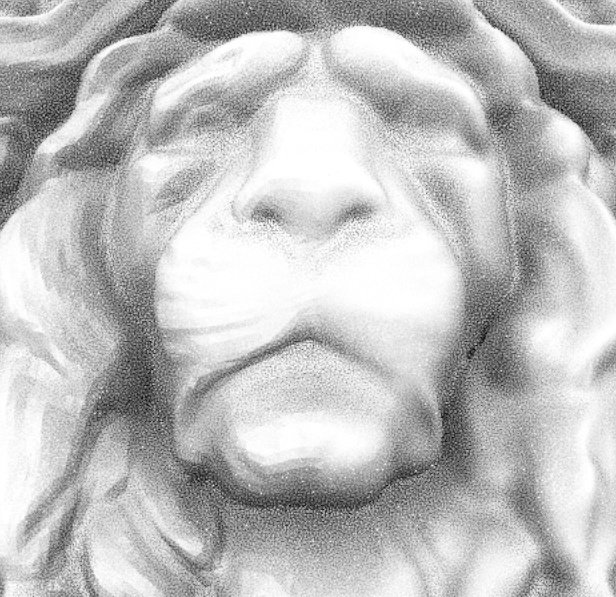
Also now that I can throw in any kind of meshes, I'm also enjoying trying out new shapes, like this face:
(Some edges are still going wonky, but they are related to artifacts in the base geometry... I think.)
(April 13)
After a long refactoring, I got spot lights working. I had to redo my rendering pipeline and shader system to be able to introduce the notion of different light types:
(April 15)
Adding a directional light wasn't that much harder to do, but I'm facing weird bugs.
That flickering is coming from the ray intersection, but not sure yet if it's the code itself the issue or something related to precision issues. Given all of this happens inside the compute shader, it's not easy to debug what is happening.
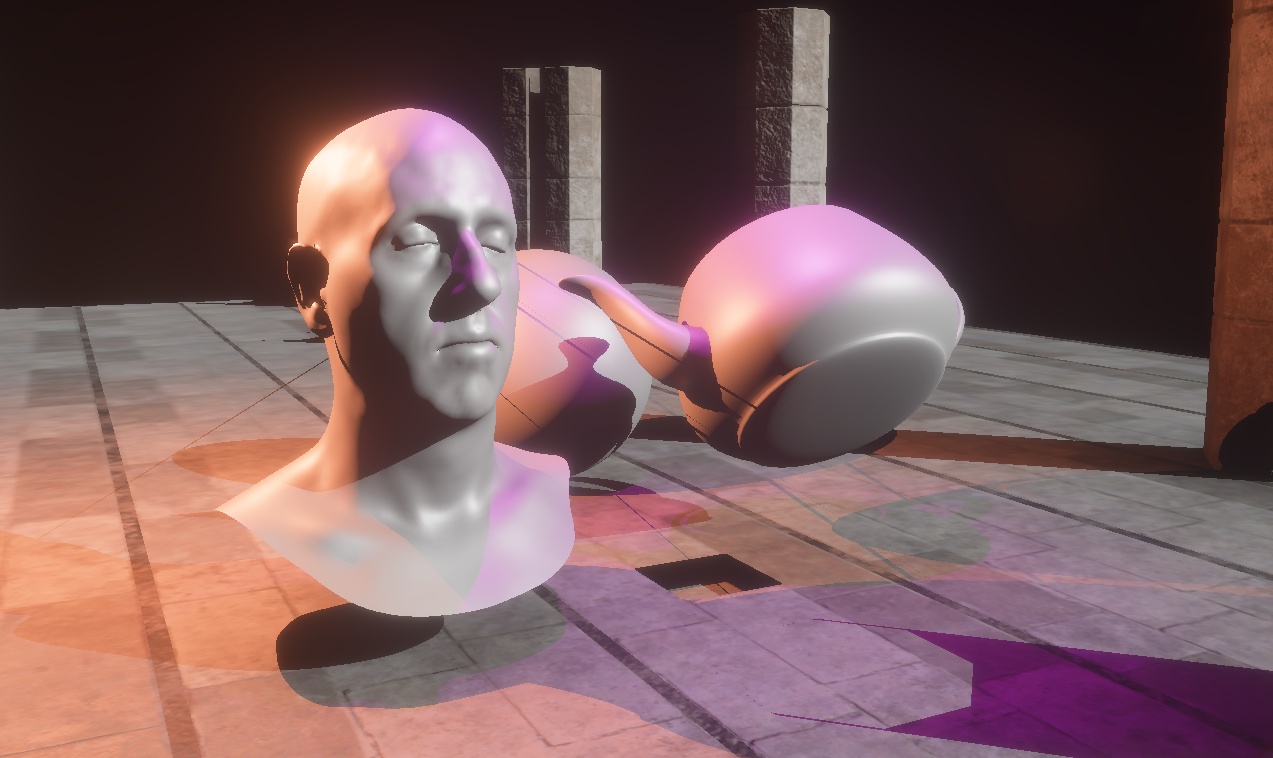
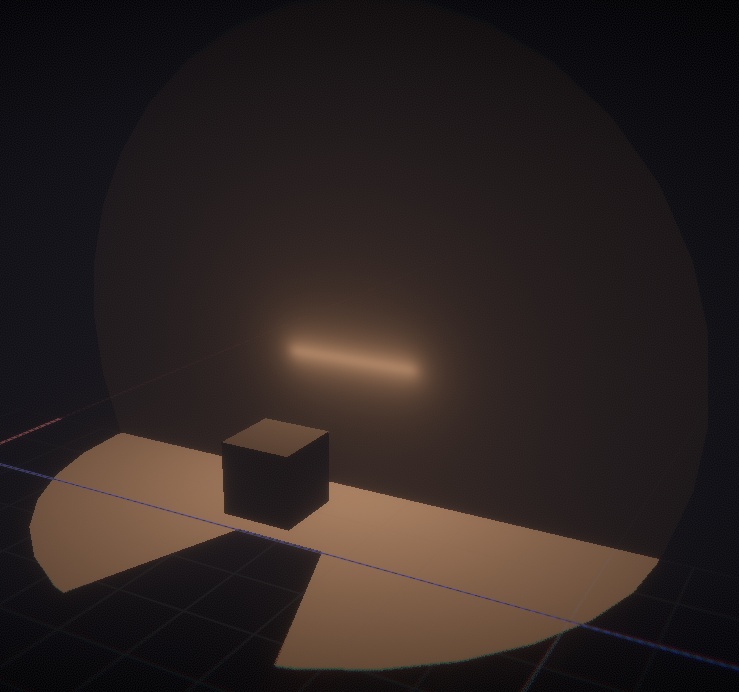
I also added fill lights, which are point lights that don't cast shadows nor produce specular reflections. They are purely diffuse shading. Their purpose is to simulate local light bounce / local ambient lighting, to fake global illumination.
(Fill lights are based on the same idea from Inside GDC talk)
(April 18)
Who would have thought that doing an intersection test with a ray of length of 100km would lead to precision issues ? So yeah, I fixed that directional light bug. The shadow volume mask still flip randomly when the camera is sitting on a plane. I still haven't figured a solution for this.
But meanwhile, I switched to additive rendering so I can now combine multiple lights together:
(Point, spot and directional light all together.)
(May 2)
Quite a few days have passed and some big changes happened:
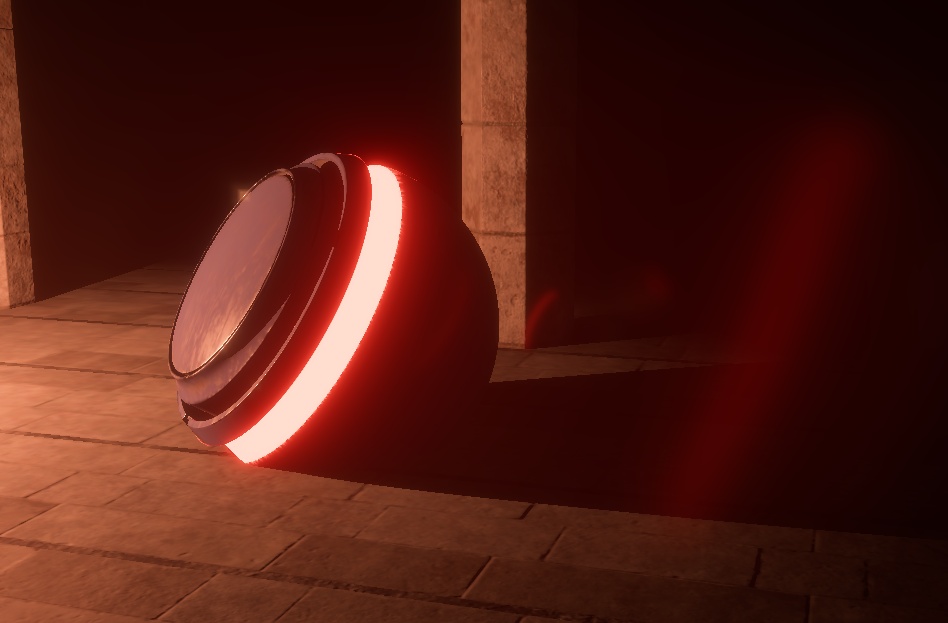
I got emissive materials working. They are drawn via a separate pass with only the emissive bits enabled. They are the first thing drawn into the main color buffer, before the lights.
I also reworked my meshes exporter. Until now I was writing Lua files with big tables (aka arrays) in them to define my mesh properties. Unfortunately I was hitting some limits with very big meshes. Lua(Jit ?) doesn't support nested tables with more than 65536 elements.
So the solution was to write instead meshes into a custom binary format (as an output from Blender) and read the data and feed it directly to the mesh creation functions of the framework I'm using. This had several benefits: handling bigger meshes, smaller file footprint and being much, much faster to load. That required me to learn writing and ready binary data, which I never did before.
(So happy to have Armadillo back !)
Armadillo was also a good opportunity to benchmark my compute shader processing (since the object generate shadows from the light). It only takes 0.08ms to process 100K triangles, which is really not bad !
(May 4)
Huge refactors can be tiring, so I needed to be creative for a bit to take a break. I decided to make a logo for my engine, which led me to think about finding a proper name as well.
This is how OMBRE (French word for "shadow") was born.
![]()
(First version of the logo)
![]()
(Refined version)
(Animated version)
(May 9)
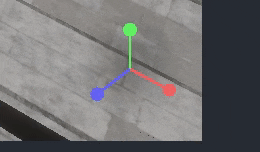
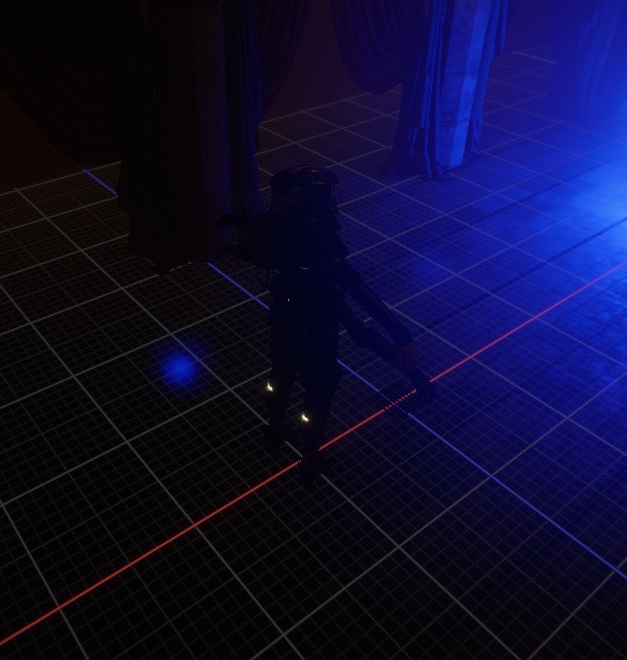
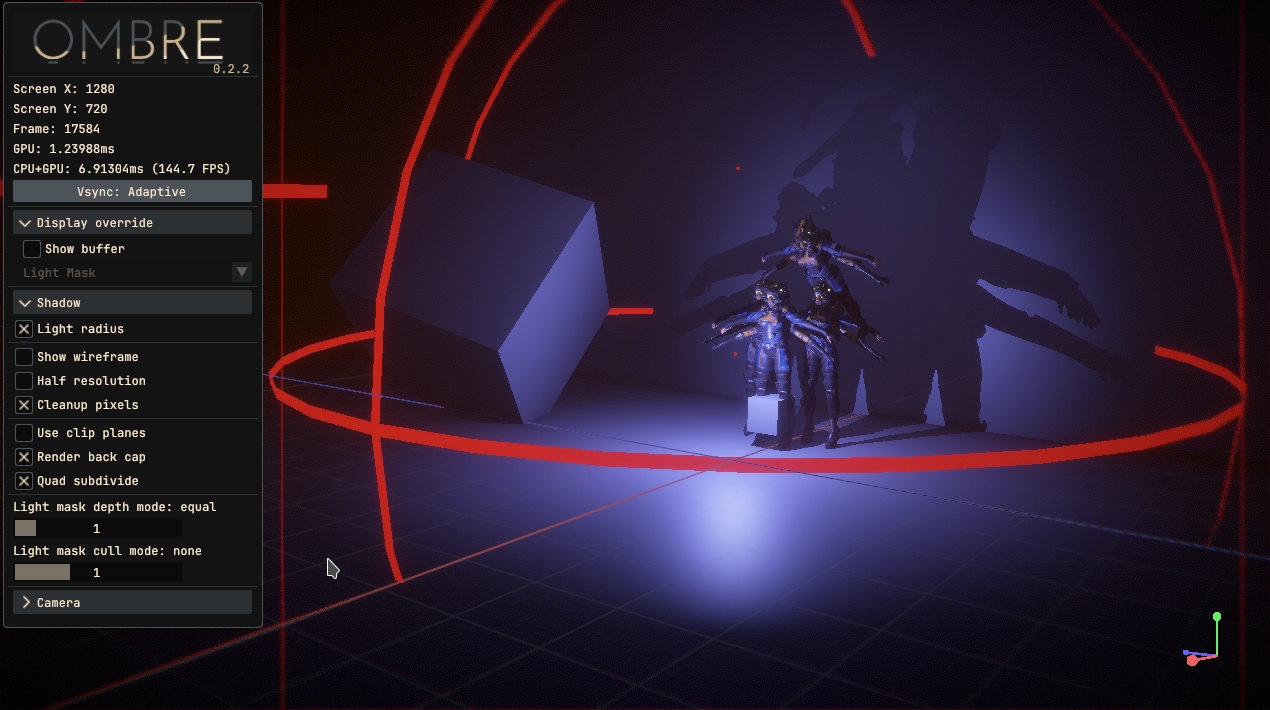
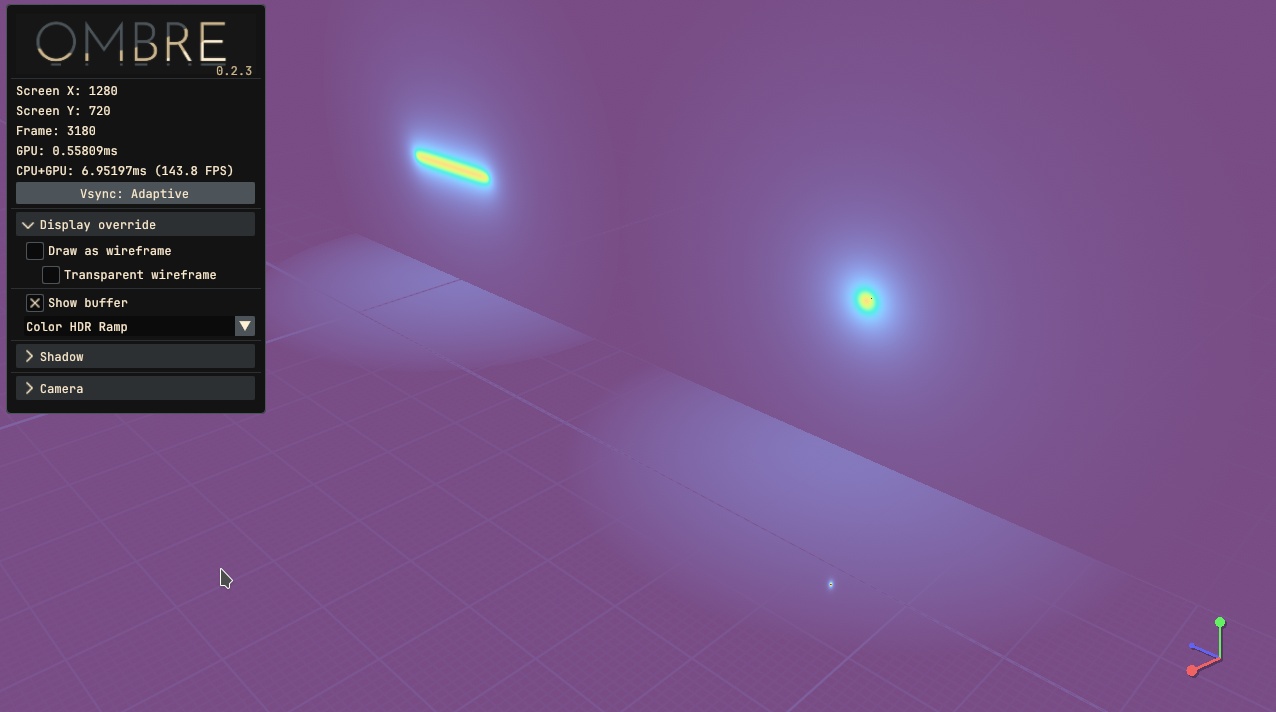
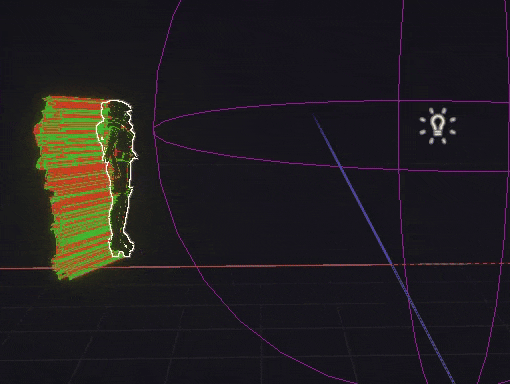
I built a little axis widget that sits in the corner of the viewport. Its goal is to help knowing how the camera is oriented, since sometimes it can be hard to guess with debug rendering.

This is drawn with a single shader using Signed Distance Field (SDF) functions to draw segments and spheres. When an axis is looking away, the sphere at the end get smaller, when it is closer it gets bigger.
(May 14)
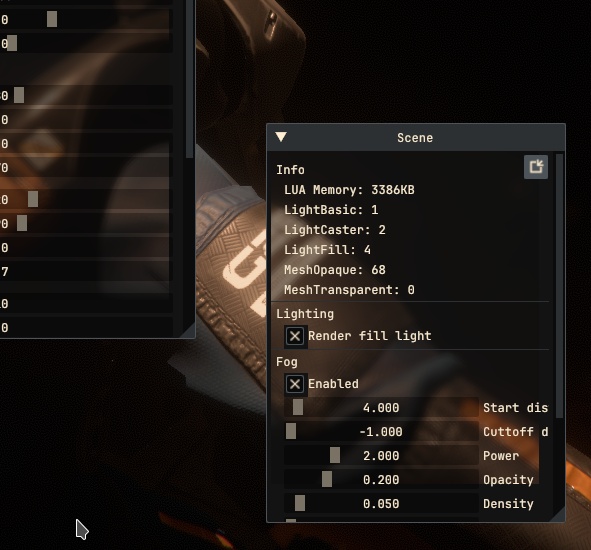
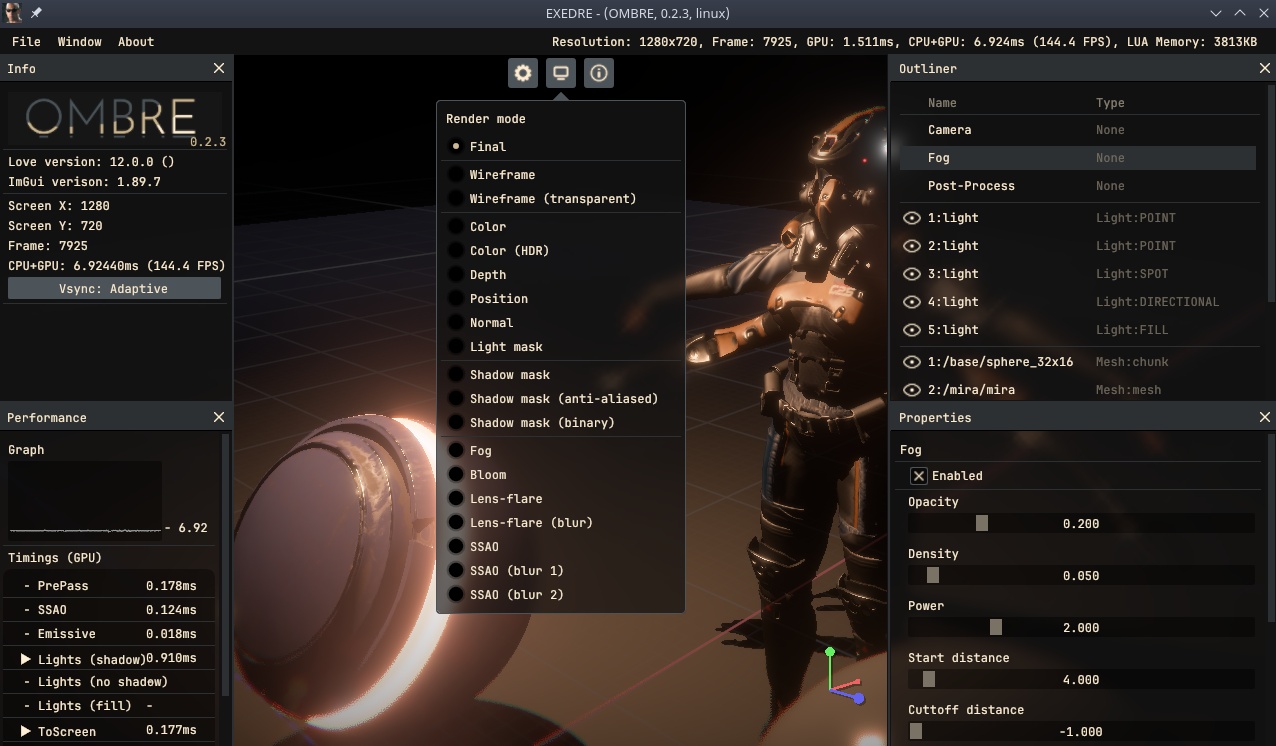
I added support for fog, but because of the way I render the lighting, I ended-up applying the fog as a post process pass (leveraging the depth pre-path). I also added dithering in my tonemap pass to avoid banding which was quite noticeable with the fog.

I also spotted that following my big lighting refactoring I wasn't using the SSAO result anymore with my fill lights. So I fixed that:

(No fill, fill only, fill + SSAO)
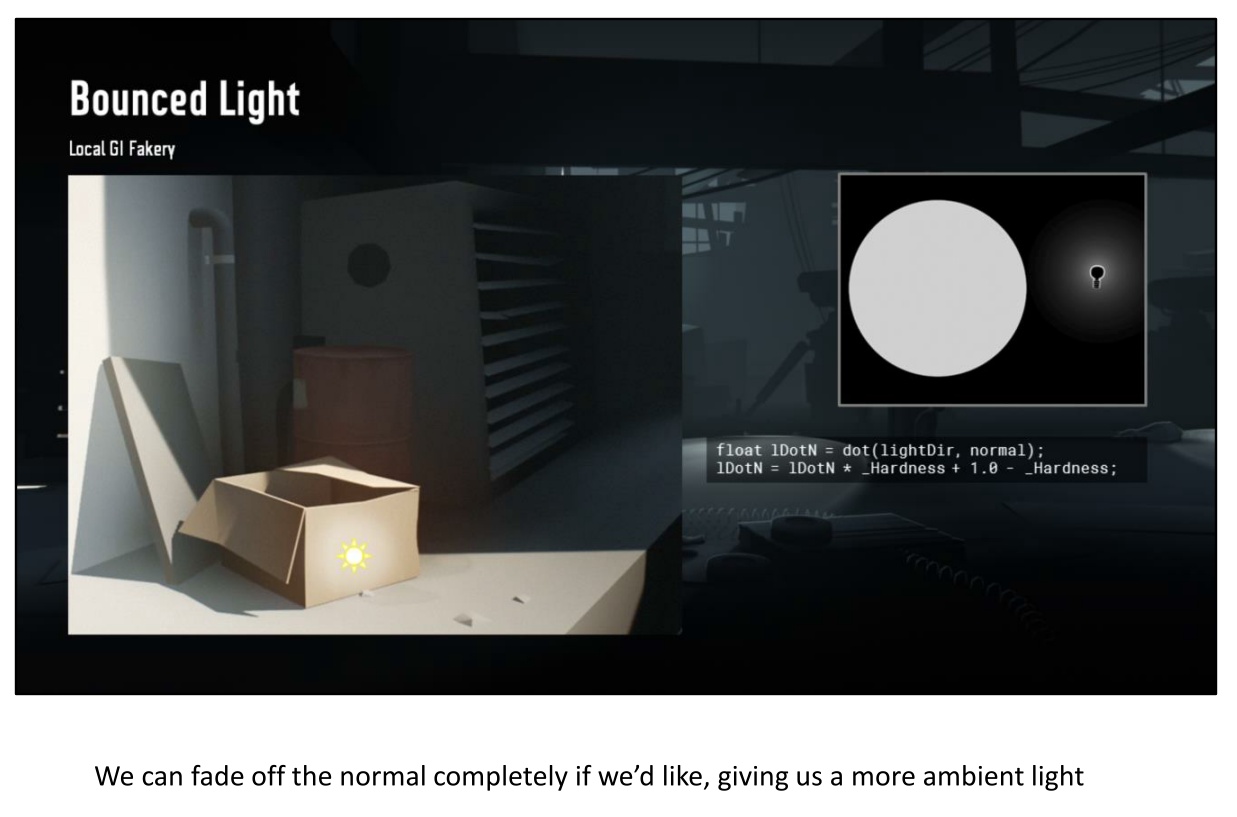
The hardness setting on my fill lights was also broken. That hardness basically controls the lambert term of the diffuse shading. Reducing the hardness allows to wrap the light further around the object, pushing back the light terminator. This can be useful to reduce the contrast coming from the fill light and better fake the ambient look.
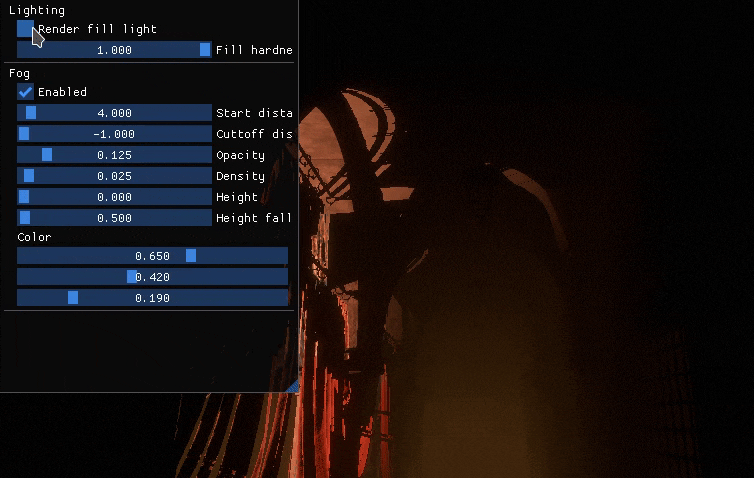
(Adjusting the hardness setting of the fill light)
(May 15)
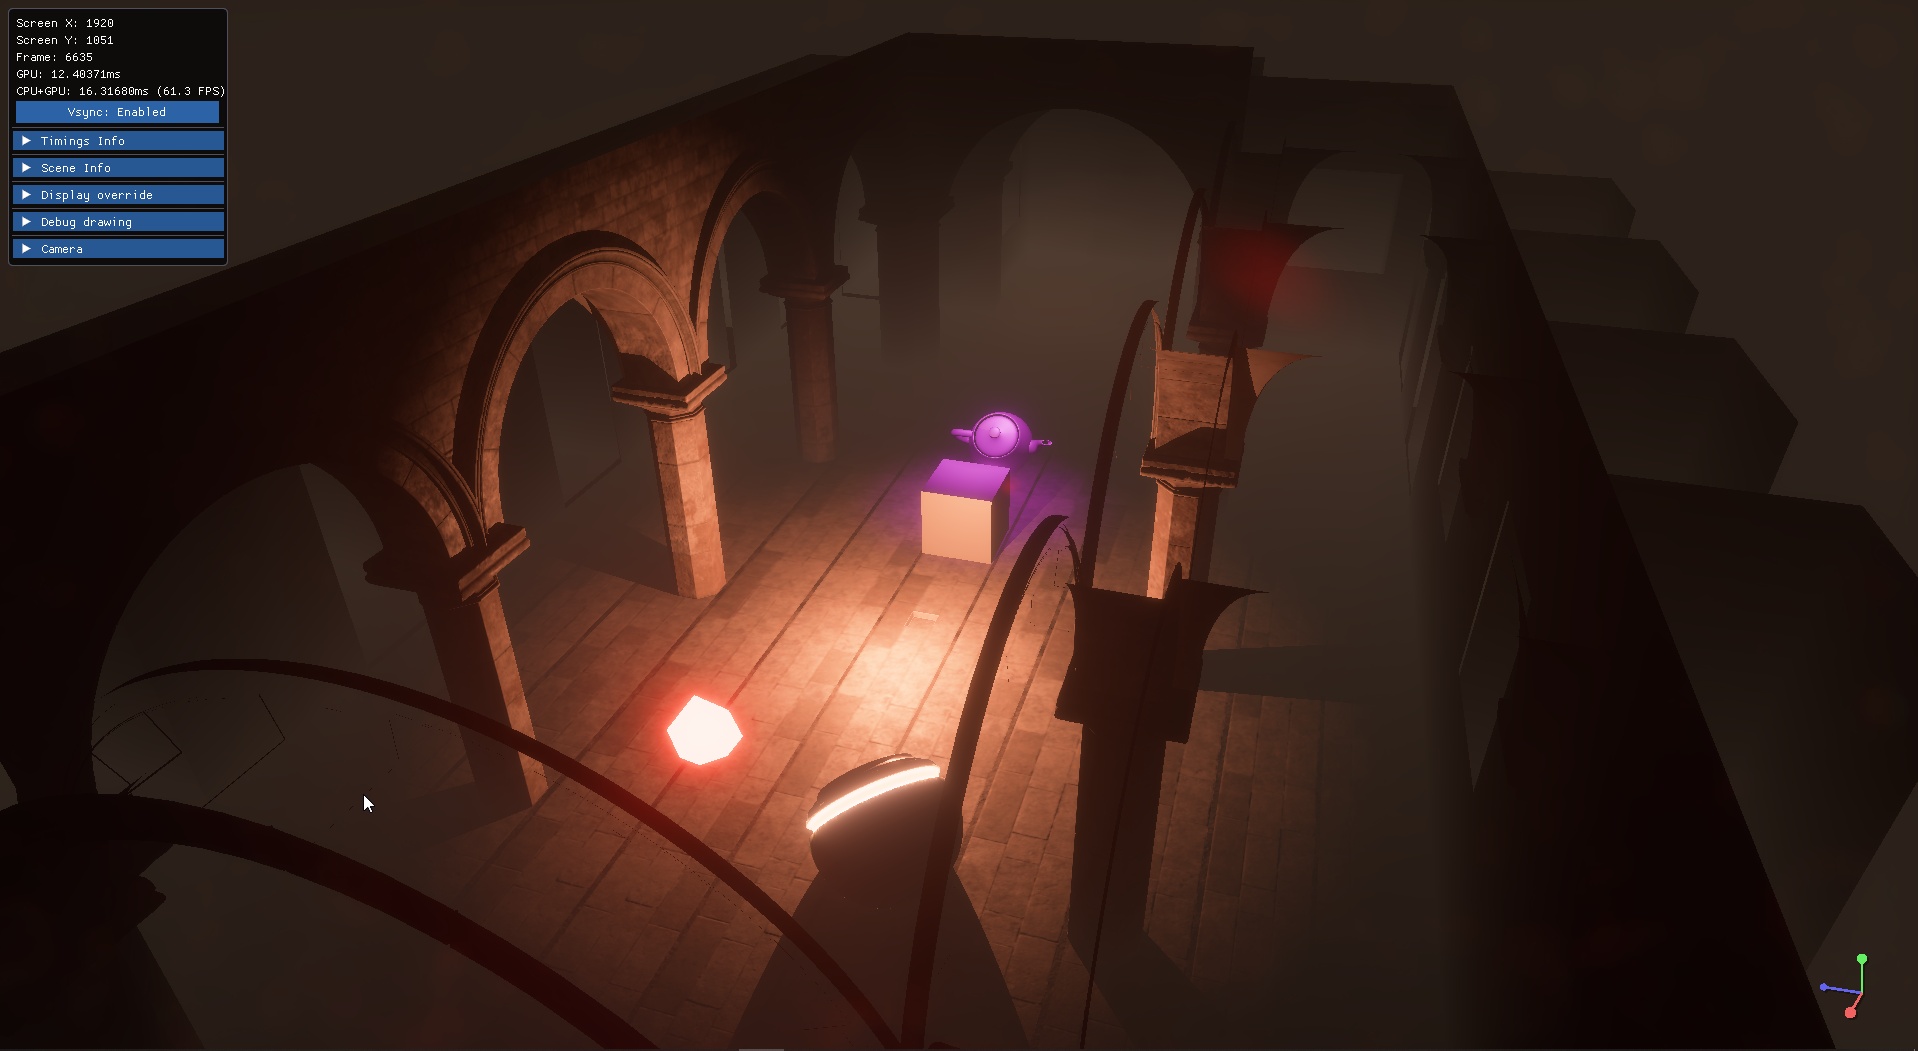
I decided to rebuild a bit my debug UI and make my own theme, following the engine "rebranding" from a few days ago. I just created little panels to open/close when needed and organize a bit my debug settings.
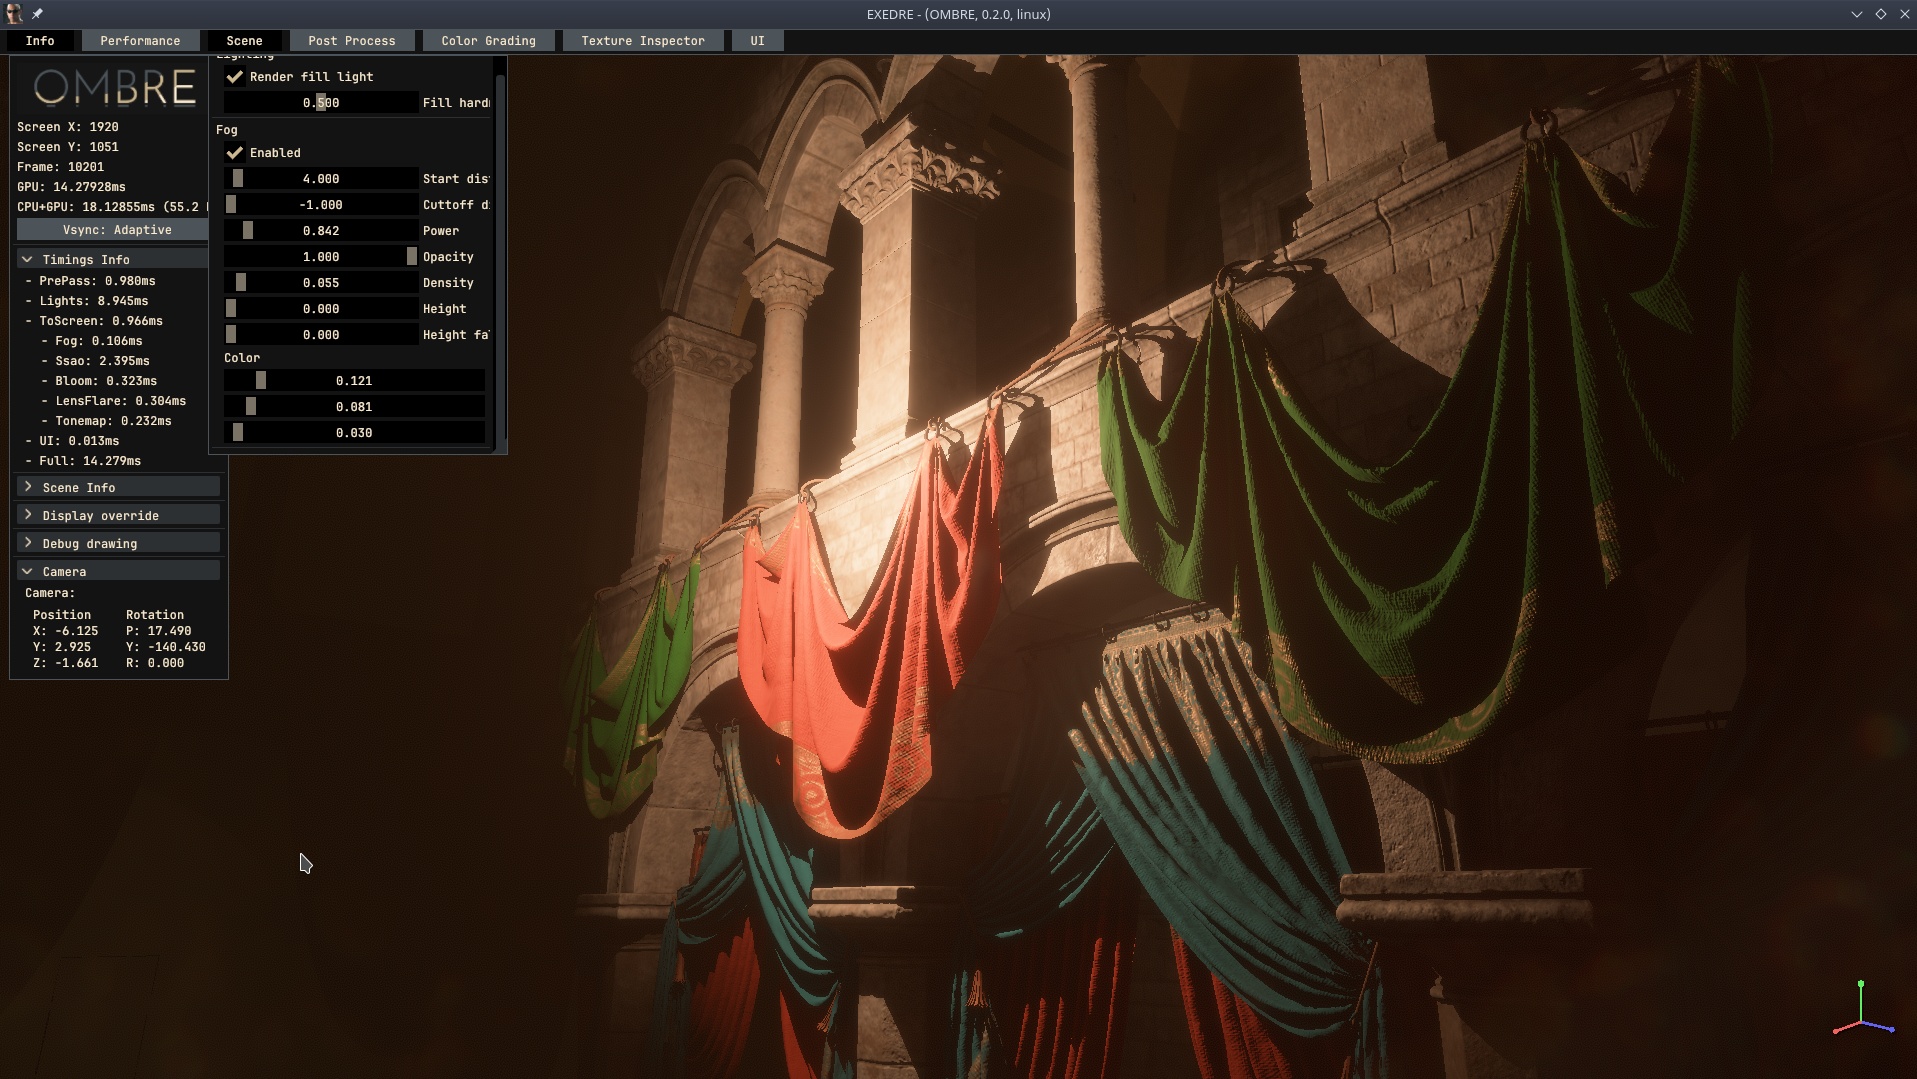
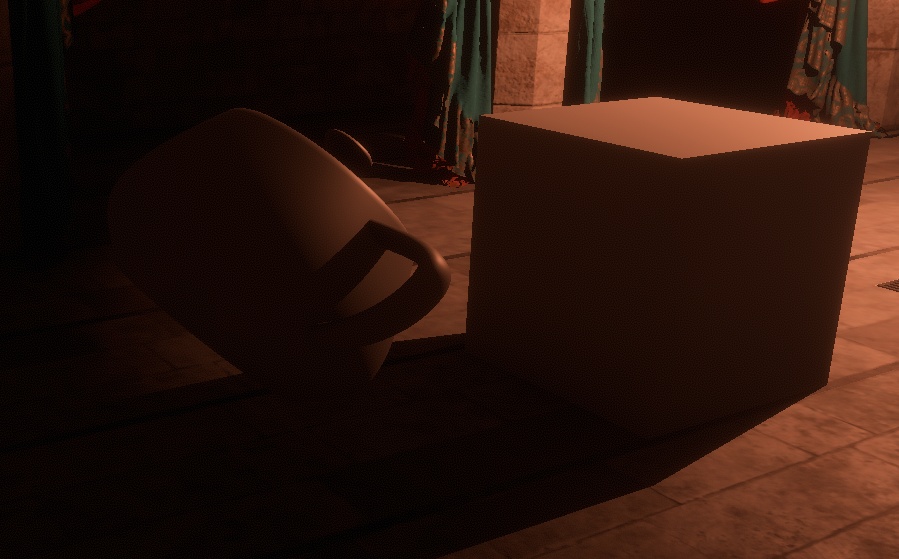
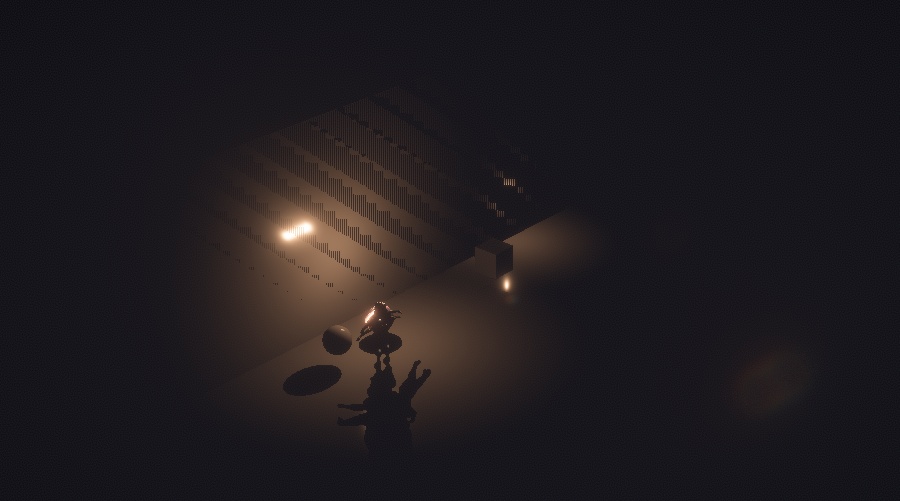
(In the scene here I combine a point light and a fill light with some fog to create some atmosphere.)
(May 17)
For a while my bloom showed some kind of blocky artifacts, especially on isolated bright pixels. It was actually my downsample passes that were using incorrect sampling coordinates.
(Adjusting the coordinate for the sampling removed the square shape.)

(Before vs After the fix)
I also improved the filtering during the first downsample to stabilize fireflies:
(No fix vs fixed fireflies)
(May 21)
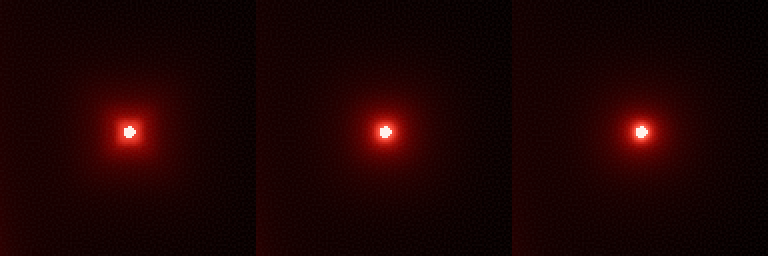
I added a new post-process effect: chromatic aberration !
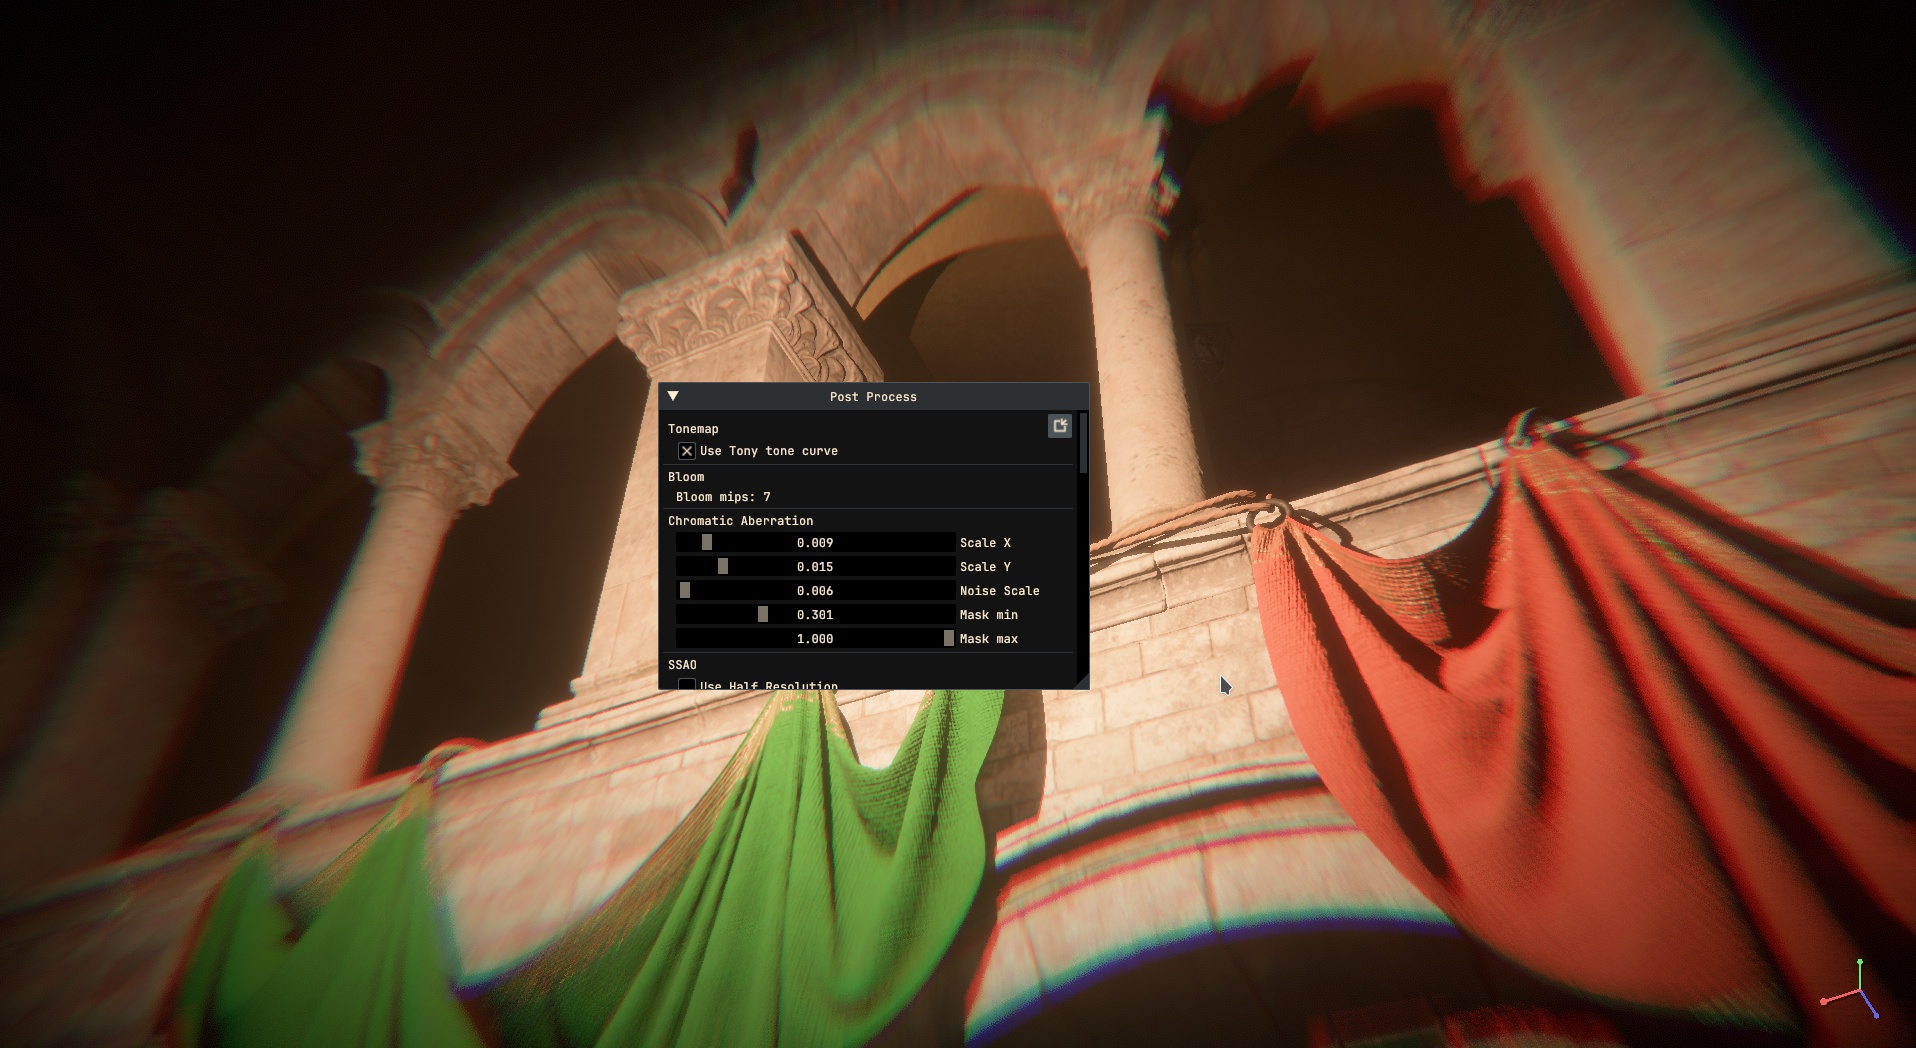
(This first version wasn't working properly, but the effect was funny... drunk simulator !)
I also did some tests with other tone curves, notably AGX. However nothing beats Tony in my opinion for now. AGX still skew toward purple on pure blue colors for example, also it adds some contrast too which I want to avoid.
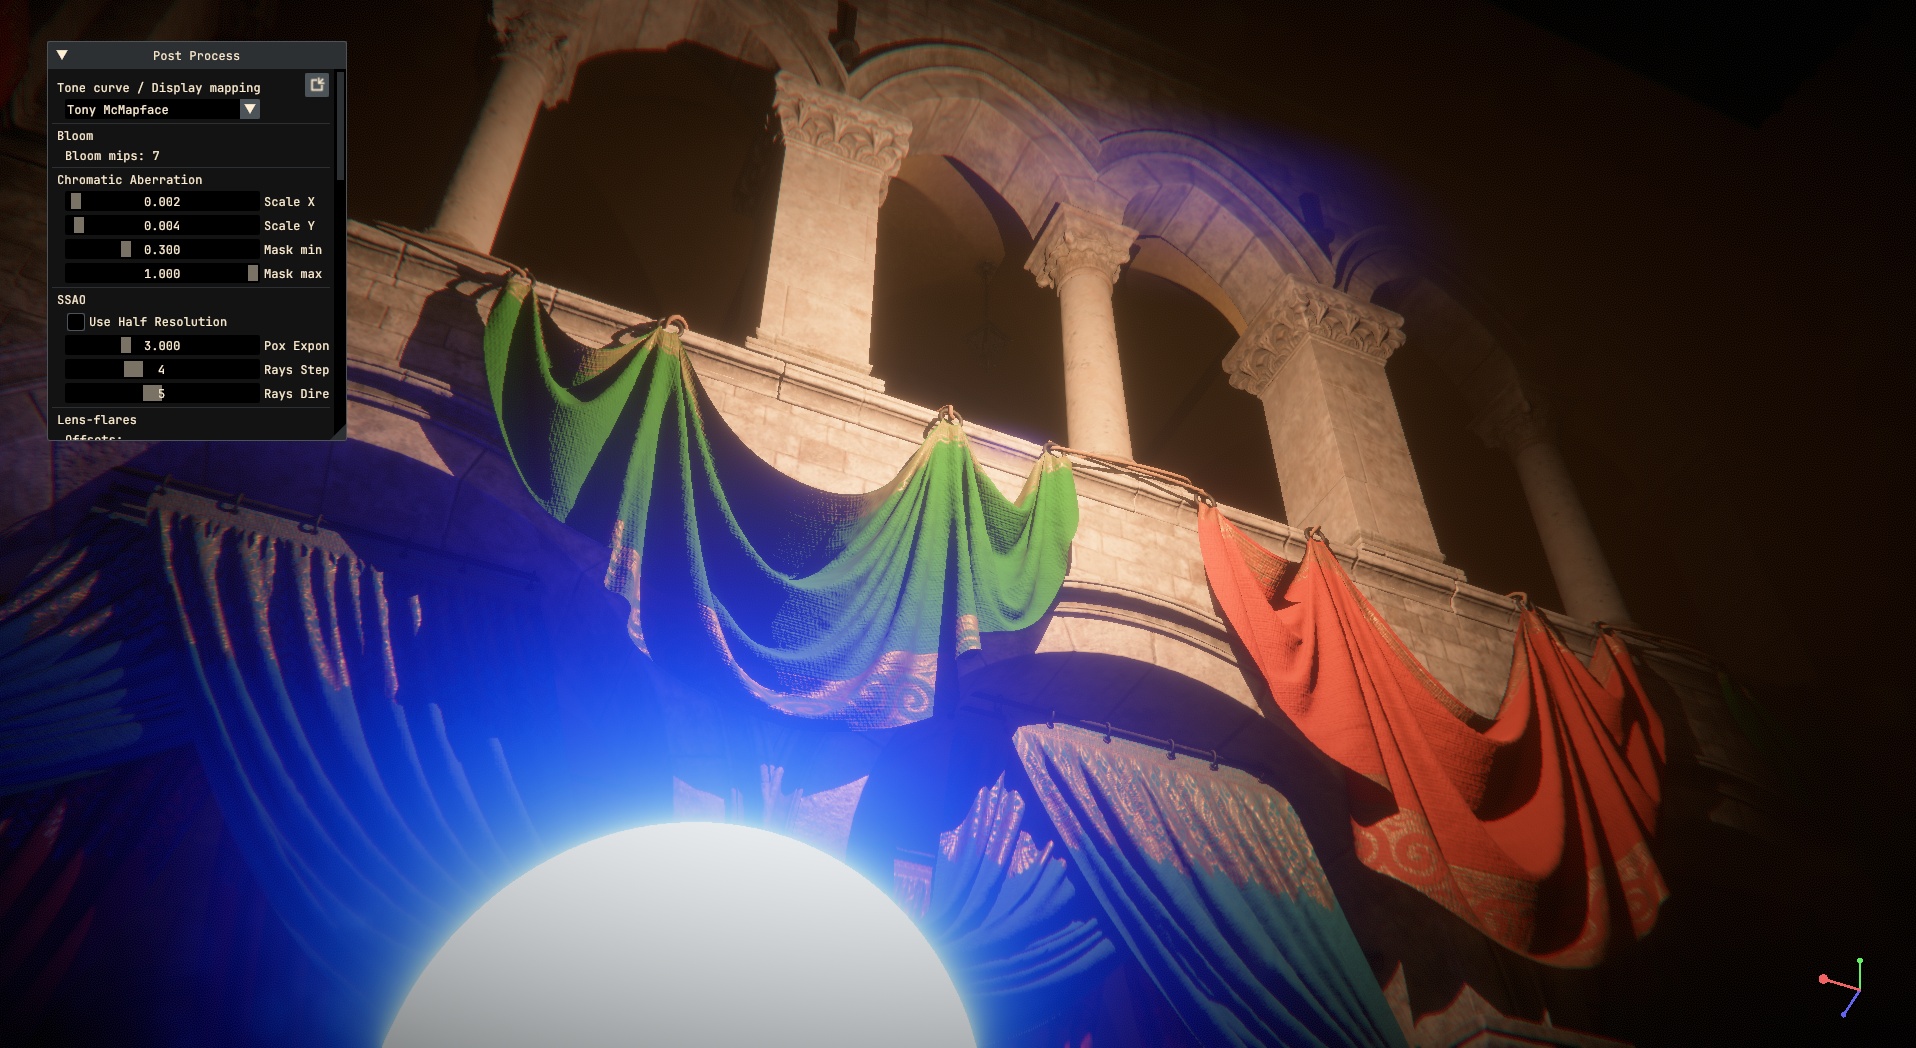
(Tony (left) vs AGX (right) tone curve.)
(May 24)
I found a way/trick to make my Dear ImGui UI transparent. It also blurs the render when behind a window:
(May 28)
I finally started looking into ways to optimize my lighting rendering. Shadow volumes can be expensive, so anything that can optimize them is welcome.
Right now I'm trying to compute the bounding sphere of point lights in screen space to setup a scissor rectangle (and early discard triangles for the shadow volumes).
I haven't found an easy way to project an ellipse (the maths go right over my head) so I went the dumb way and projected points from a sphere to the screen instead... And it works !
(May 31)
I added a grid, it was time my engine starts to look like a real editor.
The first time I tried to do that (in another project) I simply loaded a plane and scaled it really big. It kinda worked but mostly led to precision issues, notably with the UVs.
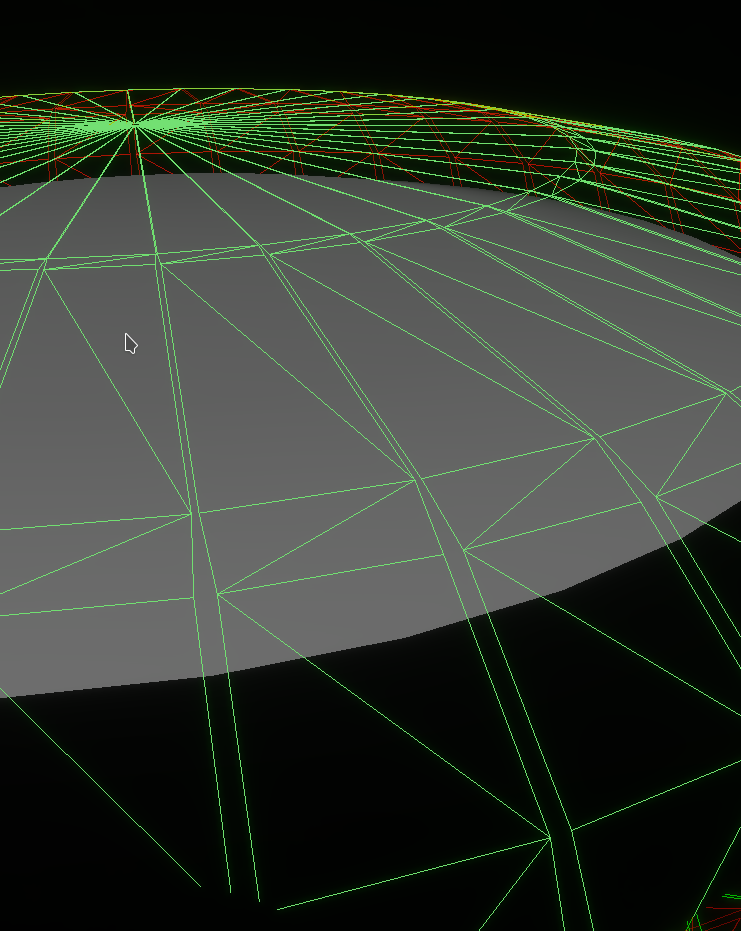
This time I draw a quad directly underneath the camera instead. I also don't load a mesh/buffer, I build the quad directly within the vertex shader. I just needed to adjust the quad UVs with the current mesh position to get the grid locked in world space.
(Using fwidth() in the shader to get nice anti-aliased edges.)
(June 3)
I continue looking into optimizations for my shadow volumes. I'm currently struggling a bit with the "Depth Bounds" OpenGL extension.
(Here is the extension in effect, the drawing of the triangles are partially discarded if the depth is too far.)
It seems to be expecting inverted depth values for starters. Also I'm not sure how to properly compute the min/max based on my light position from the camera. I tried a simple distance, but the cut is too far/too soon it seems. There are not a lot of examples out there either.
(At least I made a cool gif out of it !)
(July 3)
I needed a break. The struggles related to optimizing my shadow volumes demotivated me a bit, so I went to do other things instead and came back with a fresh mind.
Reasons why are:
This means my bottleneck is likely related to the overdraw. I'm really surprised, and saddened, that the extension or the stencil didn't help.
(July 14)
I discussed about this with a friend (who also discussed with colleagues for extra insights) and it looks like the next possible steps to try out are:
(July 17)
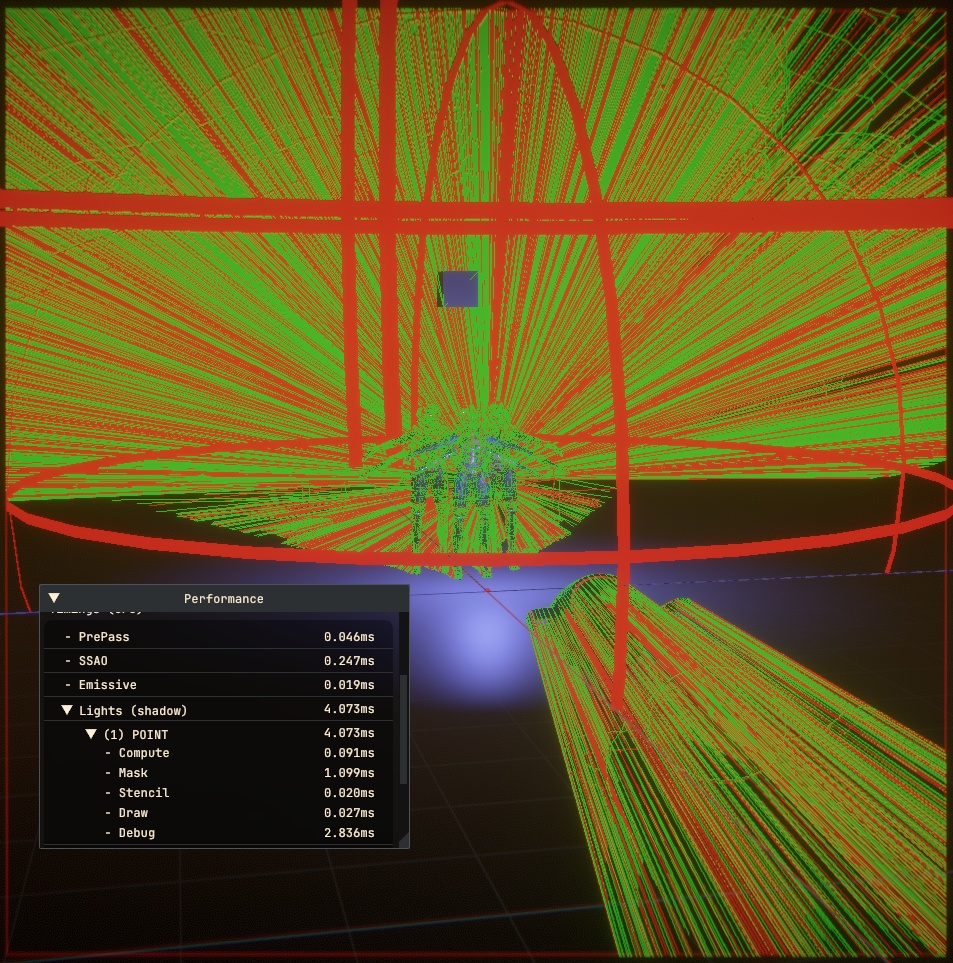
I fired up Nsight to gather better metrics and figure out exactly what is slow when rendering shadow volumes. So I fired up again my test scene and went to look at the timings of the shadow volume drawcall:
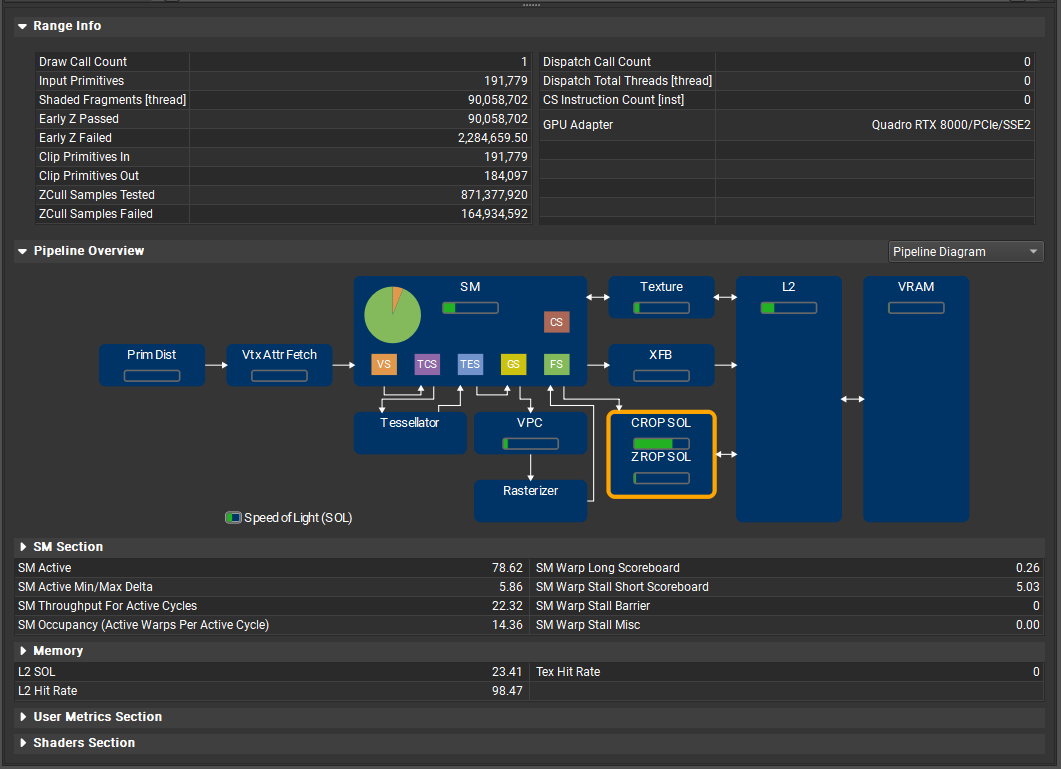
(Processing 870 millions of samples...)
Turns out my GPU isn't lazy... just very busy.
I also tried doing a stencil/depth only pass but I get the same crazy numbers. I was previously rendering my shadow volumes into a 8bit color buffer to do both front and backface at the same time.
Given that overdraw is bad for Nanite performance, according to Unreal Engine devs, I'm still wondering if going the compute route building my own rasterizer would be a good idea.
(July 19)
I tried out quad subdivision. The idea is splitting the long thin silhouette quads of the shadow volume into several quads instead, and I noticed some improvements. By playing with where the transition happens, I can go from 2.2ms of render time to 1.6ms (on a given viewpoint) !
Adding further subdivisions doesn't impact things (I mean subdivisions between the frame border and the mesh itself). So I guess I just need to figure out the right way to specify the distance at which the transition happen.
Also this mostly help for lights that occupy a lot of the screen space, otherwise the scissor does most of the job and that trick has little to no impact. Adding those extra quad also don't impact negatively performance since it is just a bit of extra processing time during the compute pass pre-processing meshes.
Shaving off 0.5ms in worst case is nice, but that's still means light can consume 1.5ms at 1080p.
(Implementing quad subdivision led to some cool looking bugs)
(July 22)
An alternative solution to improve performance was to draw the shadows at half the screen resolution. This literally divide by two the rendering time.
From a specific angle in a test scene, I gathered some interesting metrics when rendering a light:
I have very bad aliasing with the half-resolution shadows however:
(Looks like there is static on the line...)
(July 23)
I figured out how to properly downscale my depth buffer, that was the root cause of the bad aliasing.

(Shadow at full resolution)
(Shadow at half resolution)
(July 30)
Another method I decided to explore is about using clip planes. In some cases this can significantly reduce the rendering cost given there is less/tinier triangles and therefore less overdraw.
(Clipping off vs on)
I need to figure out a better clip distance for the the near plane because I need the polygons to actuality stretch out toward the camera. Otherwise my in/out shadow volume detection get screwed and flip the shadow mask incorrectly.
Another issues with clip planes is that they induce an extra processing cost during the vertex shader pass and with heavy meshes this can counter-act the performance benefits (notably if the mesh isn't big on screen).
(August 1)
I ditched the clipping in favor of limiting the max distance of the shadow volume and drawing the back cap of it.
Initially I thought not drawing the cap would improve performance, since it means less triangles and therefor less overdraw. However very thin and long triangles at infinity are really bad it seems.
Also doing manually the quad subdivision in the compute pass rather than using clip planes give me the best tradeoff between rendering and extra geometry processing.
However these changes introduced a new rendering artifact:
![]()
(Random dark pixels floating around)
I tried my best to cleanup my shadow volume code and ensure my math is stable across all the steps, but I still can't get rid of those dark pixels for some reason.
(August 5)
I still struggle with the new dark pixel artifacts, so I wend with a dirty and dumb solution: an extra screen-space pass to clean them up.
![]()
That process eats some details related to the shadow outline, but it's only noticeable when doing back and forth like above.
(August 11)
I spend a few more days reworking the half resolution mode of my shadow rendering.
In my head, I could see the half-res version of my shadow has something I could upscale and anti alias at the same time. Just like emulators do when rendering pixel art from old game. So naturally I tried out a Lanczo filter as an extra pass:

(Full resolution vs half resolution with Lanczo filtering)
This was promising, but my quick test had very poor performance. Likely because the way I built my Lanczo upscale filter was very bad (took 8.8ms to do the filtering at 1080p... 🤪).
So instead I went with FXAA to anti-alias the half resolution buffer, then upscale it with a simple bilinear filter. However the aliasing in motion remains a problem:
(Clearly imperfect, but this could be a performance setting in-game one day maybe.)
I also added an extra debug visualization pass to look at the shadow volumes:
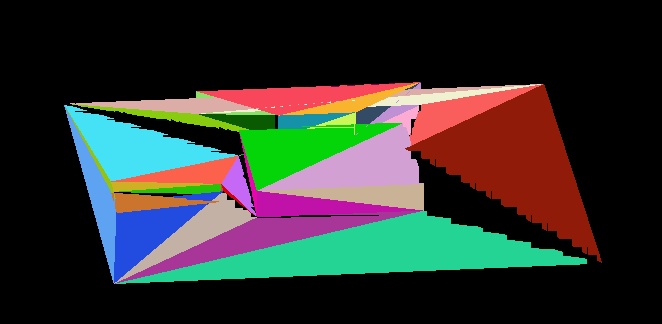
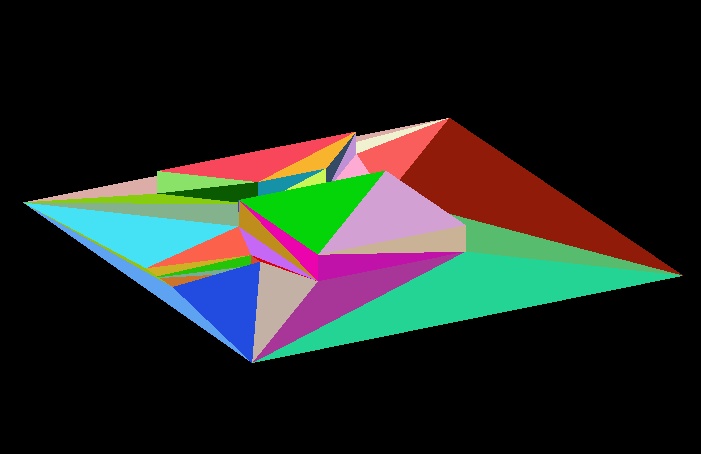
(The shadow volume buffer: red pixels are backfaces, green pixels are frontfaces. Yellow is when they cancel each other out.)
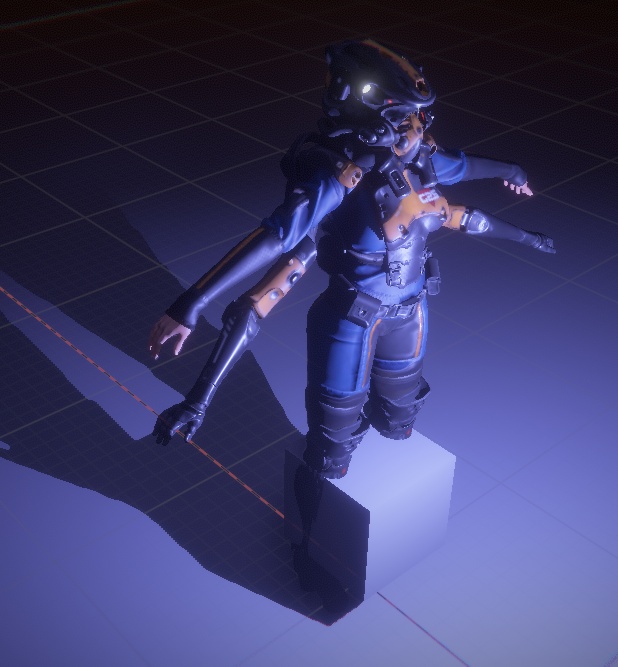
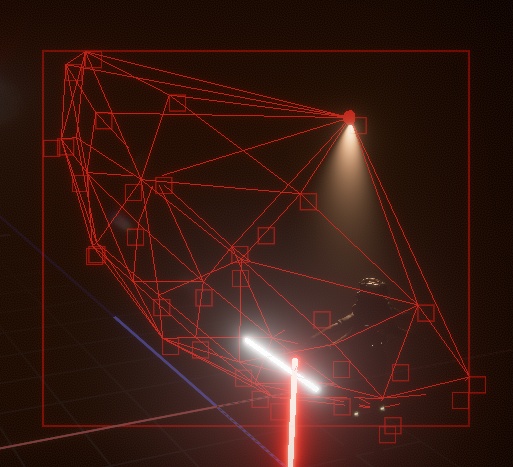
Finally I started working on rendering into the stencil a light shape mask to discard the rendering of pixels when drawing the objects affected by a light:
(August 16)
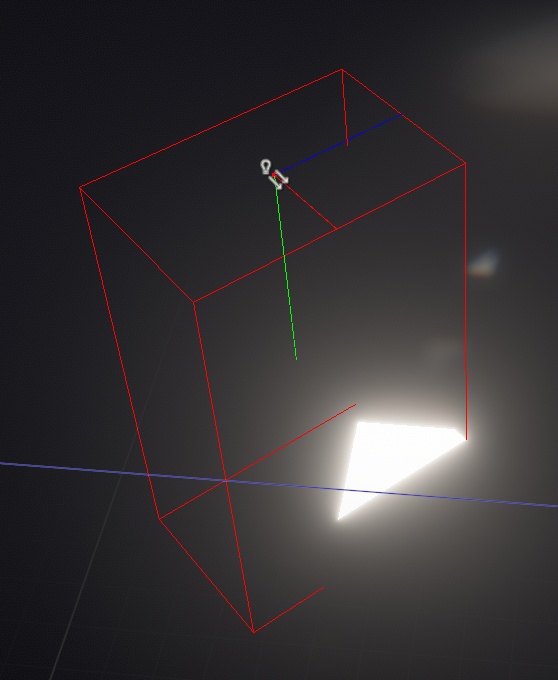
After point lights, I got the directional and spot light shape working as well for the light masking.
While the shape is right, the scissor computation is still based on a sphere (as seen by the rectangle on the image above). This means that triangle that get stretched behind the light would still be rendered, so I need to fix that.
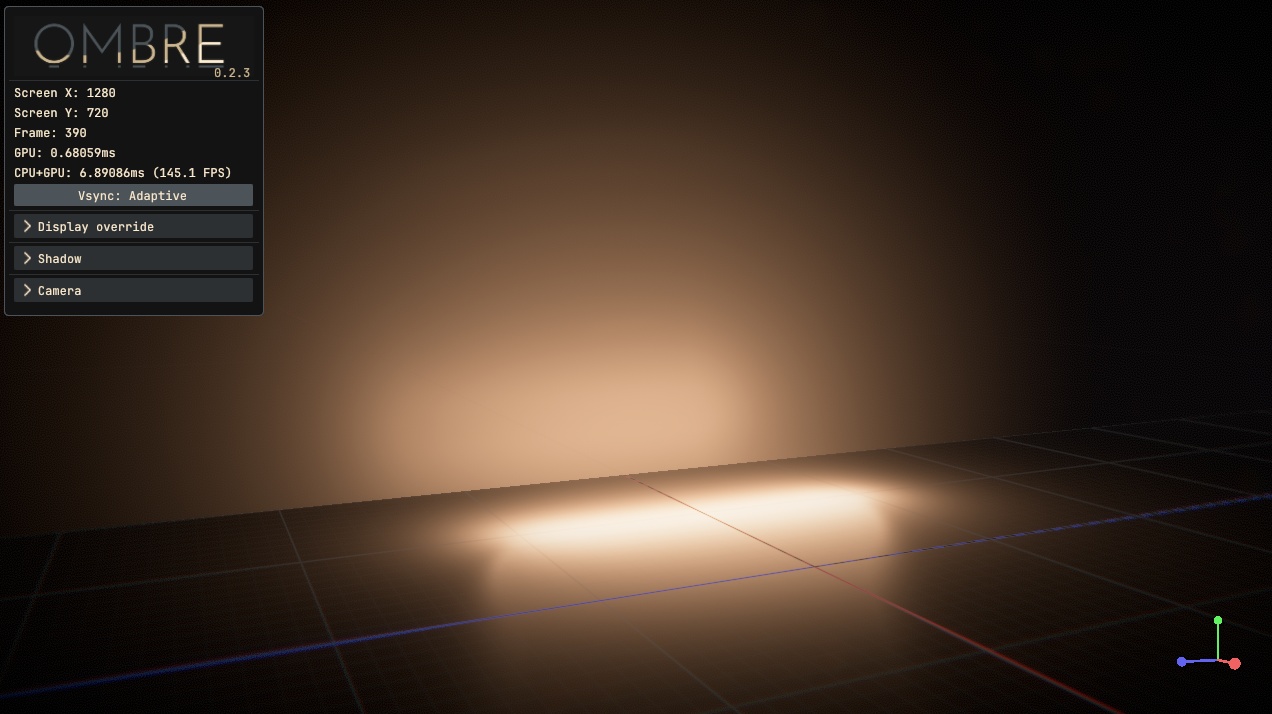
Meanwhile I did the shape for the directional light too, which is a simple box:

My directional light is not meant to be used as a "sun". Instead they are more for ceiling lights and similar (which with the parallel light direction give a nice area light effect). The shape will allow to limit how many objects are affected by it as well. That will give better performance than using a sport light to fake the same result.
(August 22)
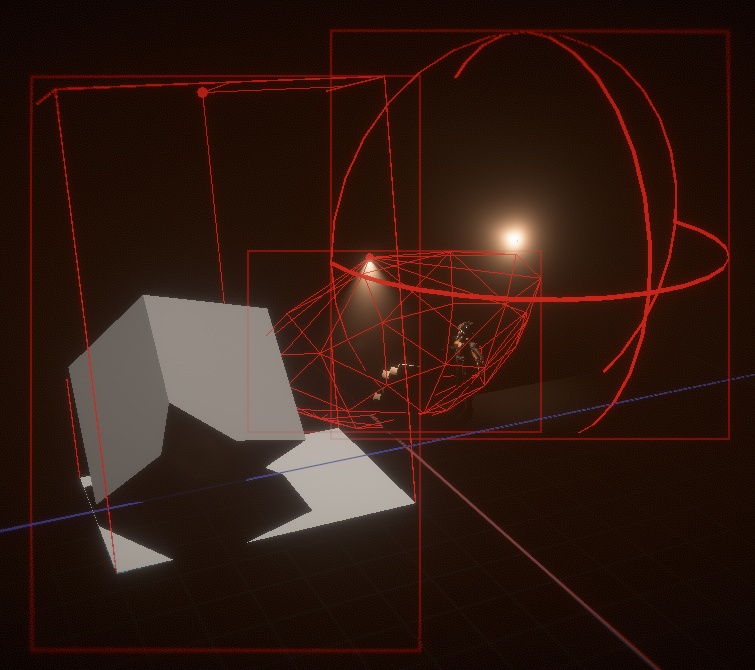
I got the spot light scissor working by doing the same dumb thing I was doing with point lights, aka projecting a mesh points to the screen:
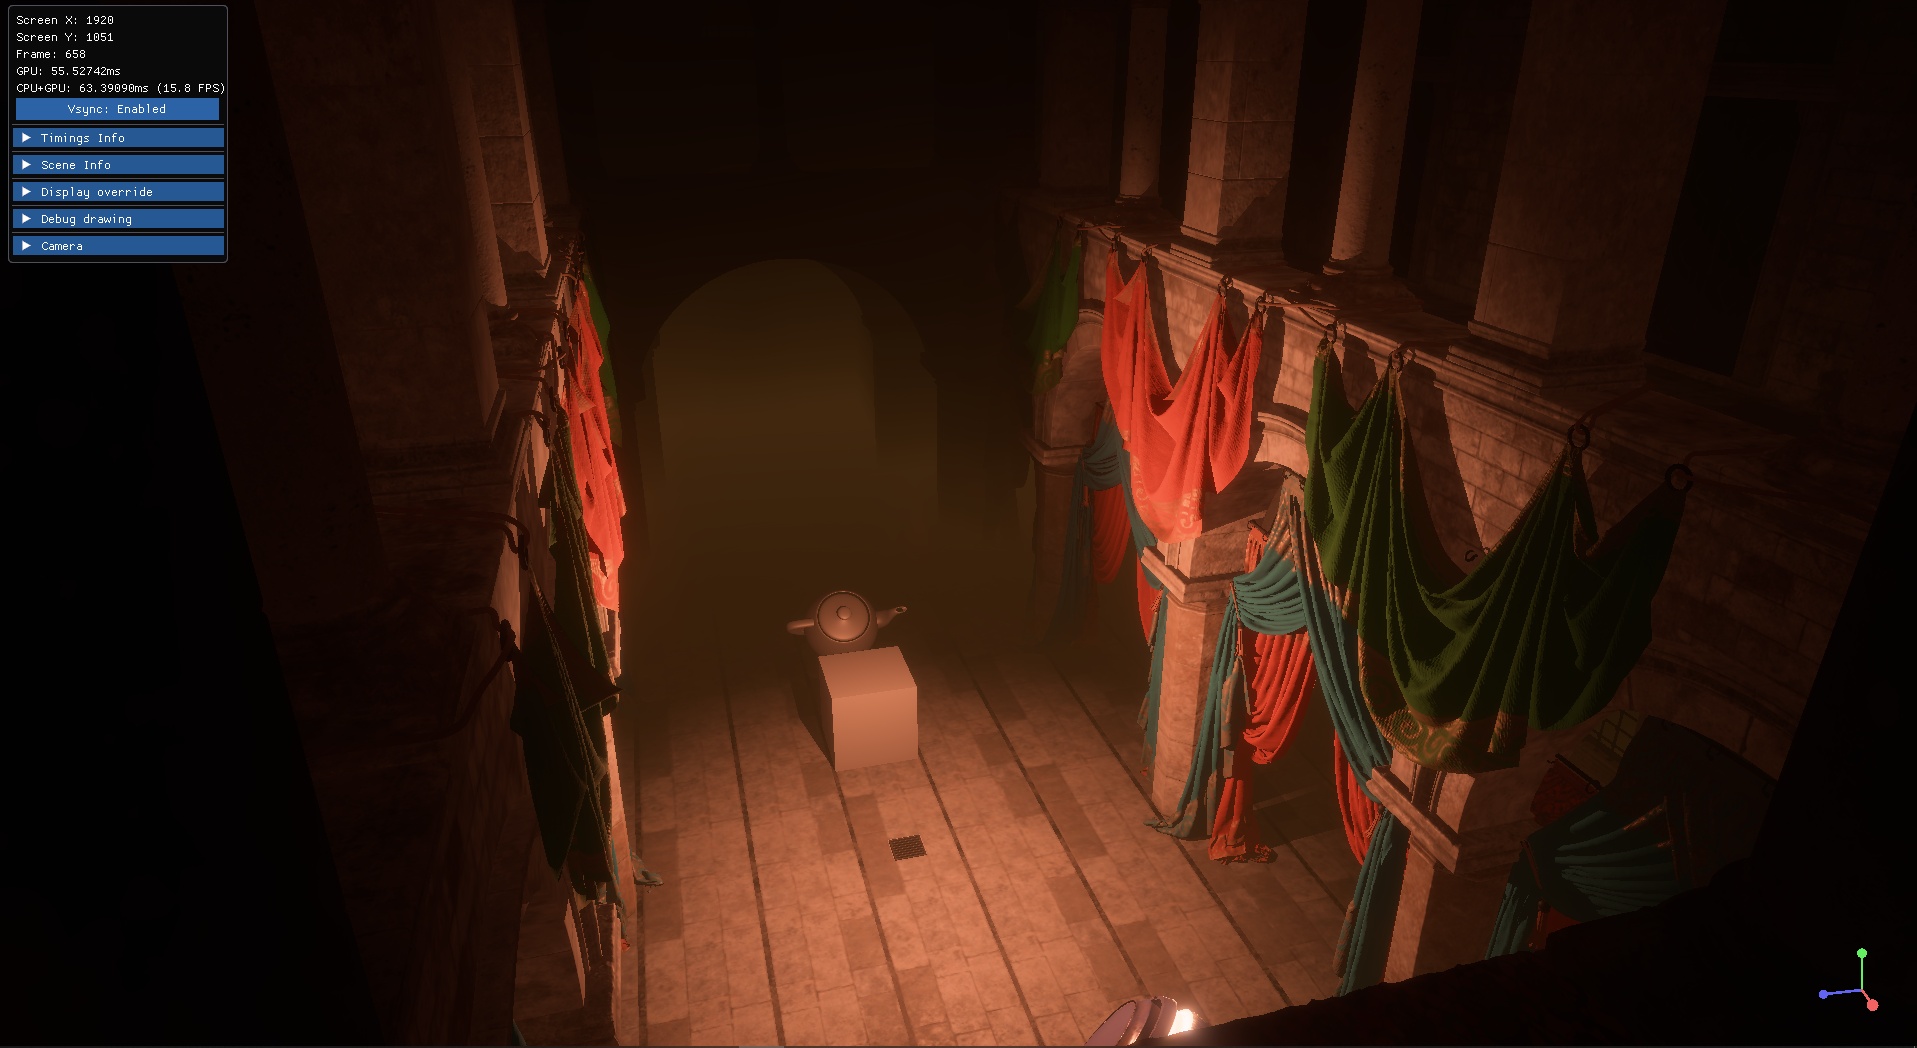
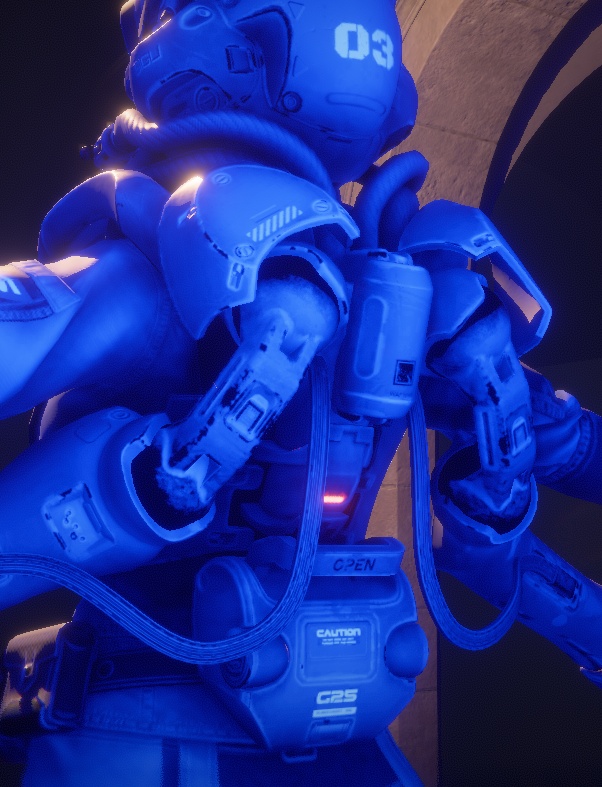
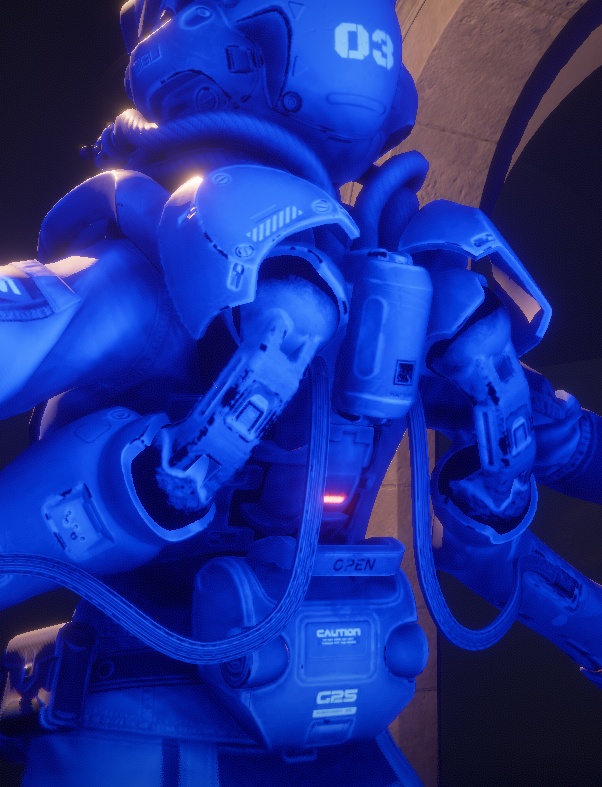
(Don't mind the tubes, just doing some tests with emissive materials on meshes.)
The whole gang together:
(September 2)
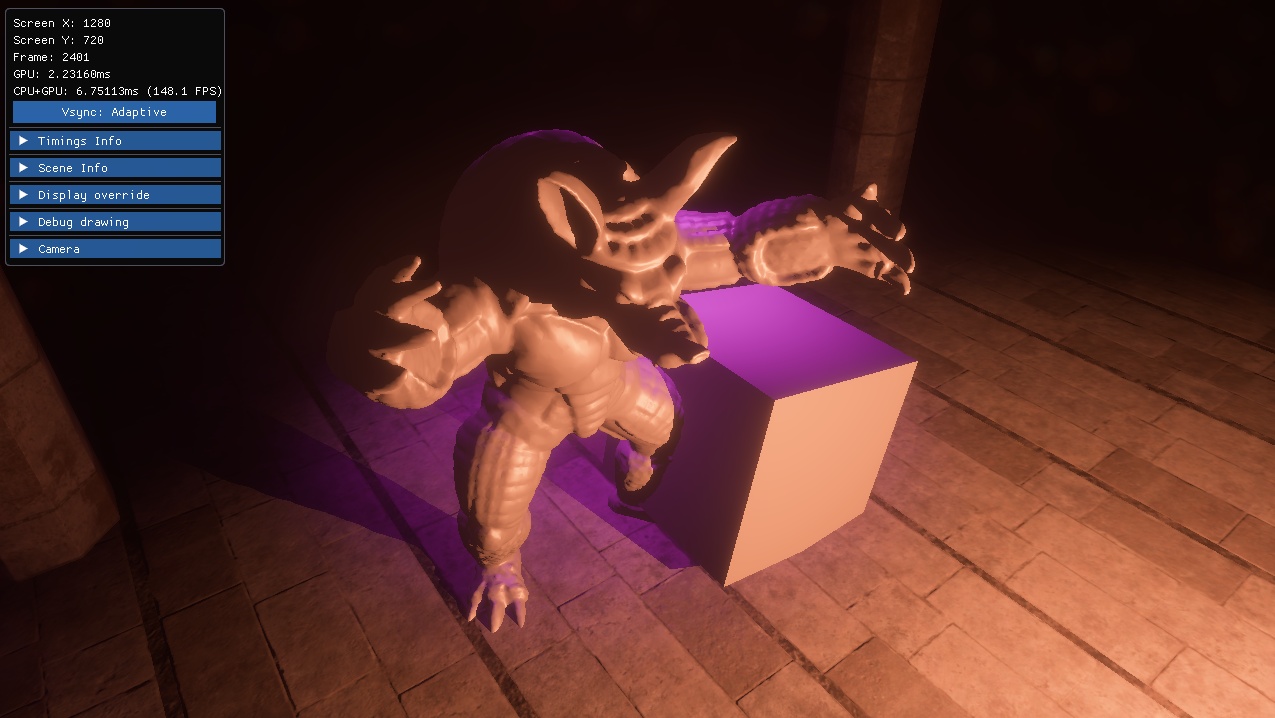
All the culling masking related work is now done. So I'm moving to work on area lights now.

(Sphere and tube area light progress.)
I also did an attempt to implement "area light shadows", aka adjust the direction of the shadow volume silhouette quad when they get stretched out to follow the shape of the source light. It didn't work unfortunately, but I may revisit that idea another time:
(September 3)
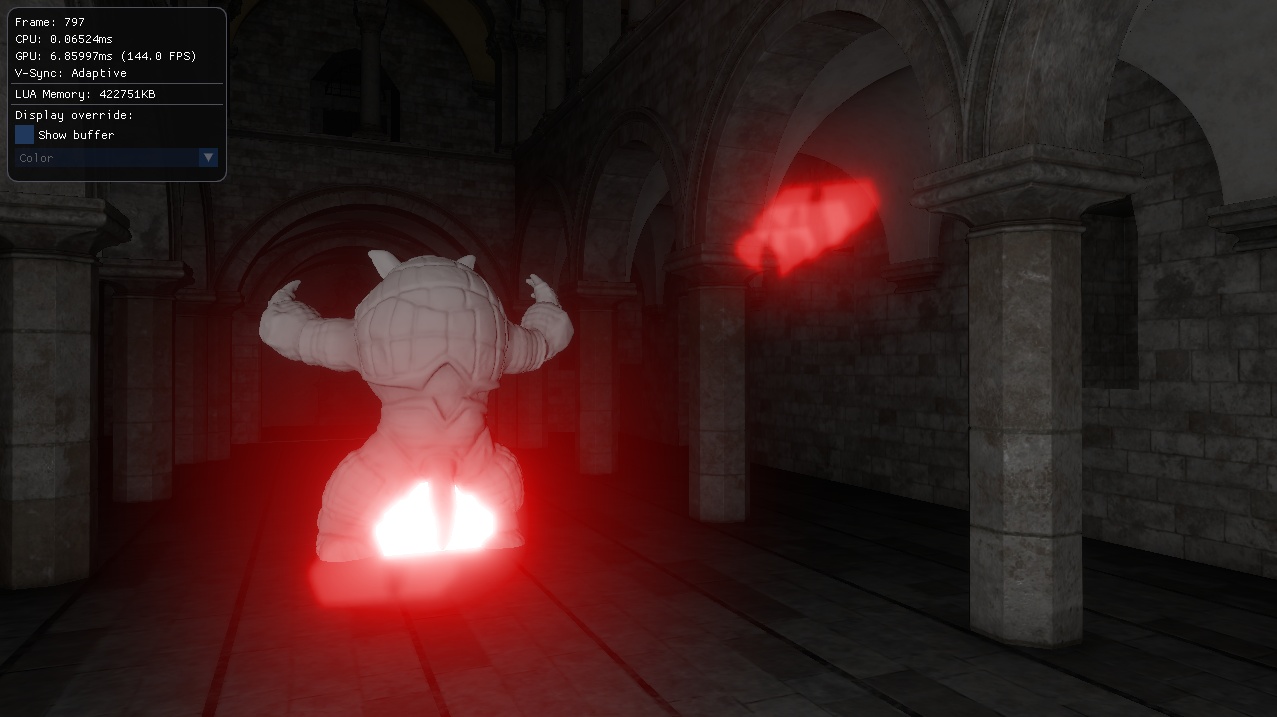
Debugging an area light intensity isn't always easy because it can make the bloom explode sometimes, so I added a new extra rendering pass that rescale the linear color pass render with a "false color" mode.
I used Google "Turbo" LUT to make nice color transitions:
Here is an example that shows some pixels with a very bright value:
![]()
(September 4)
The GGX function from Filament seems to have issues with its visibility term and can create very bright fireflies. So I decided to do a little hack and area light instead use the GGX function from Disney/Unreal Engine 4.
(Filament GGX code going crazy with area lights)
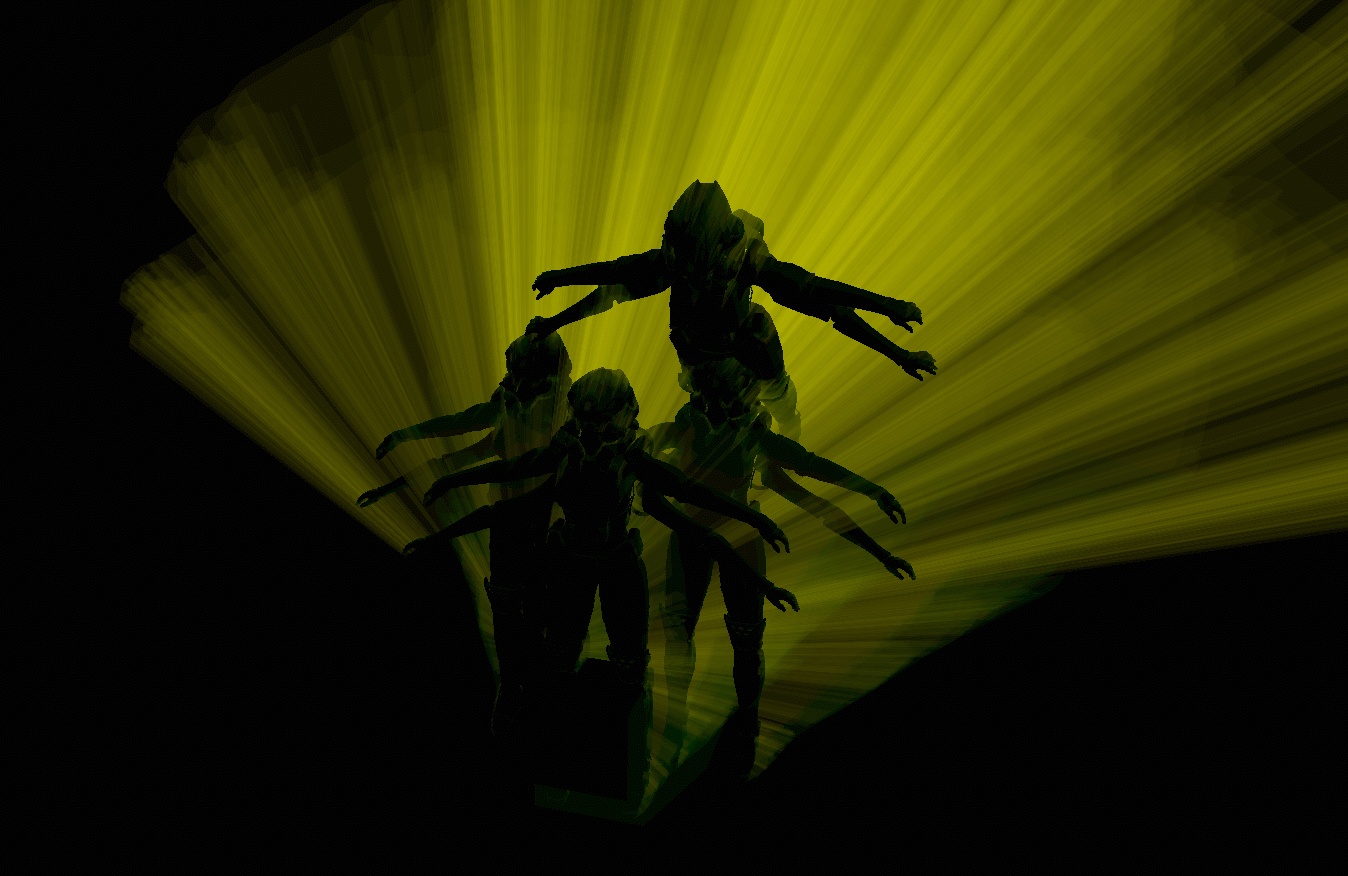
When they finally started working it looked really nice:
(A point light becoming a tube light back and forth)
(September 7-13)
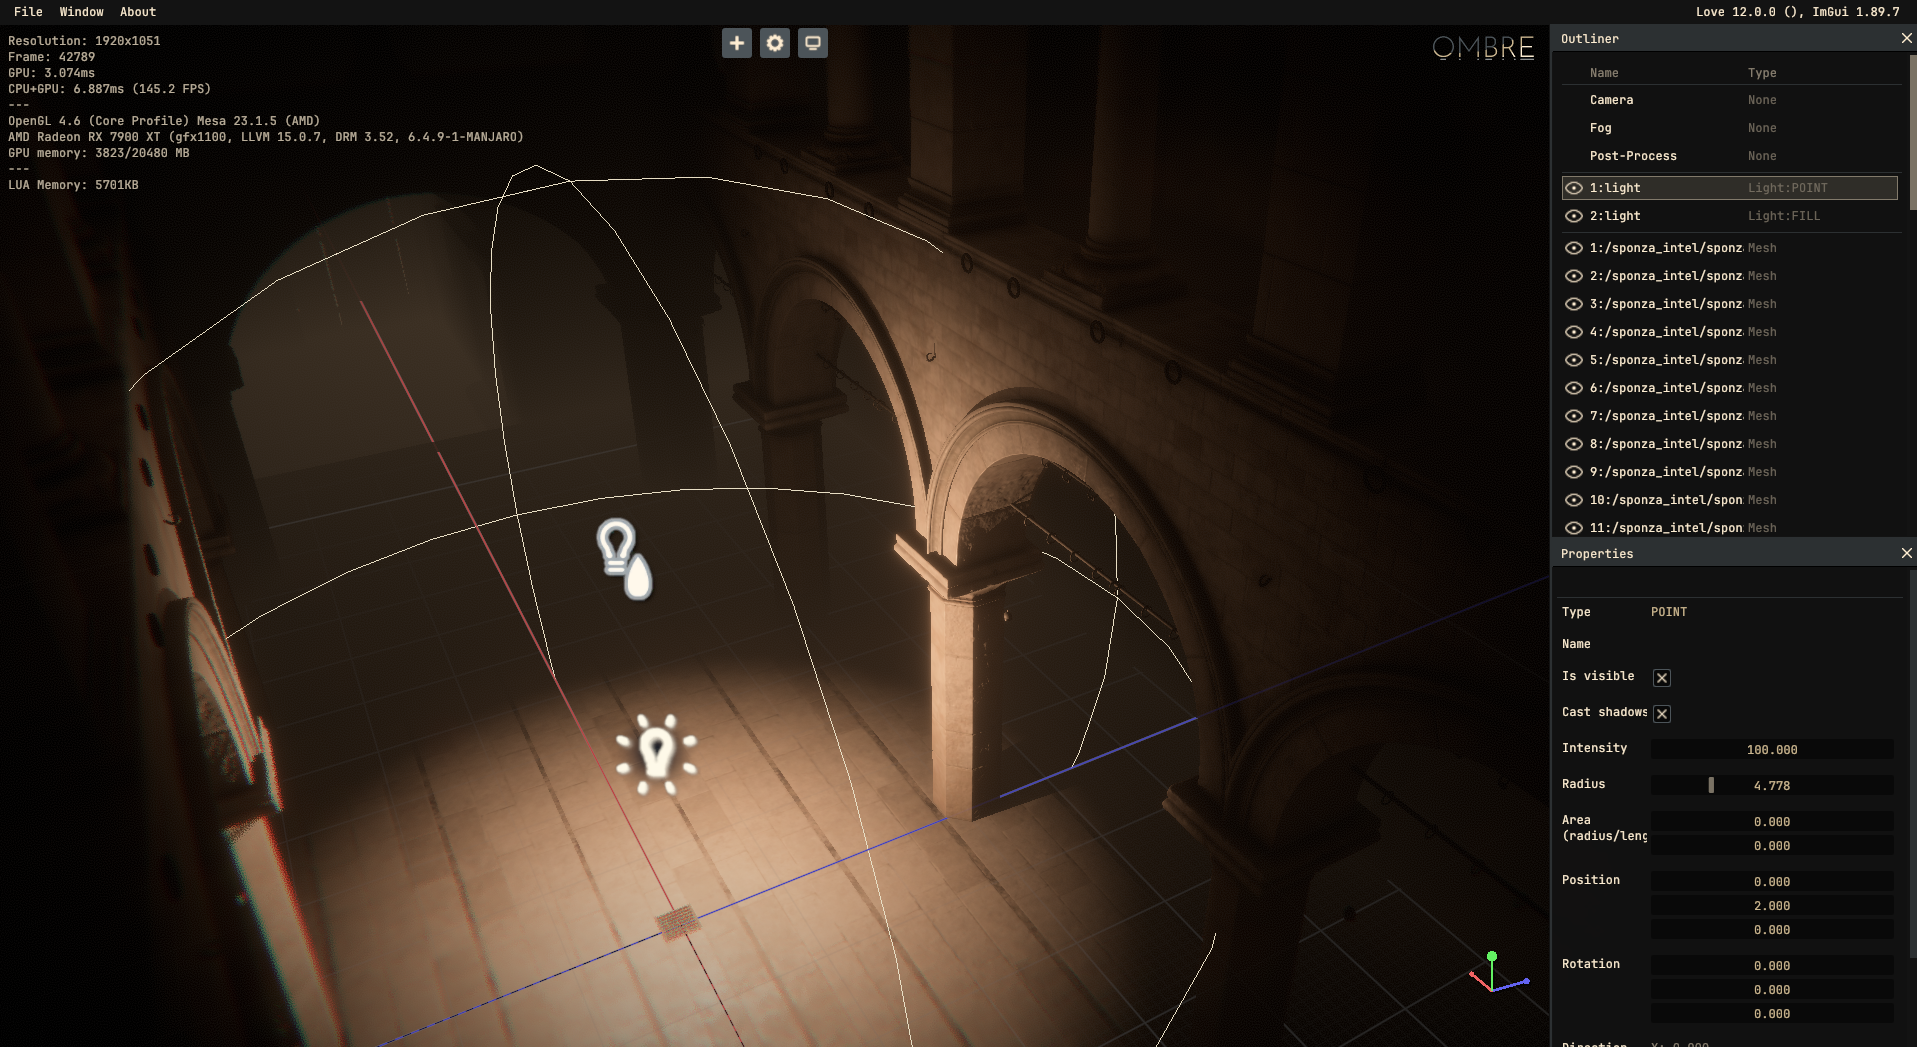
After all these new rendering features, it was time to work again a bit on the editor side. I decided to look into Dear ImGui docking branch to implement proper panels and windows. Of course while still doing many hack to customize the UI with the look I want.
I also added new windows, like an Outliner to list objects in the scene and access other properties.
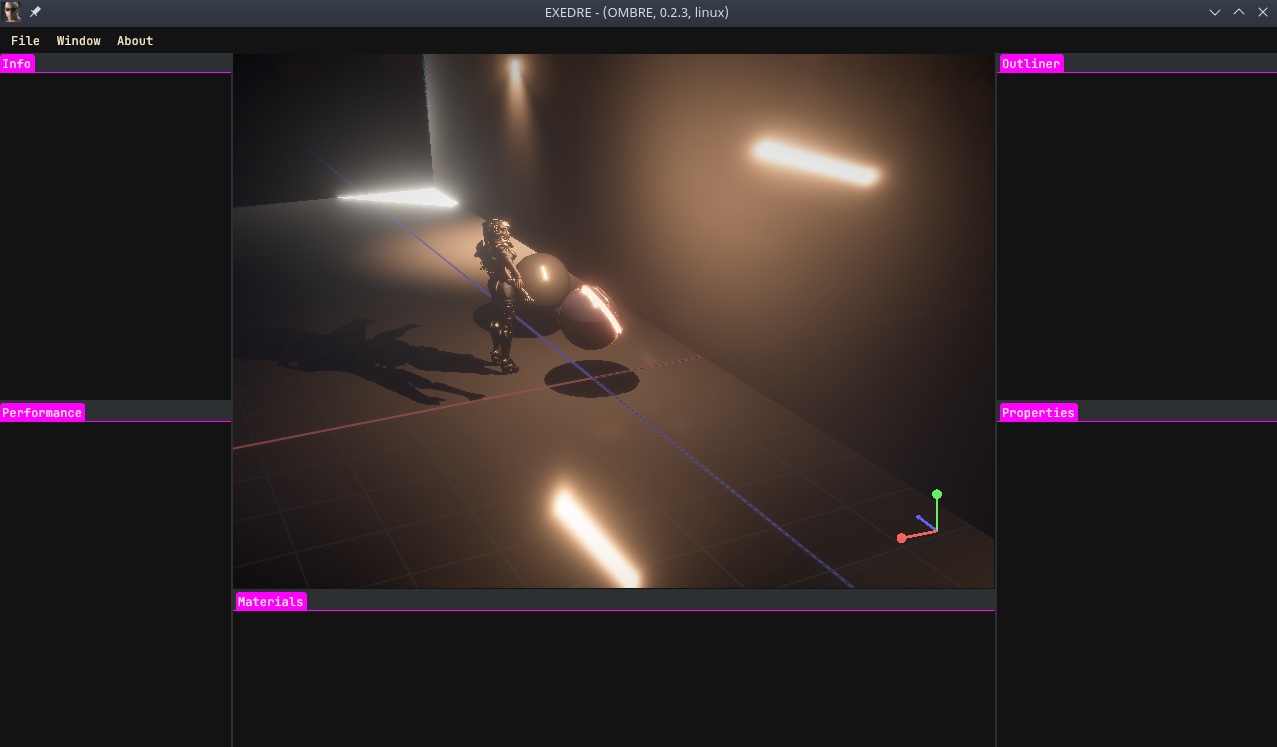
(First the docks)
(Then more docks)
(Blurry UI is back and custom menus were made.)
(I also had some fun bugs.)
(September 18)
One issue that has been bothering me a bit the past few days is some kind of z-fighting between the depth pre-pass and the drawing pass.
I tried adjusting my shaders to use invariant gl_Position; but it didn't help at all. I also already tried adjusting the camera clip planes without any luck.
Turns out that the actual issue was my shadow volume rendering. So I fixed that by increasing some of the bias values I was using.
I'm also refactoring my core rendering class, splitting it into multiple file. Managing ~2500 lines of code was becoming annoying (I don't like scrolling back and forth in a file to read the flow). Hopefully splitting it won't bit my ass back later on.
Main reason for doing so is also to move some debug rendering into the "editor" side and have debug draws in any passes (ex: seeing the world grid when looking at the normals or SSAO buffers).
(September 24)
I procrastinated for a few days working on a few unrelated things (like fixing some NaNs in my meshes or adding wireframe rendering) but it's finally done: I have my grid rendering in any debug modes.
(A nice grid showing up while looking at the SSAO)
(September 26-27)
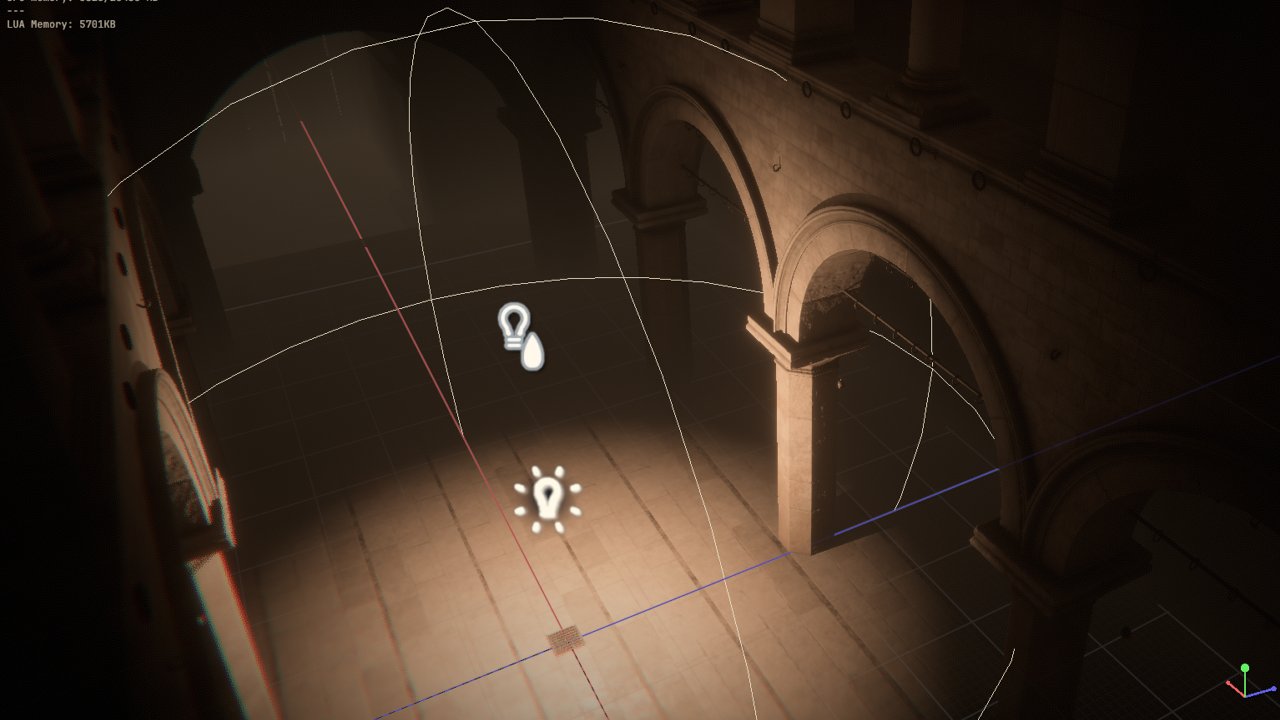
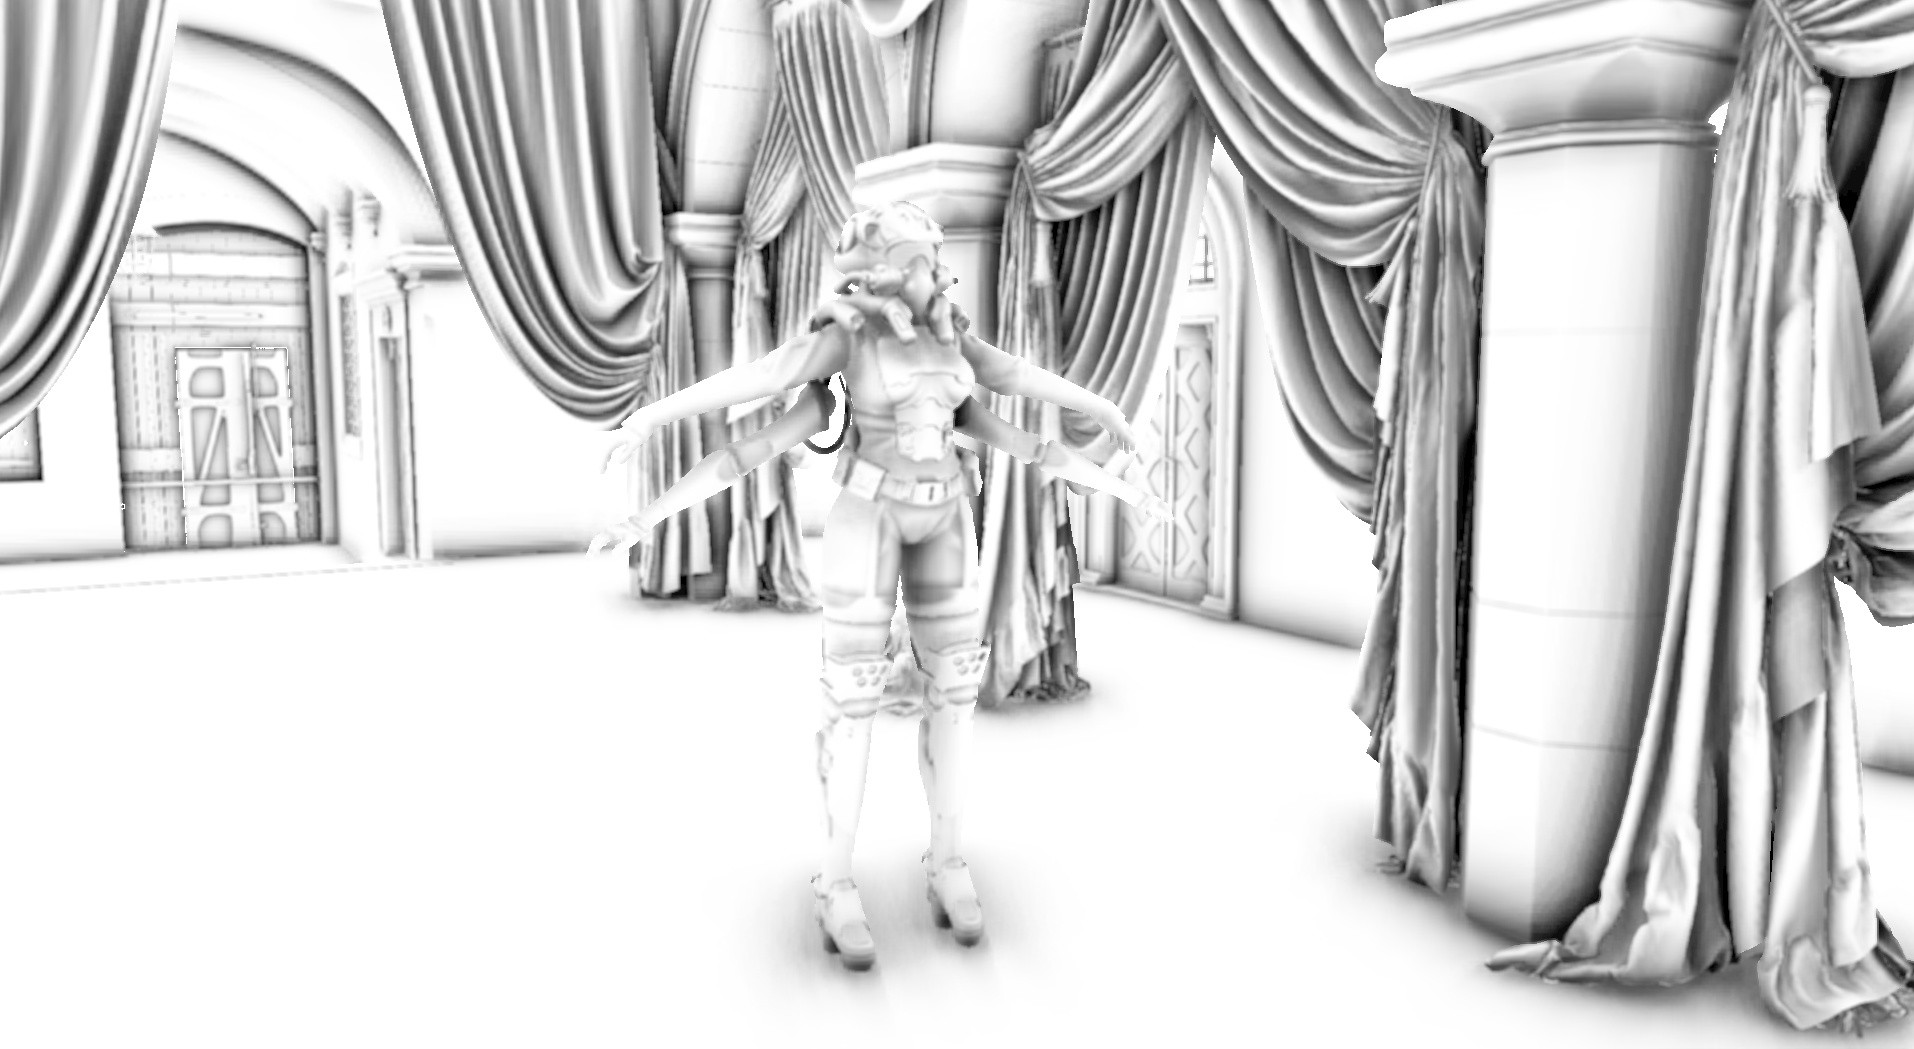
I making progress again on the editor features, notably adding selection outline when object are selected:
(Not perfect yet, since the outline goes around other object)
(There, proper edge selection of object with depth awareness.)
The way the selection system works is simple, I just draw again the objects in the scene into a new buffer, but draw them with a flat color. That color is actually an ID encoded. When I click somewhere on the screen, I read the pixel under the mouse and retrieve the ID. That ID allows me to identify back the object.
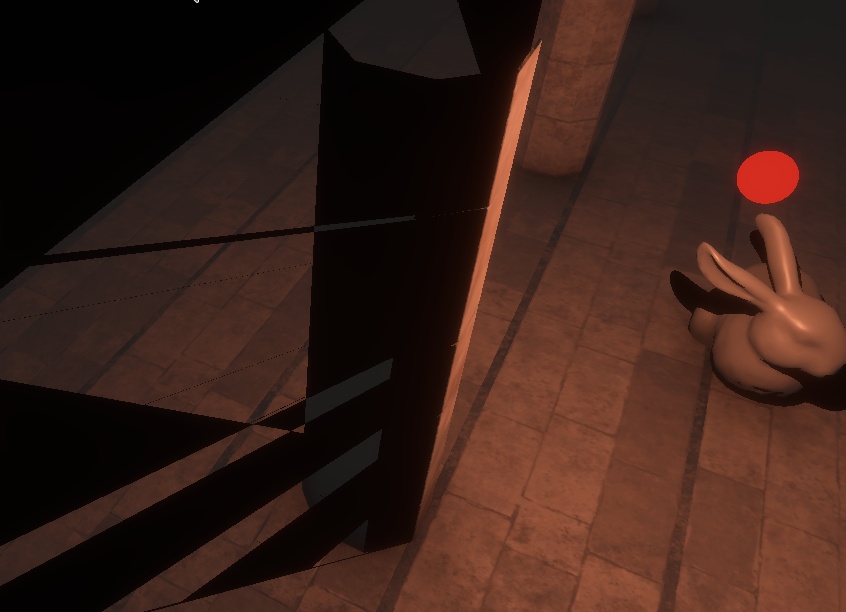
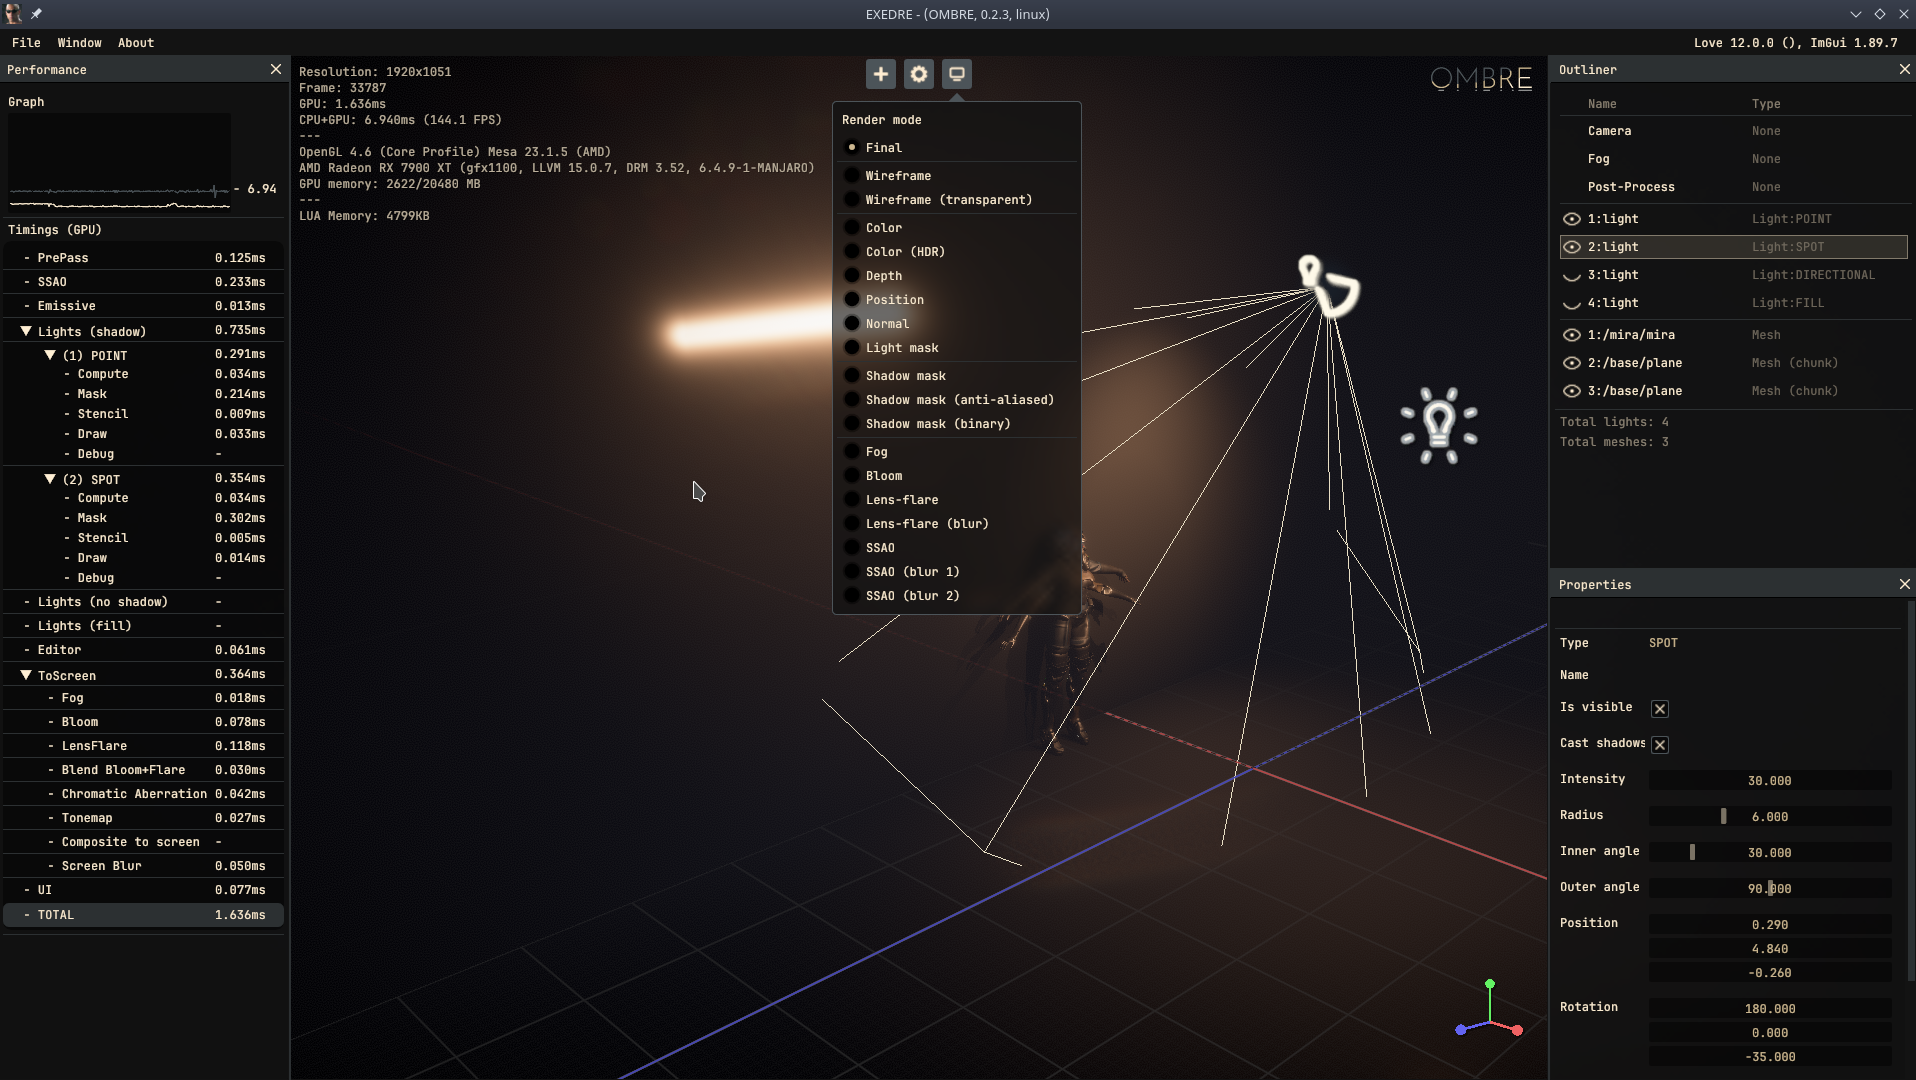
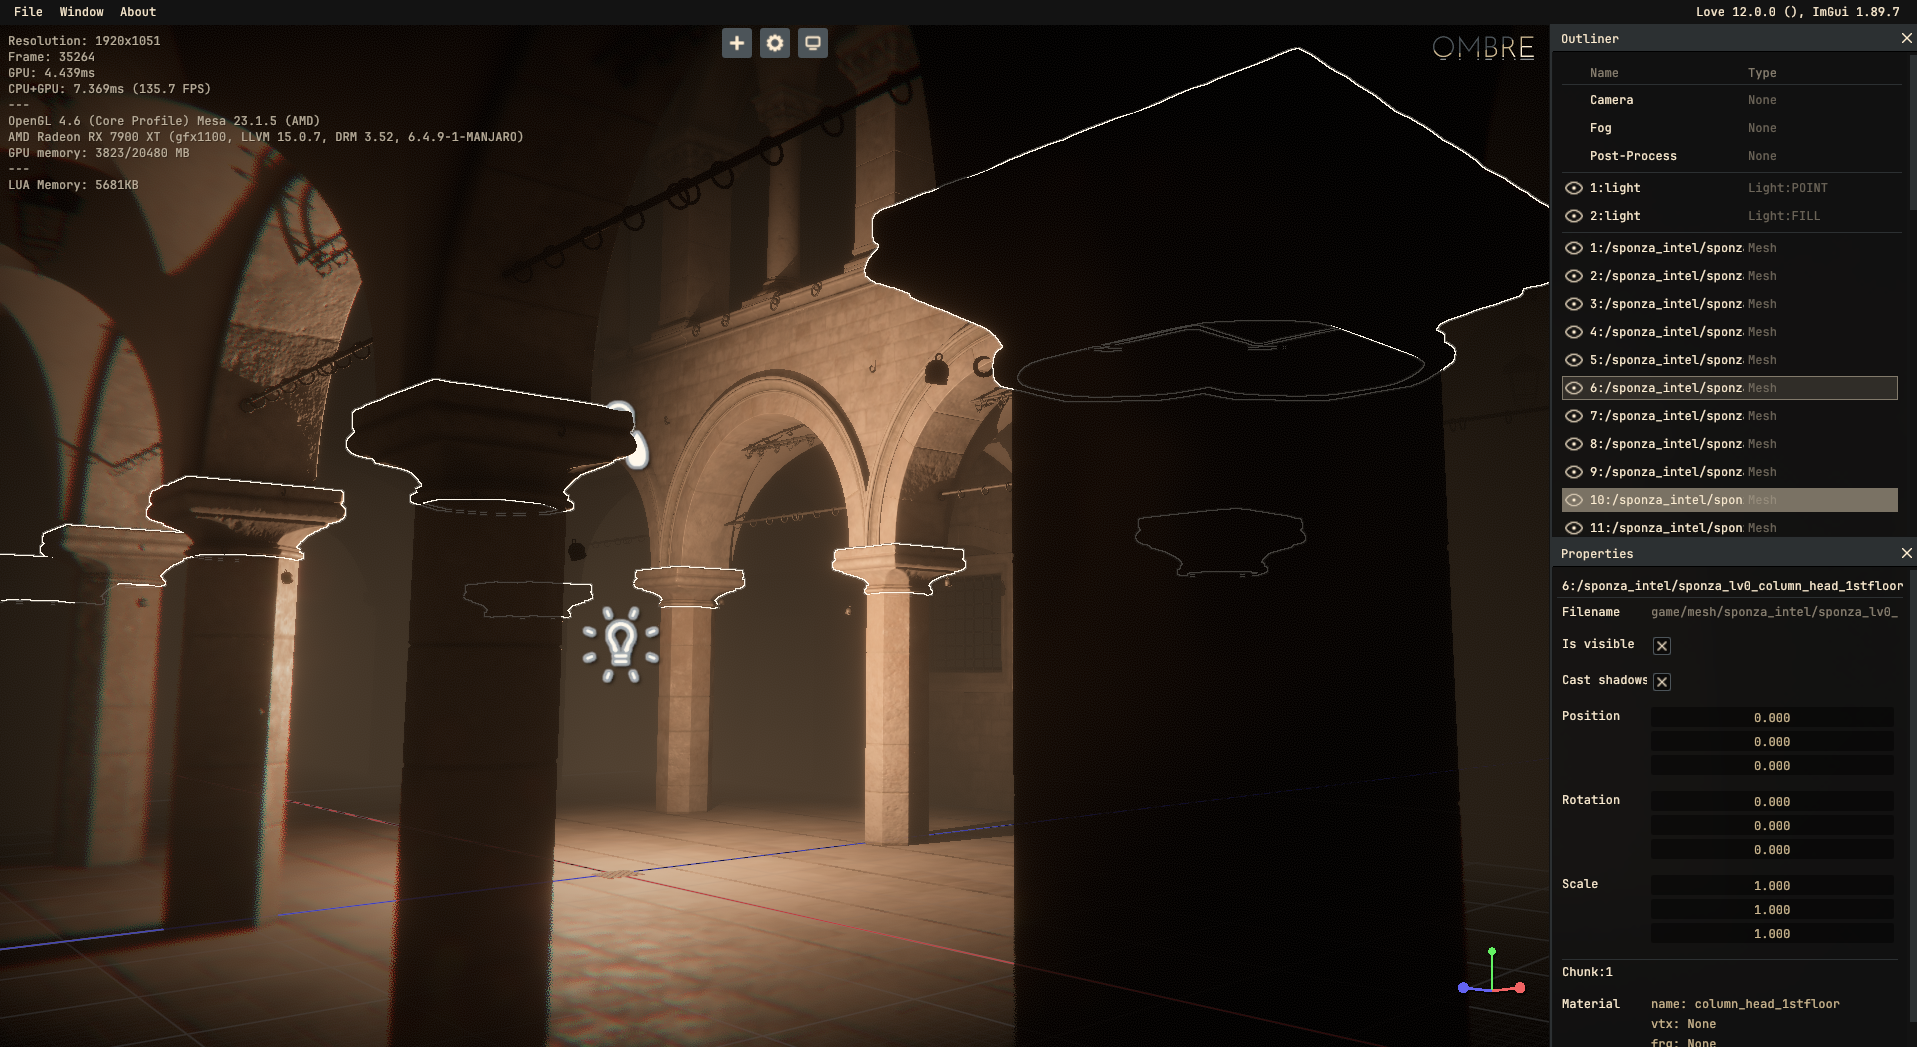
I also added icons in the scene for some specific objects, like lights.
(September 28-31)
I decided to improve the debug wireframe rendering of some of my shapes, notably for the lights. Until now, they would render with missing pixels. Because of the framework I use, I cannot really draw lines by hand directly, so instead I figured out a neat hack that allows me to do this clean look:
(Notice how the colored lines at the top are missing pixels, while the outline of the box doesn't.)
(This even works with more tricky shapes like spot lights, with a fine tuned mesh.)
The way it works is actually very dumb: it is basically rendering a quad per line, but a very thin one, with a width of almost zero. However this is done in one drawcall, using the UVs inside the custom mesh to know if the vertices need to move closer or not to shrink the quad.
This is done before doing the model transformation so it is easy to figure out how to move the vertices before the box gets transformed.
(October 1)
I continued working on the wireframe mesh trick. I had some issues with applying the right matrix transformation for my meshes. Turns it was a simple mistake of sending a column-major matrix to the shader instead of a row-major as usual.
(Borked transformation)
(All fixed)
(October 7-8)
I thought I had vanquished that bug, but it came back and bit my ass once again. So I decided it was time to put a real fight against the black pixel shadow artifacts !
(Before and after the fix)
So what was it ?
Turns out my shadow volume wasn't really watertight. My light direction vector on the silhouette quad wasn't properly computed which created gaps near the back cap of the volume. So from behind it was easy to see the lines and black pixels of improperly matching edges.
Another improvement I made was related to how I was stretching the shadow volume by the light radius, even for object that where at the edges of the area of effect. Because of the overdraw, it was costly to render without having any contribution to the lighting.
Now I take the object position and bounding sphere instead. This allows to evaluate the amount of distance that the shadow volume needs to cover and stretch it accordingly:
I also added some little debug info back in the viewport:

(October 17-21)
Took a little break before coming back working on new stuff. I wanted to look into compute shader triangle rasterizing, but that proved to be quite difficult to get right.
So instead I turned my focus on optimizing again my SSAO pass. On my laptop with a Nvidia 1060 GPU it was still taking quite a bit of time to render.
One known solution is to use interleaved rendering to group jitter directions and help cache coherency. However that usually involve several passes. So I'm wondering if instead this couldn't be done in a single compute one given you can choose which specific pixels you wan't to draw.
(From GDC presentation "Particle Shadows & Cache-Efficient Post-Processing")
(October 26)
The deinterleaving plus MRT setup didn't help much on my laptop.
So I went with a bit of a different setup. I now do 3 compute pass based on a checker pattern:
(All pixels vs Checker SSAO)
It makes the result slightly uglier, but once blurred and mixed with the lighting it's not really noticeable. On my laptop the SSAO pass went from 1.5ms to 0.7ms (at 1080p).
What I like with this approach is that it's pretty easy to control the quality scalability.
I can switch between compute or fragment on the fly and I could even control how many pixels I compute vs how many I fill from the neighbors.
Initially I wanted to see if there was a way to do this in a single dispatch, but sharing memory and barriers in compute is something that I don't yet understand. So there is still room for improvements, but meanwhile my silly idea is working and at least easy to get. There is maybe even some overhead I could improve, because a compute pass doing the same as the fragment one is slightly slower (on both my desktop and laptop).
(November 2)
Now that my SSAO pass is cheaper, I took that opportunity to do something like what MSSAO does and render multiple radius at different resolution.
I went with two pass for now which doesn't scale too badly !
Here is a comparison between the old and new SSAO:
I wasn't sure how to properly blend these two passes without darkening things too much, so I went with a magic pow() to reduce the contrast.
(November 5)
I decided that Ombre anniversary was on November 5, since it's the date at which I posted my dev-blog thread on Mastodon. This is where this "little" blog post will stop.
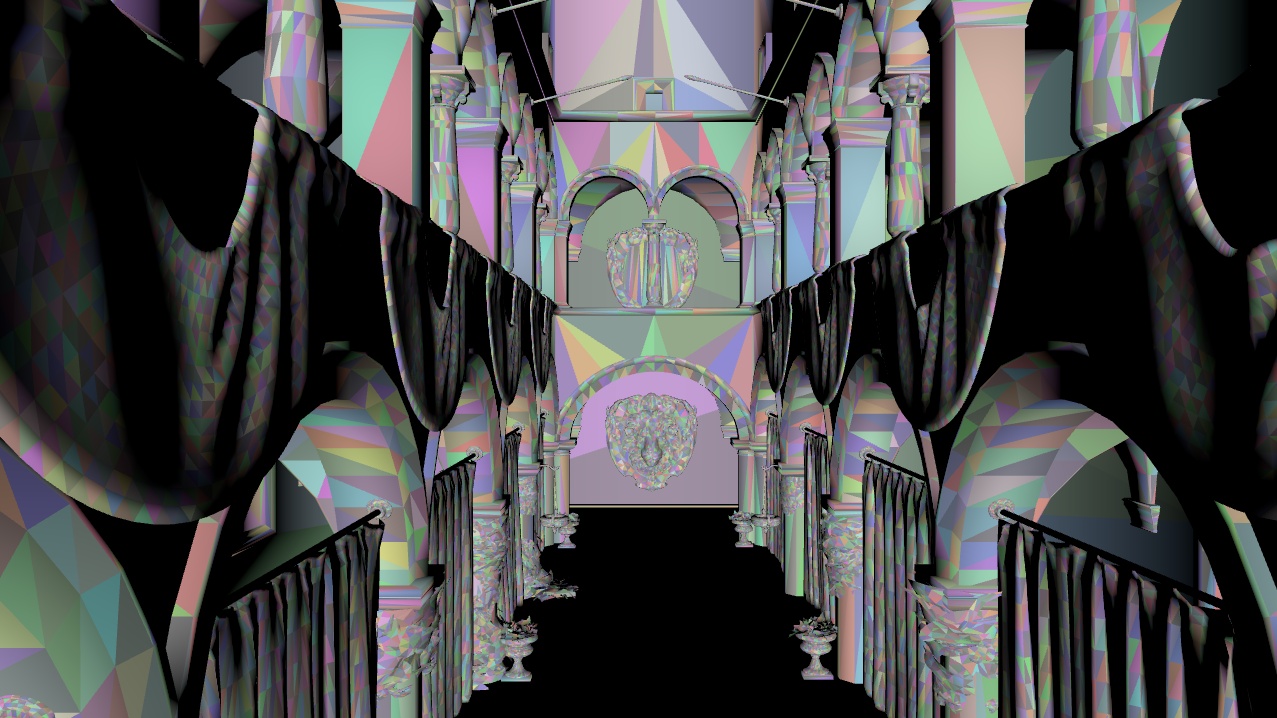
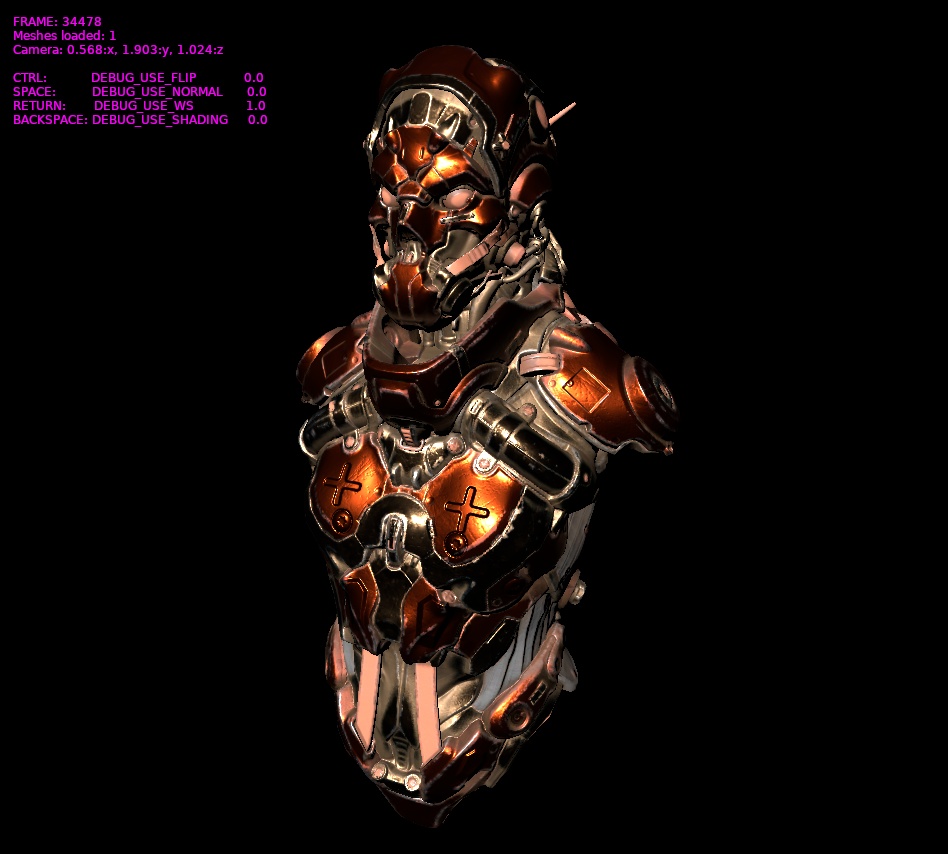
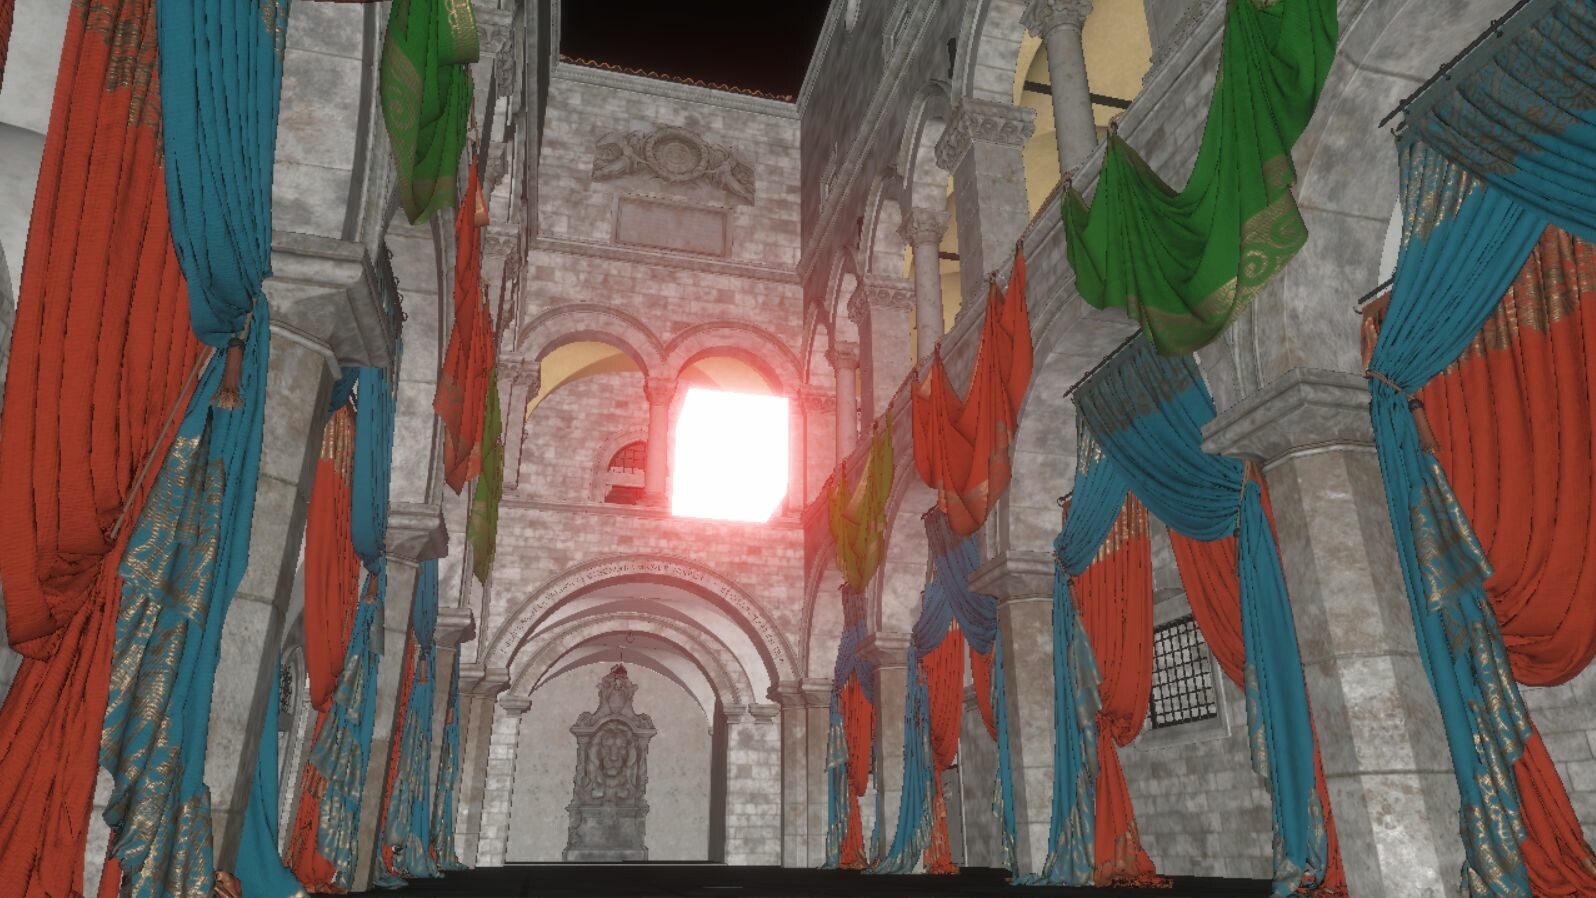
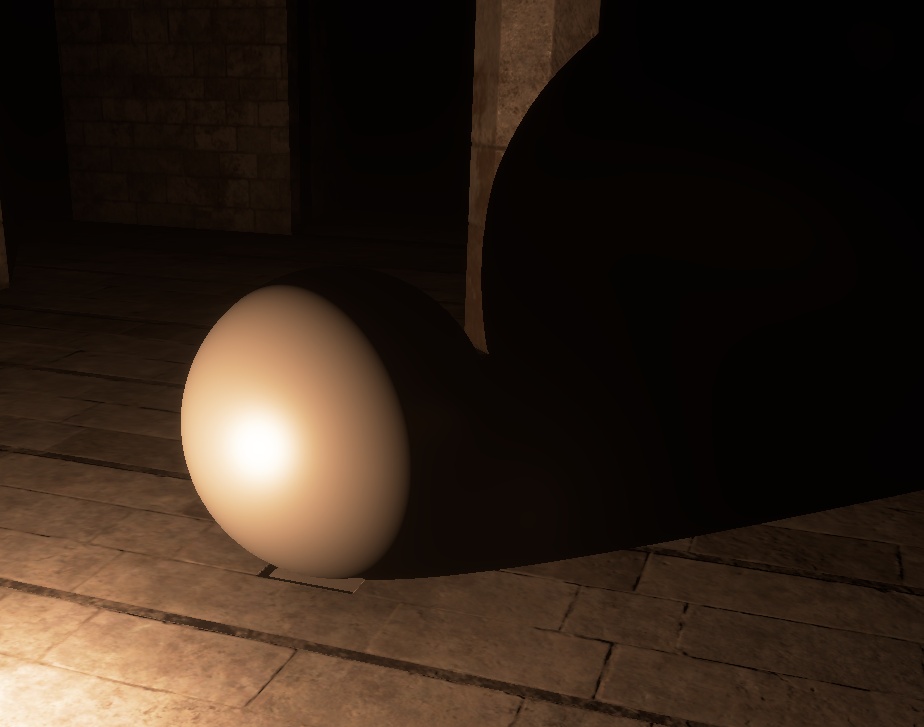
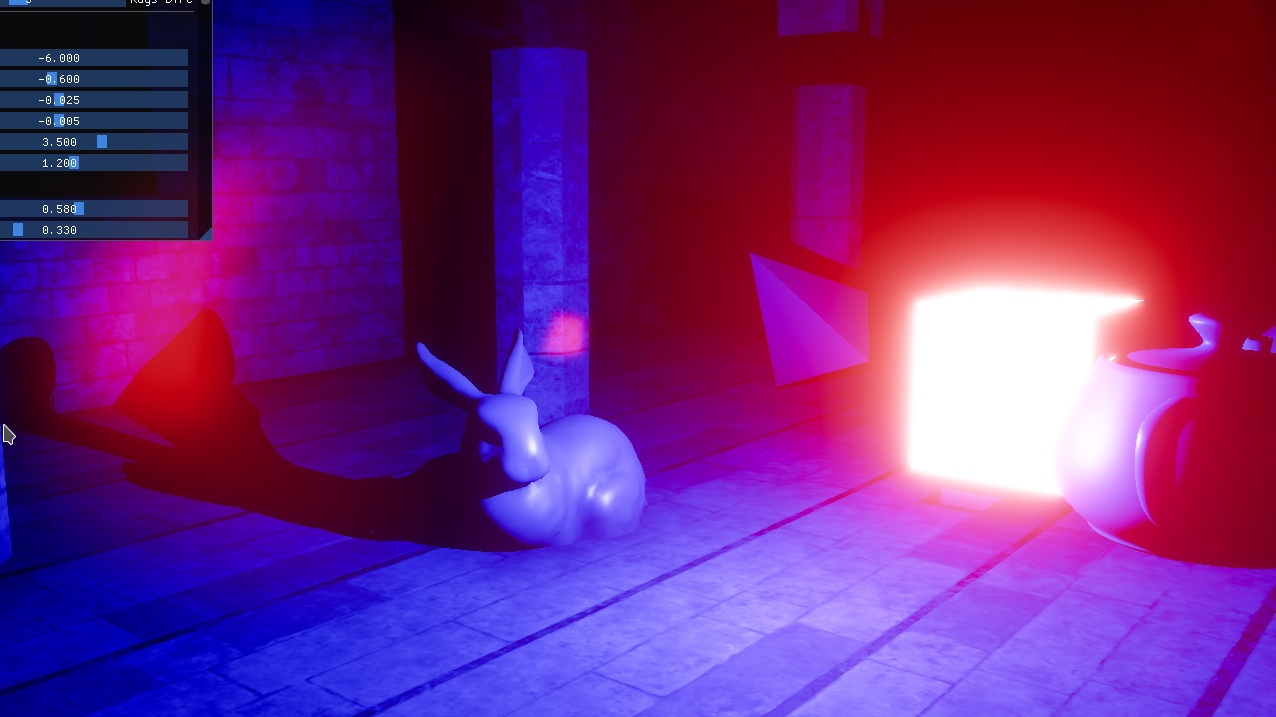
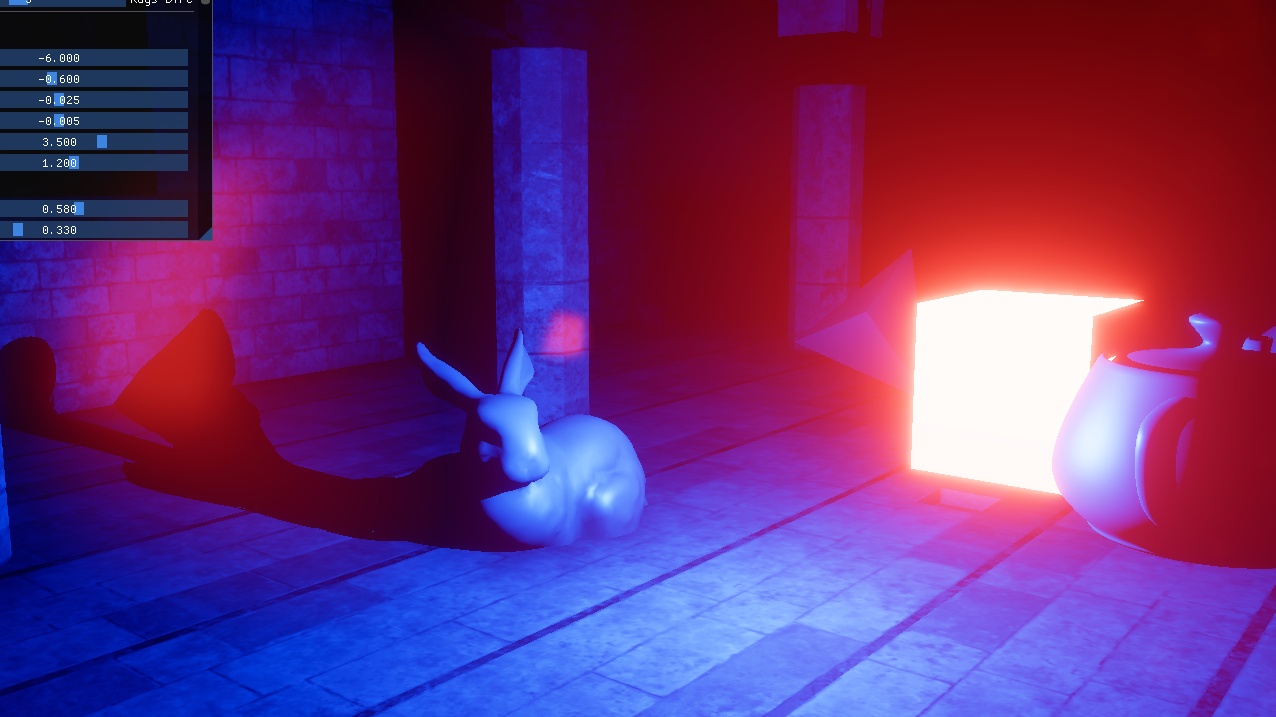
I won't leave without giving some bonus renders however:
If you want to follow the day to day progress of my work, you can check out:
See you next year !